
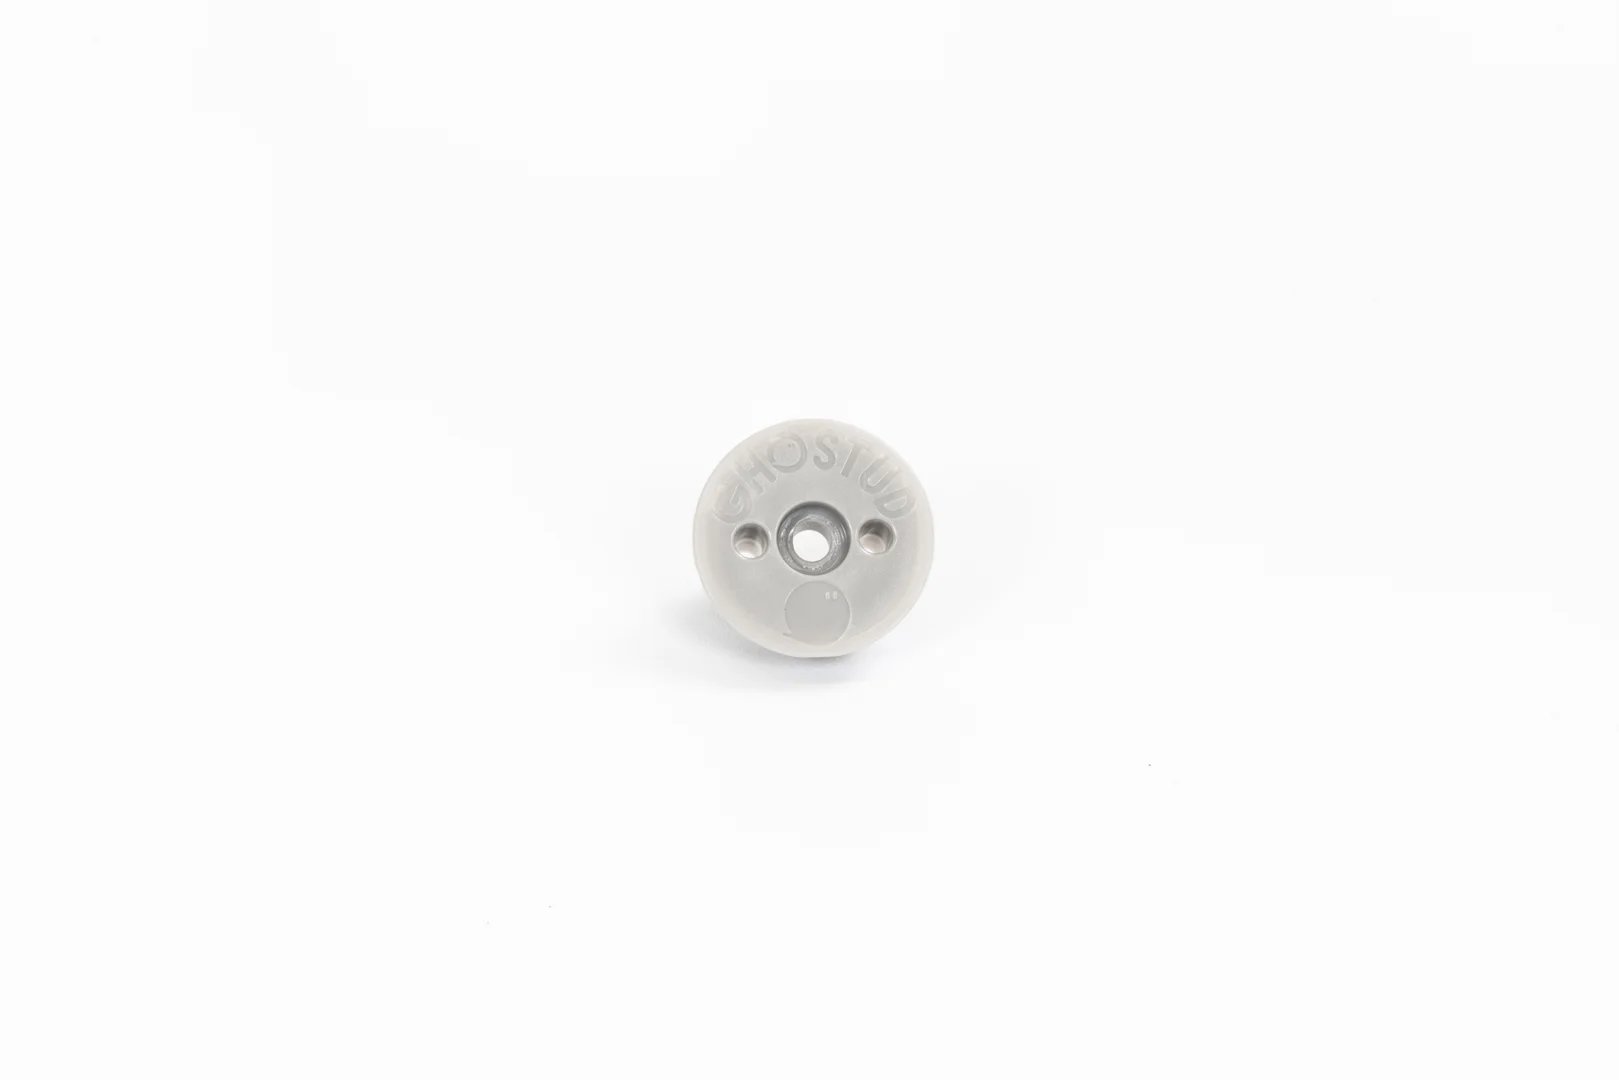
What Are the Key Differences Between Ghost Anchors and Conventional Drywall Mounts?
Innovative ghost anchor and studless mounting solutions for drywalls are made by specialized building hardware manufacturers for mounting challenges in hollow wall cavities where the fixture location does not align with timber framing. Before selecting any high-capacity anchor, first establish the wall material, drywall thickness, total fixture weight, and bracket geometry. Standard 1/2-inch and 5/8-inch gypsum wallboard behave differently from wood studs, plaster, masonry, concrete, or tile assemblies, so the fastening mechanism must match the substrate.
Understanding how studless fasteners work requires examining the mechanical properties of gypsum wallboard. Standard drywall consists of a soft, crystallized gypsum core sandwiched between two paper facings. When you attach a fixture, the wall must resist two distinct types of stress:
- Shear Force: The downward, vertical load acting parallel to the surface of the wall.
- Tension (Pull-out) Force: The outward load pulling directly away from the face of the wall.
Traditional expansion plugs and threaded plastic anchors rely almost entirely on radial friction. As you drive a screw into an expansion plug, the plastic expands outward against the soft gypsum core. Under a heavy downward shear load, this small contact area concentrates stress onto a few millimeters of gypsum. Over time or under sudden load changes, the gypsum crushes beneath the anchor shank – a failure mode known as hole wallow – causing the anchor to loosen and pull through the drywall paper.
Backing-plate style ghost anchors use a rigid internal plate deployed behind the drywall panel. When properly seated, the backing plate becomes a broad bearing surface against the rear face of the gypsum board. This reduces point-source crushing by spreading downward shear stress across a larger section of the panel instead of concentrating force at the cutout edge.
| Mounting Solution | Mechanism Type | Typical Tool Requirement | Primary Application Range |
|---|---|---|---|
| Backing-Plate Ghost Anchor | Rigid rear bearing plate | Hole saw, drill | Higher-shear, flush-mounted fixtures in approved hollow drywall cavities |
| Standard Plastic Plug | Radial friction expansion | Drill bit | Light static decor and small household items |
| Studless Cleat Mount | Multi-nail angled shear | Hammer | Flat picture frames, small rails, and low-profile decorative mounts |
For light decorative items weighing under 5 pounds, simple plastic expansion plugs or picture nails are often sufficient. Heavy-duty hardware becomes relevant only after you confirm that the fixture needs higher shear resistance, the bracket sits close to the wall, and the selected location is an unobstructed hollow drywall cavity.
Modern commercial buildings frequently use metal framing assemblies from manufacturers like Marino\WARE® spaced on 16-inch or 24-inch centers. When a retrofit fixture falls in the open cavity between framing members, a load-distribution anchor can provide a rear bearing surface behind the drywall face. If a structural wood stud is directly available at the desired mounting point, fastening into that wood framing remains the preferred next step.
How Do You Safely Install Studless Drywall Anchors and Mounts?
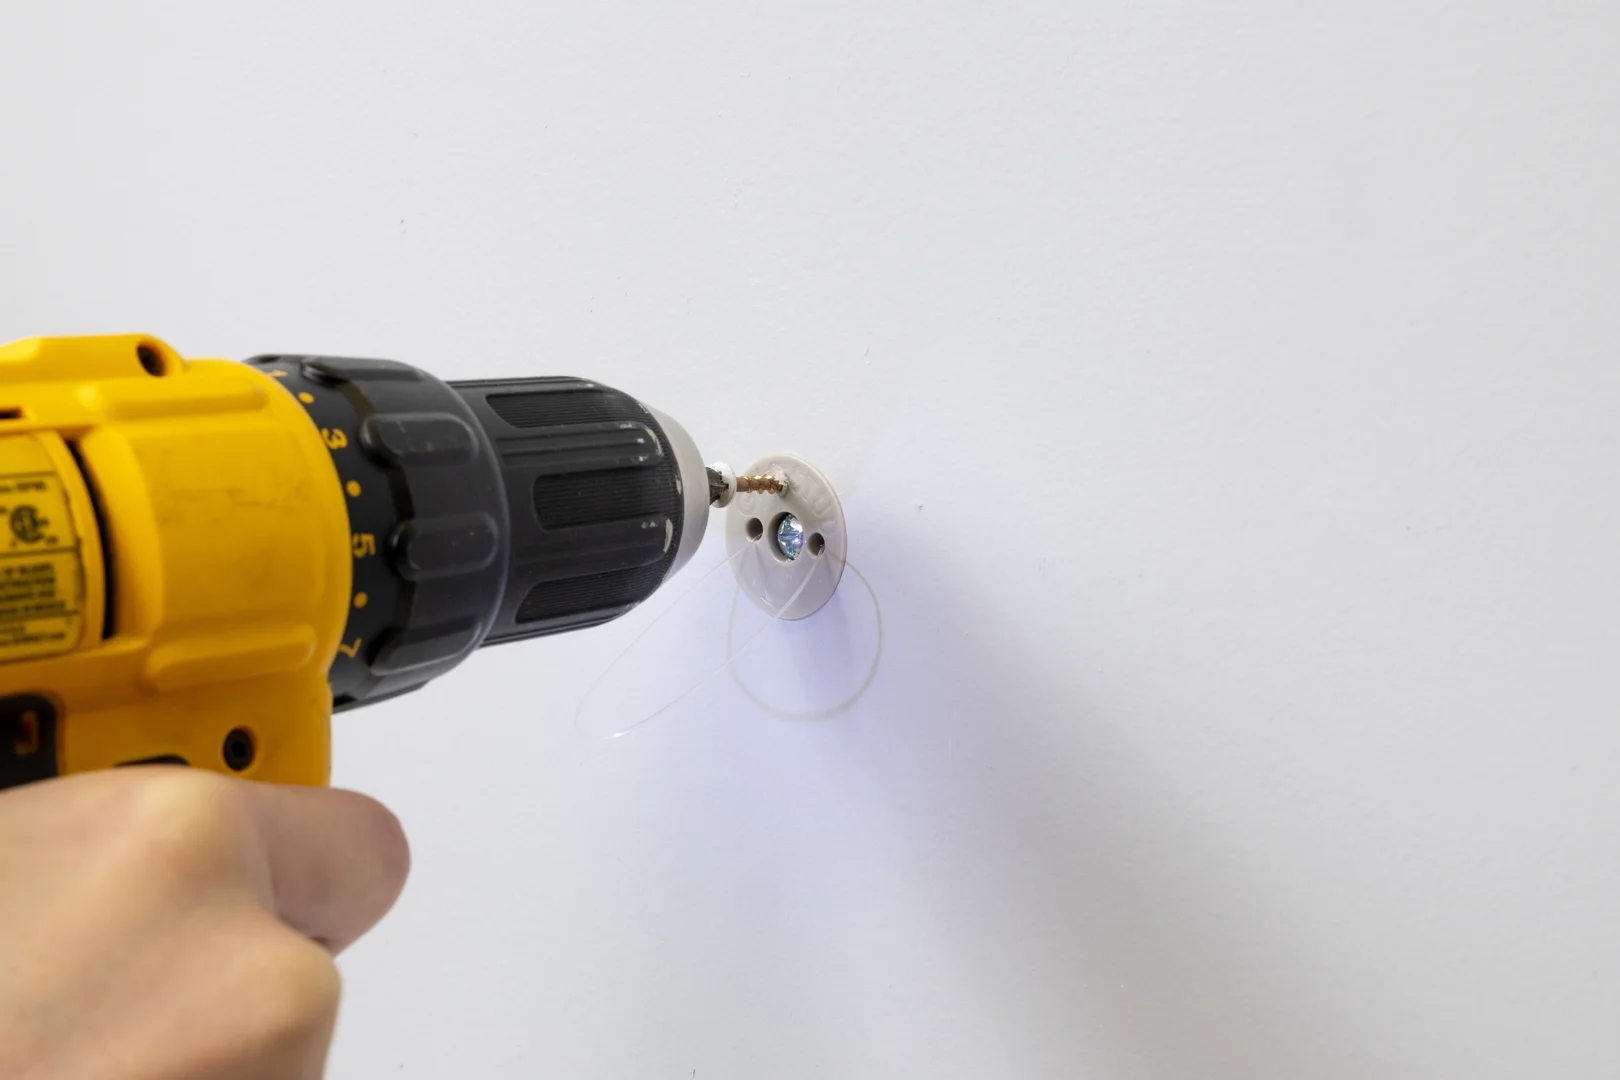
Installing a high-capacity backing plate anchor requires precise execution to preserve the structural strength of the drywall core. Follow these steps as outlined in our Install Guide:
- Map the Wall Cavity: Use a stud finder to locate framing members, electrical conduit, and plumbing lines. Ensure the selected installation point is an unobstructed hollow drywall cavity.
- Mark the Centerpoint: Place a level across your mounting line and mark your hole centerpoints accurately.
- Cut the Aperture: Chuck the appropriate hole saw (1-inch for GS1, 2-inch for GS2) into your drill. Run the drill at moderate speed perpendicular to the wall. Let the teeth cut cleanly through the paper and gypsum core without forcing the tool, preventing paper tearing on the front face.
- Insert the Anchor Body: Collapse the backing plate assembly and slide it through the circular cutout into the wall cavity.
- Engage the Backing Mechanism: Align the internal backing plate flush against the back of the drywall panel.
- Tighten the Fastener: Use a Phillips screwdriver or drill on low-torque setting to snug the front collar against the wall surface. Tighten until the anchor is seated firmly against both faces of the drywall. Do not over-torque to the point of crushing the gypsum core.
- Attach the Fixture Bracket: Secure your mounting hardware directly to the anchor’s central threaded attachment point.
What Are the Critical Limitations and Wall Requirements for Studless Fasteners?
High-capacity ghost anchors rely on the predictable tensile and compressive strength of standard wallboard panels. Understanding physical wall constraints prevents installation failure:
- Approved Substrates Only: GHOSTUD anchors are engineered strictly for standard 1/2-inch and 5/8-inch gypsum drywall. They are not suitable for plaster, lath, brick, masonry, concrete, stucco, tile over backer board, or direct fastening into metal or wood studs.
- Shear Ratings vs. Cantilevered Tension: Published ratings—such as up to 1,000 lb shear in 1/2 in or 5/8 in drywall for the GS2—measure downward vertical shear force flush against the wall surface. Fixtures with deep profiles (such as 18-inch deep shelving) or articulating swing-arm TV mounts create a mechanical fulcrum. This cantilevered load converts downward weight into rotational outward tension (pull-out force) at the top fastener, significantly reducing the effective total load capacity. Always use flush, low-profile brackets when mounting on hollow drywall.
- Permanent Alteration: Installing GS1 or GS2 anchors requires cutting clean 1-inch or 2-inch holes into the wall. These are permanent structural anchors and are not renter-friendly, temporary, or reversible mounting methods.
- Prohibited Applications: Never use studless drywall anchors for grab bars, safety rails, handrails, fall prevention systems, ADA applications, or any fixture intended to support human body weight. Never use GHOSTUD products as furniture anti-tip restraints.
- When GHOSTUD Is the Wrong Choice: If a structural wood stud sits directly behind the mounting hole of your bracket, do not cut a hole for a drywall anchor. Fastening directly into solid wood framing provides maximum hold. In that situation, stop, set the drywall anchor aside, pre-drill a pilot hole into the center of the wood stud, and drive a standard 2-1/2-inch or 3-inch structural wood screw directly into the timber.
How Are Innovative Anchoring Technologies Transforming DIY Home Improvement?
Interior design trends frequently clash with traditional 16-inch framing layouts. In open-concept rooms, entertainment centers, floating consoles, and multi-tier acoustic panels rarely center neatly over hidden wall studs.
In the past, securing a heavy fixture off-stud required opening large sections of drywall, installing horizontal 2×4 wood blocking between the studs, patching the gypsum, and repainting. Backing-plate ghost anchors provide high holding values through a single cutout, allowing clean placement exactly where aesthetic centerpoints dictate.
Furthermore, manufacturing advances allow high-strength hardware to use sustainable materials. By using 100% recycled nylon manufactured in the USA, high-load hardware delivers structural durability while reducing virgin plastic consumption. Learn more about our manufacturing standards and materials on our About Us page.
Frequently Asked Questions About Studless Drywall Mounting?
Can ghost anchors be used as a substitute when a wood stud is directly available?
No. A wood stud provides a solid structural anchor point tied directly into the building frame. If your mounting bracket aligns directly with a wood stud, always screw directly into the timber framing. Backing-plate ghost anchors are designed specifically to solve mounting challenges in hollow drywall cavities where structural framing is absent.
How do shear load ratings differ from cantilevered pull-out force?
Shear capacity measures resistance to downward vertical sliding force acting directly against the drywall face. Cantilevered force occurs when a load extends outward from the wall—such as an extended articulating monitor arm or deep shelf.
The extended load acts as a lever, pulling outward on the top anchor while pushing inward against the bottom edge of the bracket. This rotational tension applies direct pull-out force to the top fastener. For in-depth load dynamics and mechanical explanations, visit our FAQ section.
Are studless drywall anchors considered damage-free or temporary?
No. Studless ghost anchors require boring a 1-inch (GS1) or 2-inch (GS2) hole through the drywall panel. They create permanent structural attachment points. If removed, the circular cutout must be patched with a drywall repair plug, taped, joint-compounded, and repainted. For light, damage-free hanging of small posters or cards, use light-duty adhesive strips instead.
Which Studless Mounting Solution Is Right for Your Next Project?
Selecting the correct fastener depends on the total weight of the object, its center of gravity, and the wall construction:
- Light Duty (Under 5 lb): Use standard nail-in picture hooks or small expansion anchors for small framed photos and lightweight clocks.
- Medium Duty (Up to 250 lb shear in 1/2 in or 5/8 in drywall): Use the GS1 anchor for floating shelves, mirrors, and curtain hardware positioned in hollow drywall cavities.
- Heavy Duty (Up to 1,000 lb shear in 1/2 in or 5/8 in drywall): Use the GS2 anchor for heavy flush-mount TV wall plates, floating credenzas, and storage cabinets mounted off-stud.
Before drilling into your drywall, review the complete step-by-step procedures in the GHOSTUD Installation Guide to ensure clean cutouts, proper hardware seating, and a safe, stable mount.