
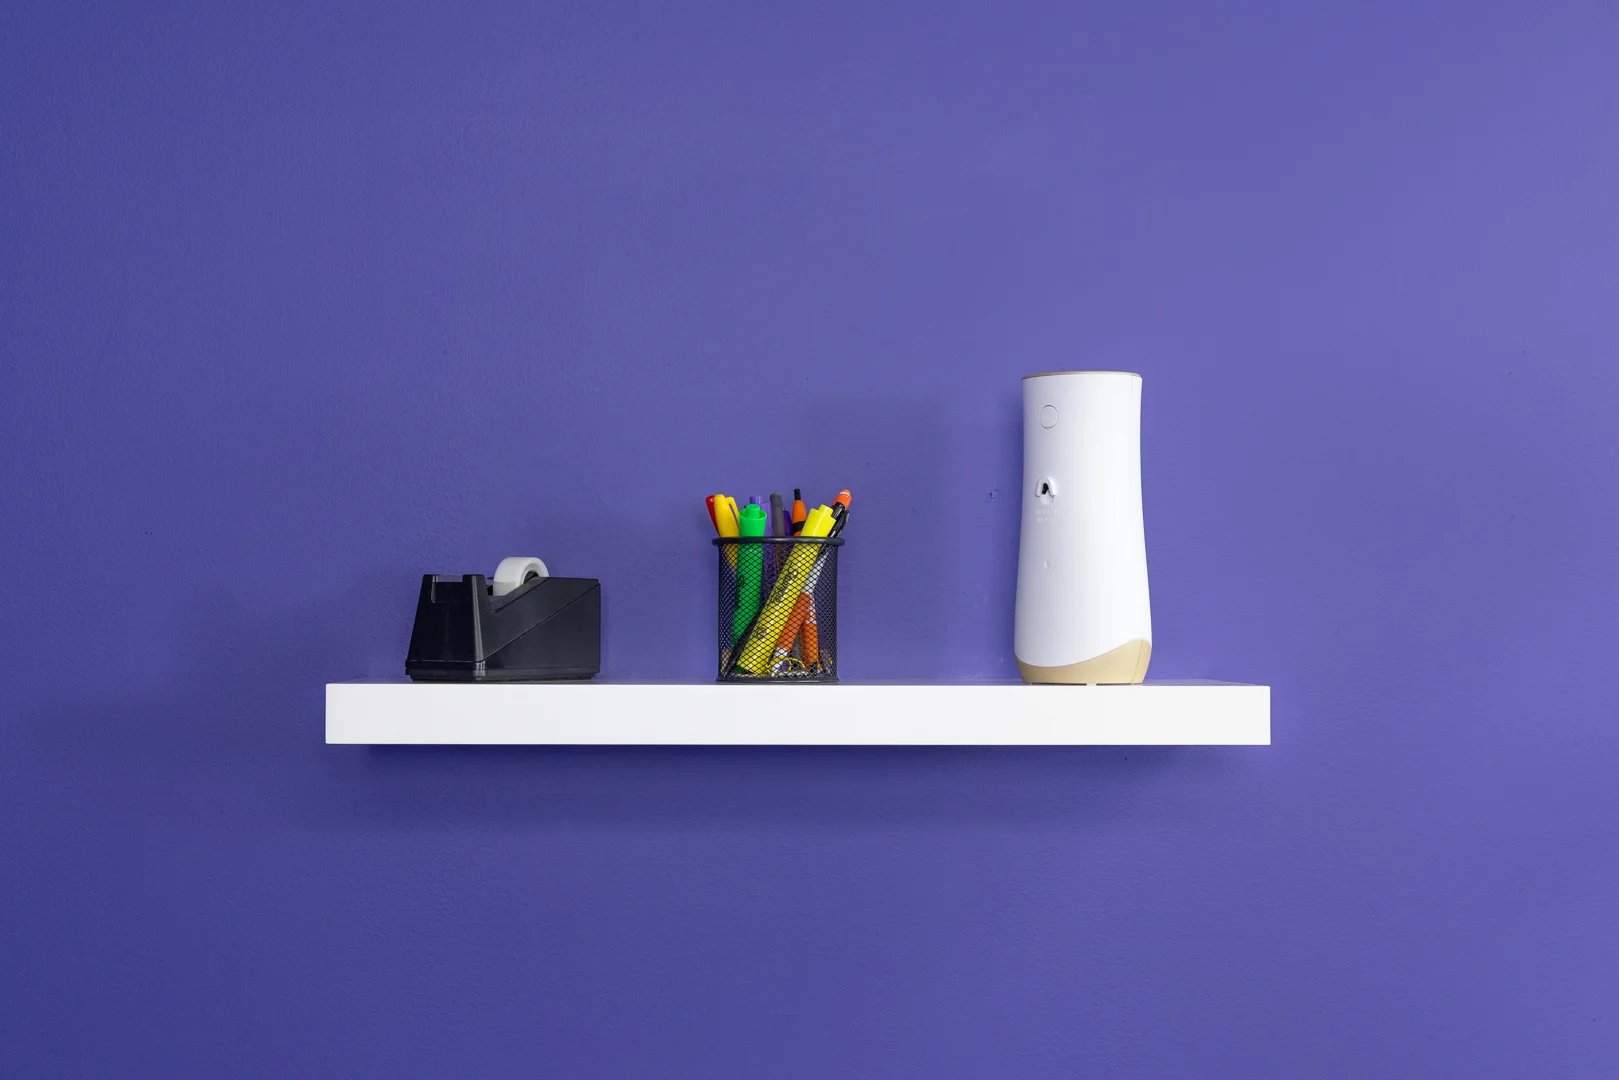
How to Hang Invisible Shelves Securely
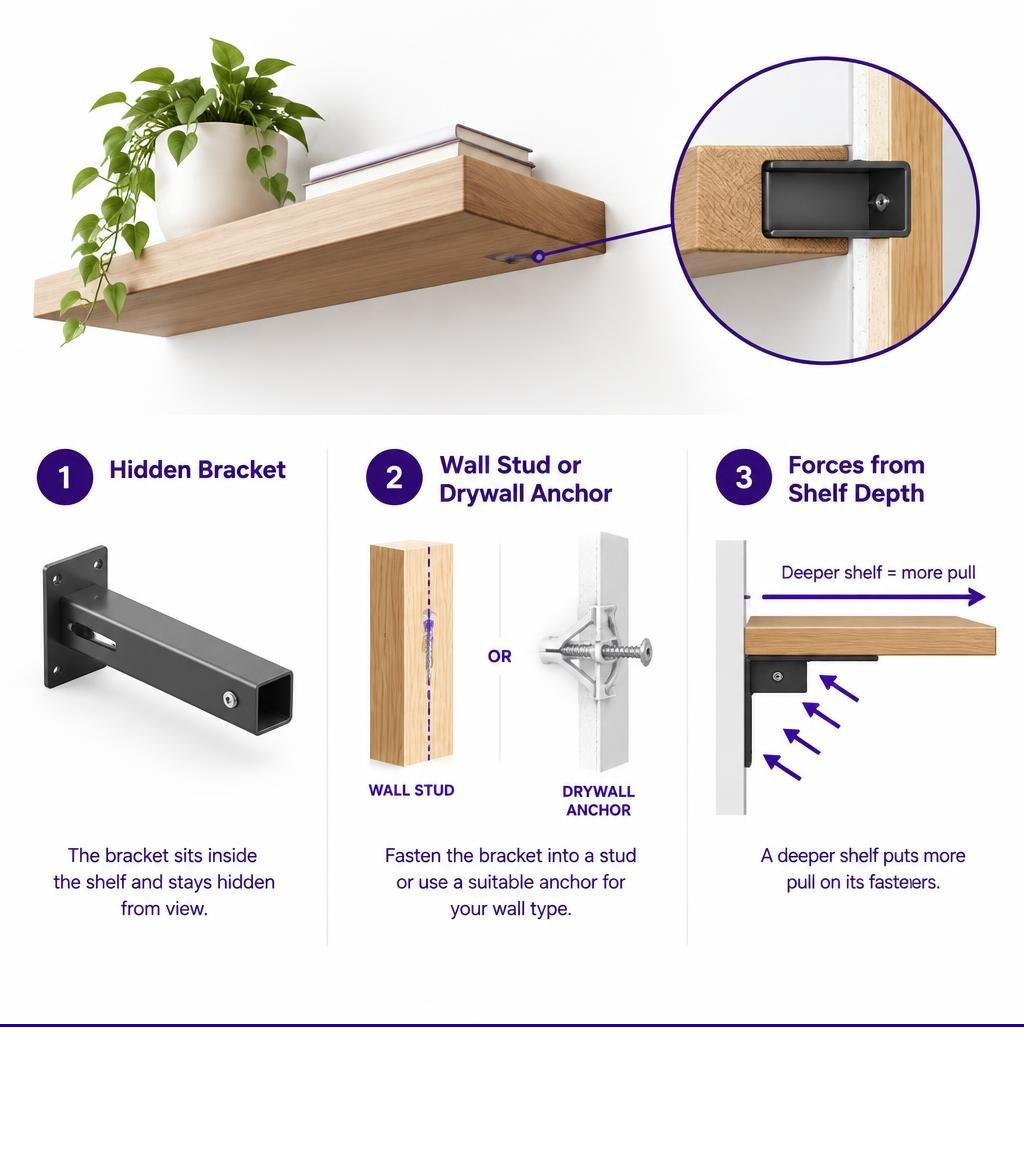
Here’s how to hang invisible shelves: Find a wall stud, mark a level line, and fasten the hidden bracket into the stud with the shelf maker’s specified hardware. If no stud lines up, choose an anchor suited to the wall, the loaded shelf’s weight, and its depth. Slide the shelf onto the bracket, tighten its set screws, and check the level before adding weight.
The wall matters as much as the bracket. A deeper shelf puts more pull on its fasteners. Standard drywall anchors may fail under heavy leverage. For plaster, lath, brick, concrete, other masonry, stucco, tile over backer board, or metal studs, use hardware made for that surface.
Understanding the mechanics of wall fasteners and shelf depth helps ensure a clean, level display that holds firm over time.
Understanding the Mechanics: Types, Weight Loads, and Wall Forces
Invisible shelves rely entirely on internal hardware to stay upright. Because there are no visible diagonal braces or corbels beneath the shelf, physics dictates how the installation behaves.
When you place an item on an invisible shelf, gravity exerts downward force. That downward weight acts along a horizontal lever arm determined by the depth of the shelf. This creates a rotational force or torque.
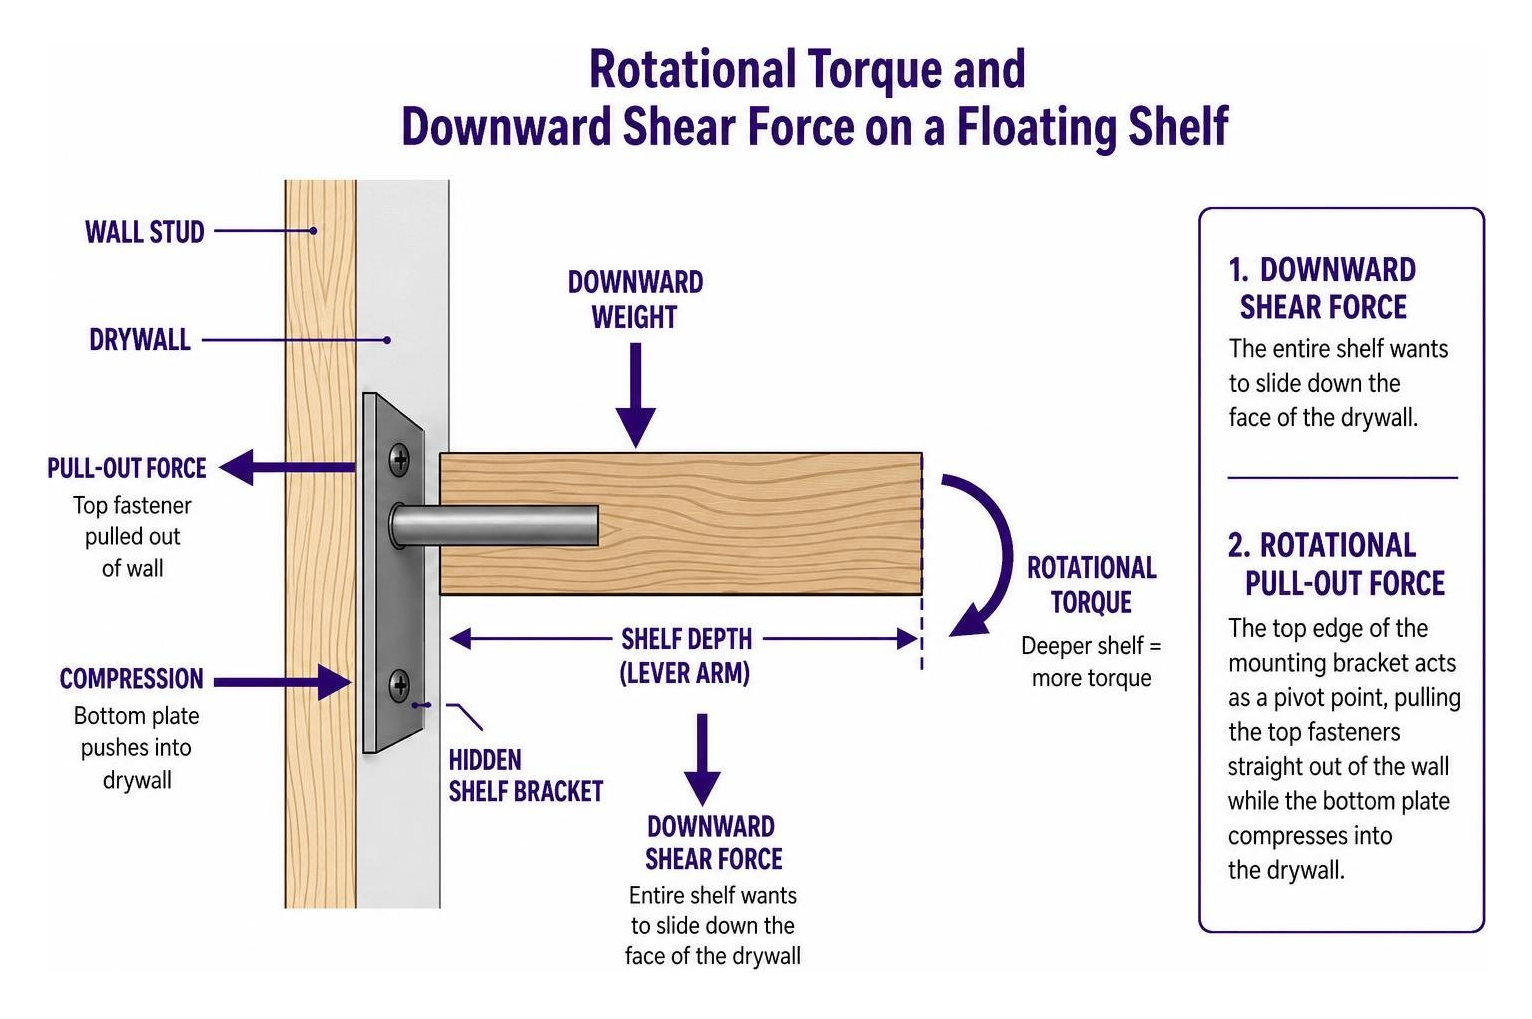
This rotational force translates into two distinct stresses on your wall and fasteners:
- Downward Shear Force: The entire shelf wants to slide down the face of the drywall.
- Rotational Pull-Out Force: The top edge of the mounting bracket acts as a pivot point, pulling the top fasteners straight out of the wall while the bottom plate compresses into the drywall.
Understanding how to secure a heavy shelf without pull-out failure requires looking at gypsum board mechanics. Standard drywall consists of a gypsum plaster core pressed between two thick sheets of paper. When overloaded by tension, the fastener’s head or anchor collar crushes the paper face, causing core breakout failure where the gypsum simply fractures and pulls free.
Concealed Rods, Cleats, and Shelf Brackets
Different shelf designs rely on distinct concealed systems to counter these forces:
- Concealed Steel Backplate and Rods: A solid steel back bar mounts flat against the wall, with horizontal welded steel rods projecting forward. The shelf body has matching holes drilled deep into its rear edge, sliding snugly over the rods.
- Internal Wooden Cleats: Common in hollow-core shelves, a wooden cleat (often a 2×2 or hardwood strip) is secured to the wall. The hollow box shelf slides over the cleat and fastens through the top or bottom with small trim screws.
Weight Capacity by Shelf Depth and Wall Material
The deeper the shelf, the greater the rotational leverage placed on the mounting hardware. For example, a 10-inch deep shelf experiences double the pull-out leverage of a 5-inch deep shelf under the same static load.
Review this comparison to see how shelf depth, wall material, and bracket hardware dictate realistic load capacities:
| Wall Substrate | Mounting Hardware | Shelf Depth | Realistic Static Load | Failure Risk Mode |
|---|---|---|---|---|
| Stud (Wood Framing) | 3-inch Steel Lag Screws | 10 inches | 100–300+ lbs (bracket-rated) | Bracket rod flex under extreme load |
| 1/2″ or 5/8″ Drywall | Light-Duty Hollow Fasteners | 6 inches | Under 5 lbs (light display) | Immediate anchor pull-out / wall blow-out |
| 1/2″ or 5/8″ Drywall | Standard Cavity Fasteners | 8 inches | 20–40 lbs | Drywall paper crushing from cyclic leverage |
| 1/2″ or 5/8″ Drywall | GS2 Drywall Anchor | 10 inches | Up to 1,000 lb shear rating | Hollow drywall flex beyond rated shear limits |
| Solid Brick / Concrete | Surface-specific masonry fastening | 10 inches | 75–150 lbs | Mortar crumbling if drilled into joints |
A full kitchen load of dinnerware easily weighs 100 to 200 lbs, while a 4-foot run of hardcover books weighs 80 to 140 lbs. A stack of 12 dinner plates weighs roughly 20 lbs. For heavy applications, read how to mount heavy shelves safely without sagging or pull out to match your hardware to your actual load.
Preparation: Tools, Stud Finding, and Hardware Selection
Mounting invisible shelves requires clean execution and precise layout. Gather your tools before drilling.
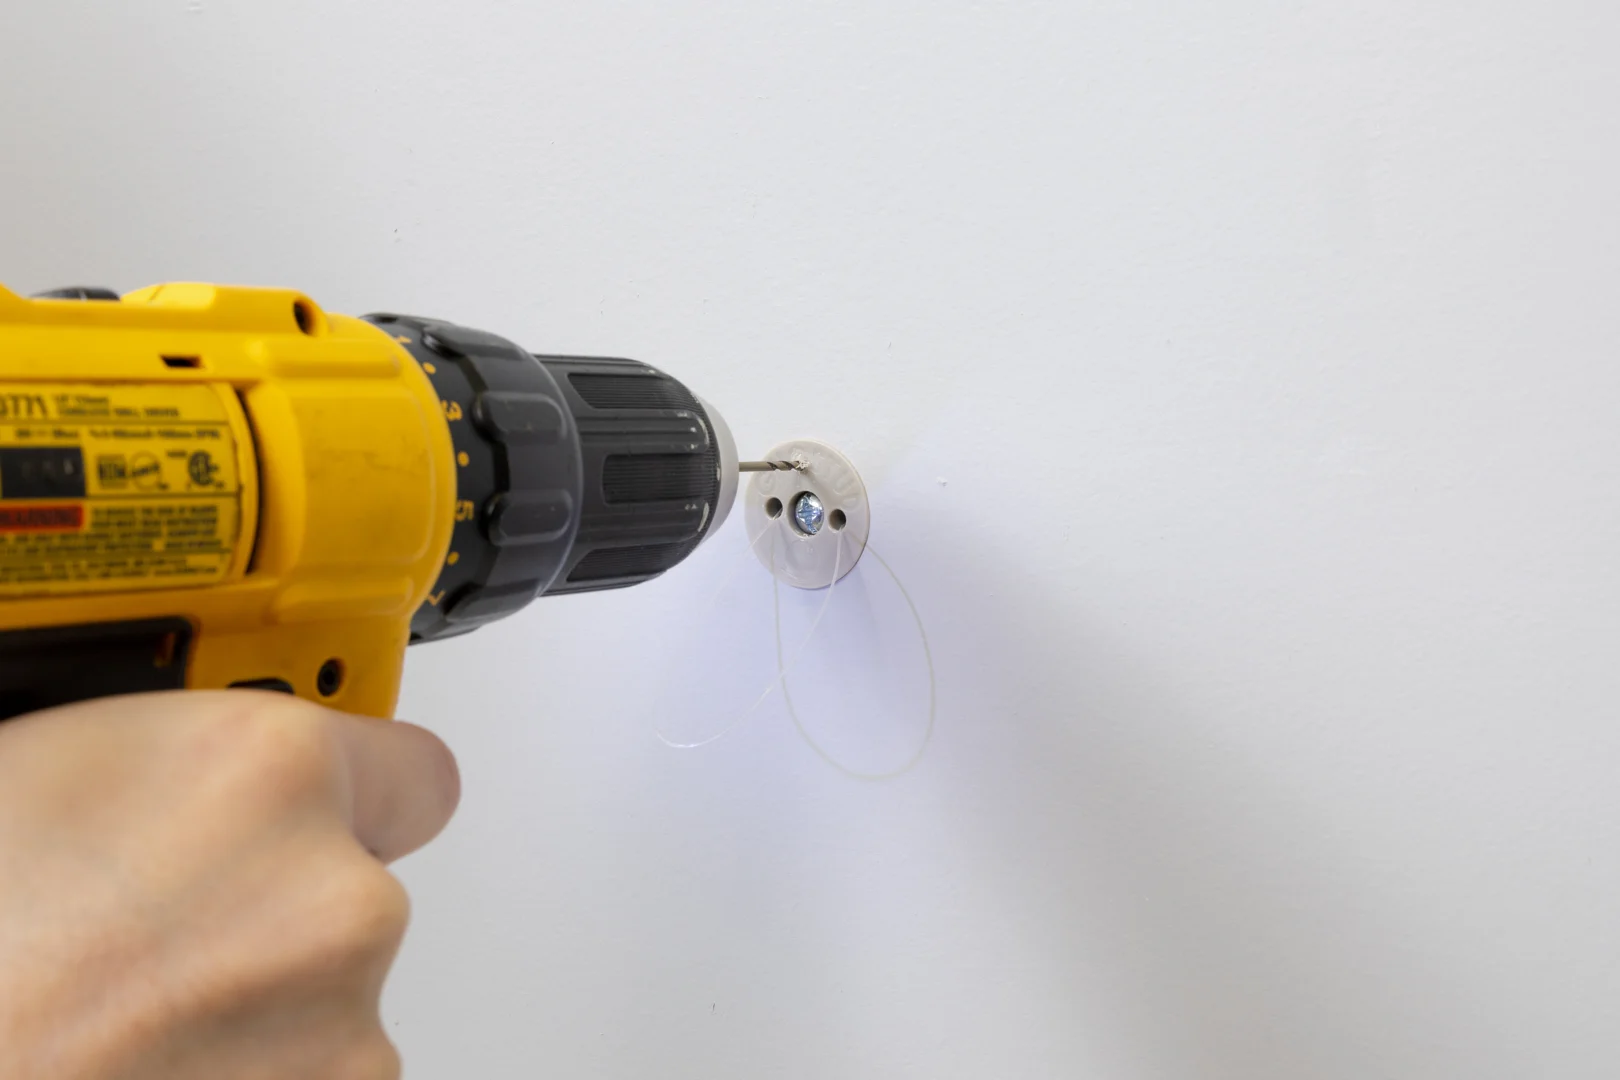
Required tools and materials:
- Electronic stud finder or high-strength neodymium magnet
- 2-foot or 4-foot spirit level (or a self-leveling laser level)
- Cordless drill and impact driver
- Drill bits (including masonry bits if mounting into solid masonry)
- Tape measure and pencil
- Painter’s tape
To locate framing, slide an electronic stud finder horizontally across the wall. Residential studs are almost always spaced 16 or 24 inches on center. When the sensor beeps, mark both the left and right edges of the stud, finding the dead center between those marks.
You can also use wall outlets or light switch boxes as guides, as electrical junction boxes are almost always nailed directly to one side of a stud.
Hardware Options for Studs vs. Hollow Drywall
If your shelf aligns with wall framing, always drive heavy-gauge wood screws directly into the center of the wood studs. A stud connection delivers the maximum structural strength possible.
When studs do not align with where you want to mount, choose hollow-wall hardware suited to the weight of your shelf and display items:
- Under 5 lbs: For a very lightweight shelf displaying a single small picture frame, standard commodity plastic anchors or self-drilling drywall plugs are sufficient.
- Moderate to Heavy Loads: Standard hollow-wall cavity fasteners can hold static weight but risk crushing drywall paper faces under rotational leverage over time. For solid drywall installations in 1/2 in or 5/8 in drywall, engineered anchors distribute forces broadly. Learn how to mount a shelf without studs using effective hardware to keep your walls intact.
Our GHOSTUD drywall mounting solutions are engineered specifically for drywall:
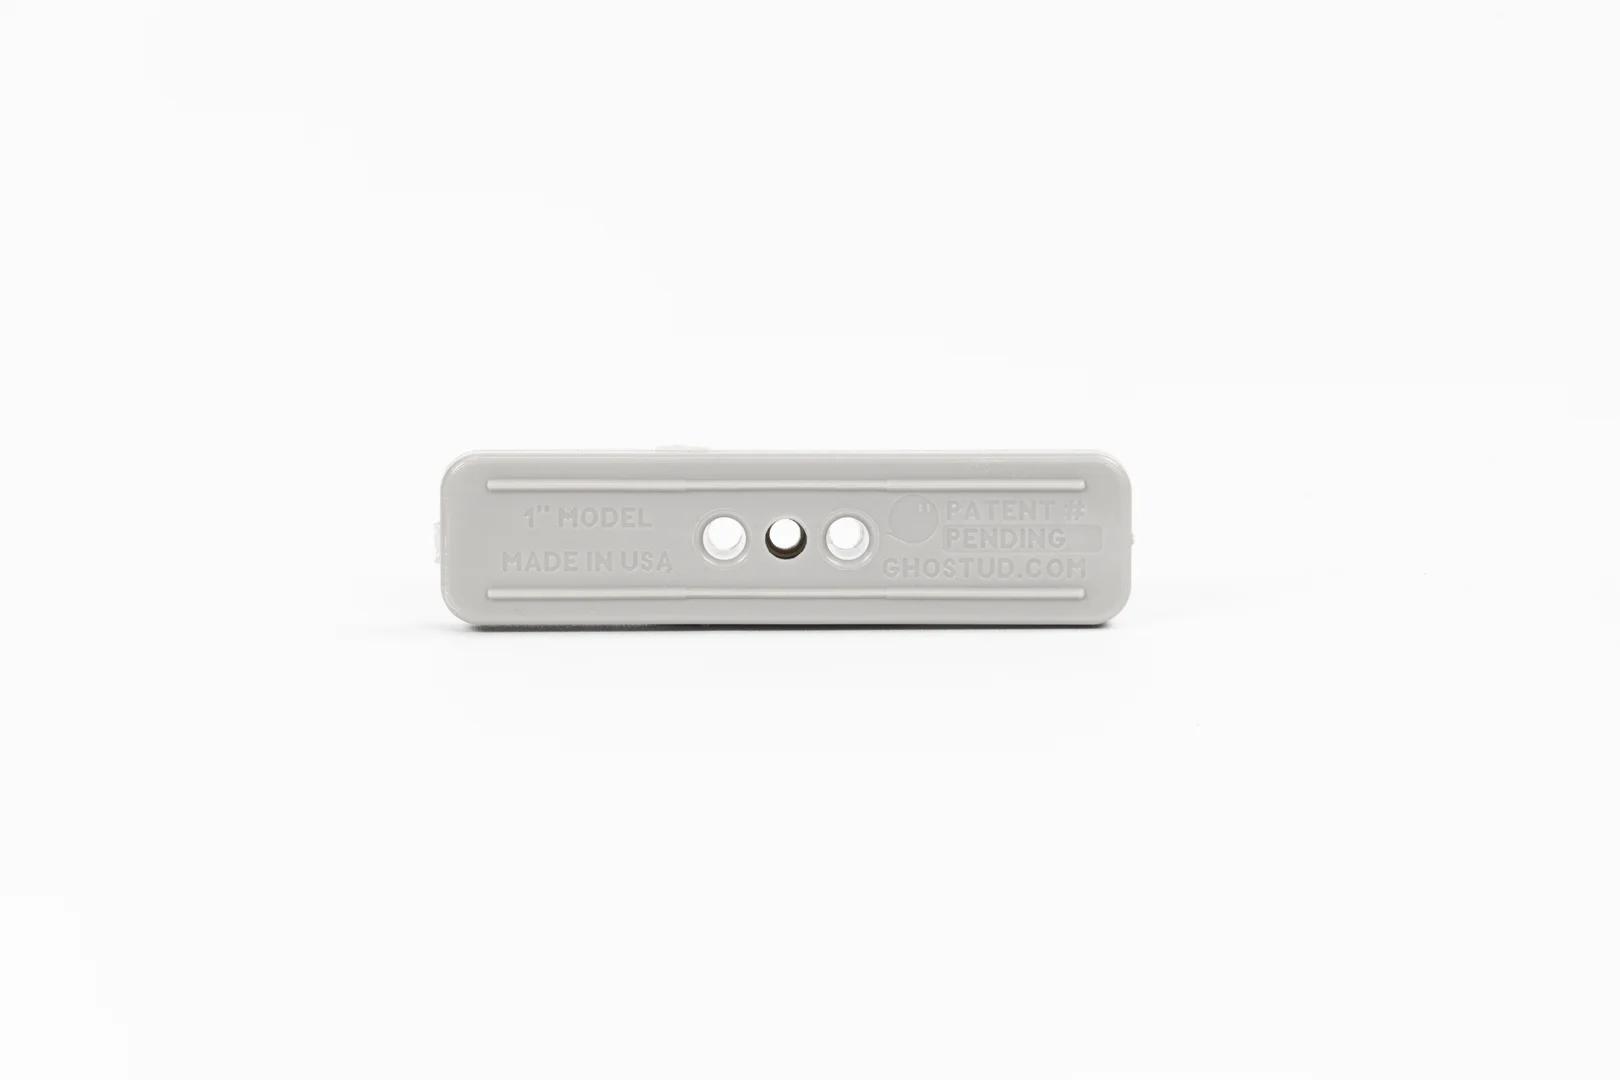
- GS1: Uses a 1-inch hole size; rated up to 250 lb in 1/2 in or 5/8 in drywall; engineered for dynamic and daily-use fixtures such as towel bars, curtain rods, toilet paper holders, picture frames, and light shelving.
- GS2: Uses a 2-inch hole size; rated up to 1,000 lb shear in 1/2 in or 5/8 in drywall; engineered for heavy static loads such as shelving, TVs, cabinets, and mirrors.
Both GS1 and GS2 install with a standard hole saw, are made in the USA from recycled material, and come in 2-packs and 20-packs. The 1,000 lb rating is a shear measurement across the wall plane.
Preventing Wall Damage and Choosing Wall-Specific Solutions
Always check for hidden electrical wiring and plumbing pipes before drilling into any wall. Never drill directly above or below a plumbing fixture or electrical outlet without verifying wall depth.
Surface compatibility guidelines:
- Drywall Only: GHOSTUD GS1 and GS2 anchors are strictly for 1/2 in or 5/8 in drywall.
- Incompatible Surfaces: GHOSTUD is not suitable for plaster, lath, concrete, masonry, brick, stucco, tile over backer board, or metal studs.
- Alternative Wall Types: For brick or poured concrete, use fastening hardware specifically approved for that wall material and follow its manufacturer instructions. For plaster and lath, pre-drill pilot holes through painter’s tape to prevent brittle plaster cracking, and mount into underlying lath framing or studs.
For an independent overview of mounting floating shelves on different wall types, see this wall-specific installation guide.
How to Hang Invisible Shelves: A Complete Step-by-Step Guide
Follow these numbered steps to hang your invisible floating shelves securely on your wall.
How to Hang Invisible Shelves Using Hidden Floating Brackets
- Mark the Height and Centerline: Determine the shelf’s vertical height on the wall. Measure up from the floor, make a light pencil mark, and use your spirit level to draw a crisp horizontal guideline.
- Locate Stud Positions: Run your stud finder across the guideline. Mark the exact center of every stud that intersects your shelf run.
- Align and Mark the Backplate: Hold the metal shelf bracket against the wall along your level guideline. Align the pre-drilled bracket mounting slots over your marked stud centers. Mark the drill hole positions through the bracket slots onto the wall with a pencil. Discover the easiest way to fasten shelves to wall surfaces when laying out multiple brackets.
- Drill Pilot Holes: For stud locations, drill a 1/8-inch pilot hole straight into the center of the wood stud. For hollow 1/2 in or 5/8 in drywall sections where no stud exists, drill appropriate pilot holes or cut anchor openings using the manufacturer’s specified tool.
- Secure the Bracket: Drive wood screws through the bracket into the studs. If mounting into drywall without studs, install your drywall anchors flush and fasten the mounting plate securely.
- Check for Wall Flatness and Shim: Place your level across the projecting bracket rods. If the wall bows outward, the rods will angle downward. Slip thin composite shims behind the lower edge of the bracket backplate until the support rods sit perfectly perpendicular to the wall.
- Slide the Shelf into Place: Align the bored holes on the back edge of the shelf casing with the bracket rods. Push the shelf firmly toward the wall until the back edge sits completely flush against the drywall.
- Lock the Underside Set Screws: Thread the small set screws into the pre-drilled holes on the bottom of the shelf. Tighten them firmly against the internal steel rods to lock the shelf in place. Follow our detailed walkthrough on how to install floating shelves correctly in 5 steps.
Perfect Leveling and Alignment Techniques
To ensure a clean, professional finish across single or multiple runs:
- Use a Long Level: Always use a 24-inch or 48-inch spirit level rather than a small torpedo level. A longer level catches subtle wall undulations that tilt shelves over long distances.
- Laser Lines for Multi-Shelf Layouts: Set up a self-leveling cross-line laser when hanging stacked tiers. A laser line provides a continuous horizontal and vertical reference for consistent spacing (such as 12 inches between shelves).
- Adjust Cam-Offset Rods: Some commercial floating brackets feature eccentric cam-offset mounting pins. Rotating these pins with a 10 mm spanner adjusts the shelf height up or down by a fraction of an inch after the backplate is screwed in, allowing you to fine-tune alignment.
Special Installations, Corner Mounting, and Wall Repair
Corner Shelf Mounting Considerations
Installing an invisible shelf inside a 90-degree corner adds structural strength because you can anchor into two perpendicular walls.
- Dual Cleat Support: Fasten horizontal support cleats to both walls forming the corner. This supports the rear and side edges of the shelf, dramatically reducing cantilever leverage on the fasteners.
- Locate Corner Framing: Corner junctions always contain stud packs (king and jack studs nailed together). Drive your primary fasteners directly into these corner studs.
- Mitered Joints: If joining two floating shelves at a corner, cut their meeting edges at precise 45-degree angles. Use internal pocket screws or biscuit joints to lock the two shelves together into a single rigid unit.
Removing Invisible Shelves and Repairing Wall Openings
When moving or remodeling, remove hardware properly to preserve wall integrity:
- Loosen Set Screws: Back out the underside set screws completely before pulling the shelf off its rods. Pulling a locked shelf directly off the wall will tear the drywall paper.
- Slide Shelf Off: Pull the shelf casing straight outward horizontally.
- Back Out Fasteners: Unscrew lag bolts or anchor screws from the wall backplate.
- Patch Small Holes: For standard screw holes, use a putty knife to press spackle into the opening, sand flush with 120-grit sandpaper when dry, and paint.
- Patch Large Anchor Holes: If you installed heavy anchors (such as 1-inch or 2-inch drywall anchor cutouts), cut a small square drywall patch or apply self-adhesive fiberglass mesh tape over the opening. Apply two thin coats of joint compound, feathering the edges 6 inches outward. Sand smooth and prime before painting.
Frequently Asked Questions About Invisible Shelves
Can you install invisible shelves on drywall without studs?
Yes, provided you choose the right hardware for the expected load. Cheap plastic expansion anchors surrender almost all structural capacity under the rotational tension of a floating shelf.
For light decorative displays (under 5 lbs), standard anchors work. For heavier items like dishware or books mounted in 1/2 in or 5/8 in drywall, you must use high-capacity drywall anchors designed to handle both rotational pull-out and downward shear forces.
What is the maximum weight capacity of an invisible shelf?
Weight capacity depends on the bracket steel gauge, shelf depth, and wall substrate:
- Into Studs: Follow the shelf-bracket manufacturer’s installation and load guidance for the specific bracket and fasteners.
- Drywall Only: Capacity depends entirely on the anchor system. Never exceed the rated static capacity of your hardware, and calculate total weight including the shelf body itself.
- Shelf Hardware: Do not rely on a light-duty bracket for a heavy shelf load. Match the bracket and fasteners to the shelf depth, contents, and wall material.
Why are my floating shelves sagging forward?
Floating shelves sag for three common reasons:
- Bracket Flex: Thin internal steel rods bend downward under the shelf’s cantilever weight.
- Drywall Core Compression: The bottom edge of the backplate presses into the gypsum core while the top screws pull out slightly under tension.
- Loose Set Screws: If the underside set screws are not fully tightened against the rods, the shelf casing slides forward and tips downward.
To fix sagging on an existing bracket, back out the bracket screws slightly and insert plastic or composite shims behind the bottom edge of the backplate until the support rods tilt slightly upward (about 1 to 2 degrees) to compensate for the load.
Conclusion
Hanging invisible shelves successfully comes down to matching your hardware to your wall material and calculated load. Always anchor directly into a properly located wall stud whenever one is accessible.
When mounting on stud-free sections of 1/2 in or 5/8 in drywall:
- GHOSTUD GS1: 1-inch hole size; rated up to 250 lb in 1/2 in or 5/8 in drywall; for towel bars, curtain rods, and light shelving.
- GHOSTUD GS2: 2-inch hole size; rated up to 1,000 lb shear in 1/2 in or 5/8 in drywall; for heavy static shelving, TVs, cabinets, and mirrors.
Both models require a hole saw for installation and are engineered from recycled material in the USA. For non-drywall surfaces—including plaster, lath, brick, masonry, and concrete—use specialty anchors rated for those specific substrates.
Take your next physical step at the wall: measure your shelf depth, locate your studs, and mark your level line. For deeper insights on stud-free installations, explore our comprehensive guide to mounting floating shelves without studs.