
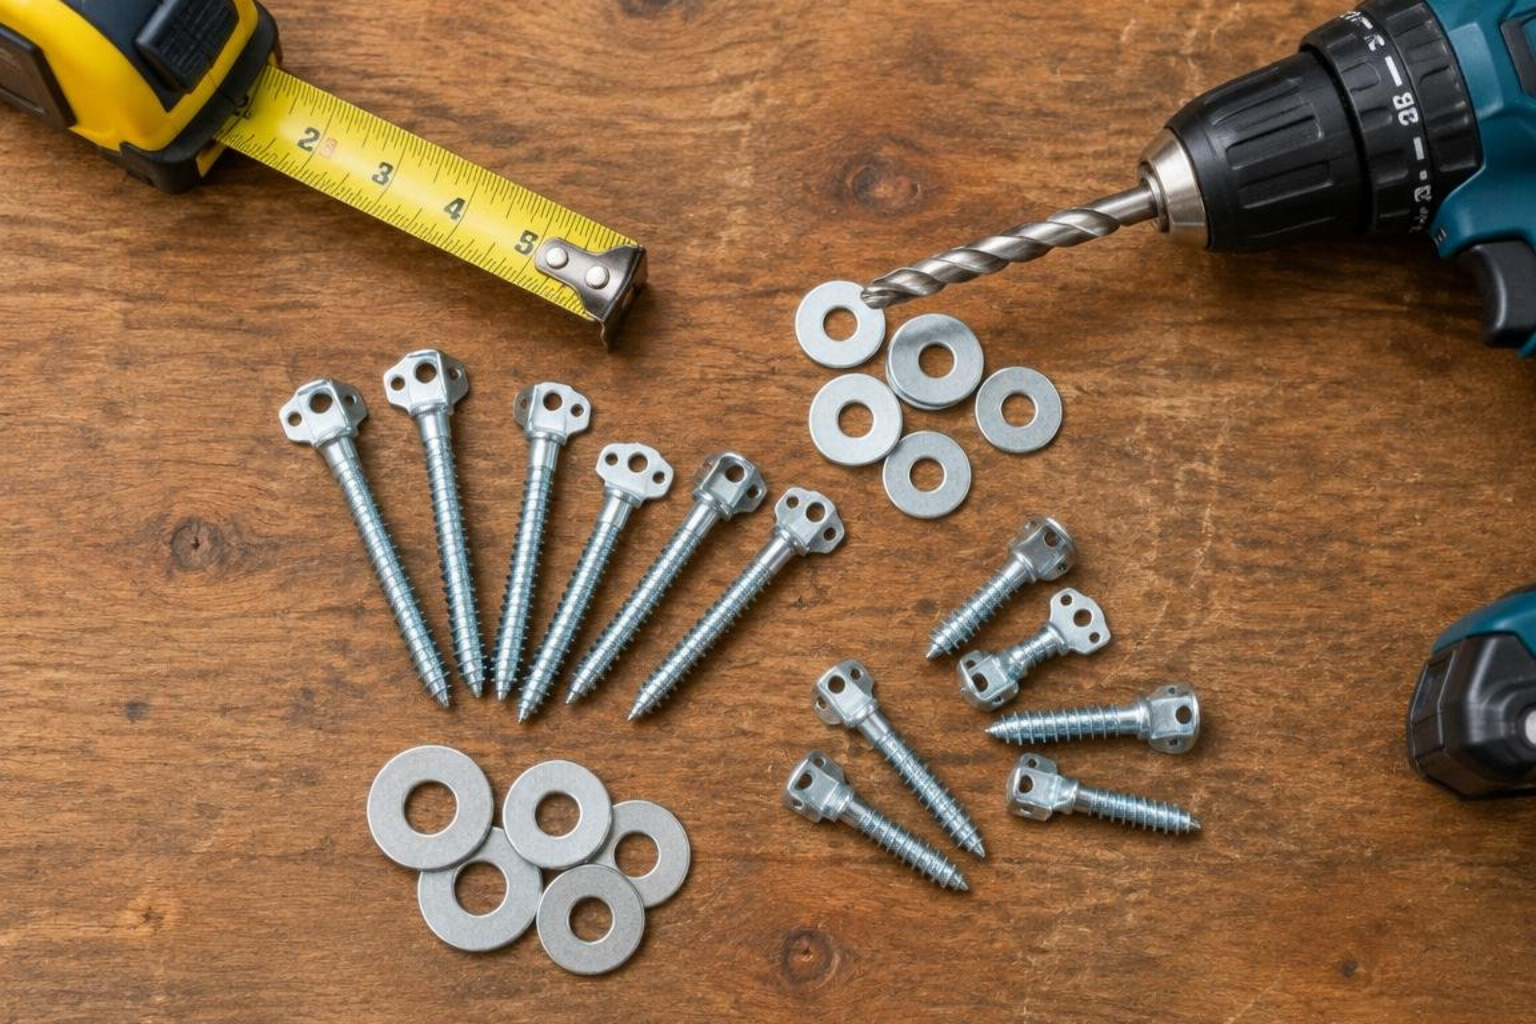
The Right Screws for Hanging Wall Cabinets
Use #8 or #10 washer-head cabinet screws, usually 2-1/2 to 3 inches long. Drive them through the cabinet’s hanging rail into wood studs. Choose a length that reaches at least 1-1/2 inches into the stud after passing through the rail and drywall. Do not use drywall screws to hang cabinets.
Cabinet screws have wide heads that help prevent the rail from pulling over the screw head. The mounting screws also need to resist the cabinet’s downward weight and its pull away from the wall. That is why a standard wood screw with a small countersunk head is not always the right choice.
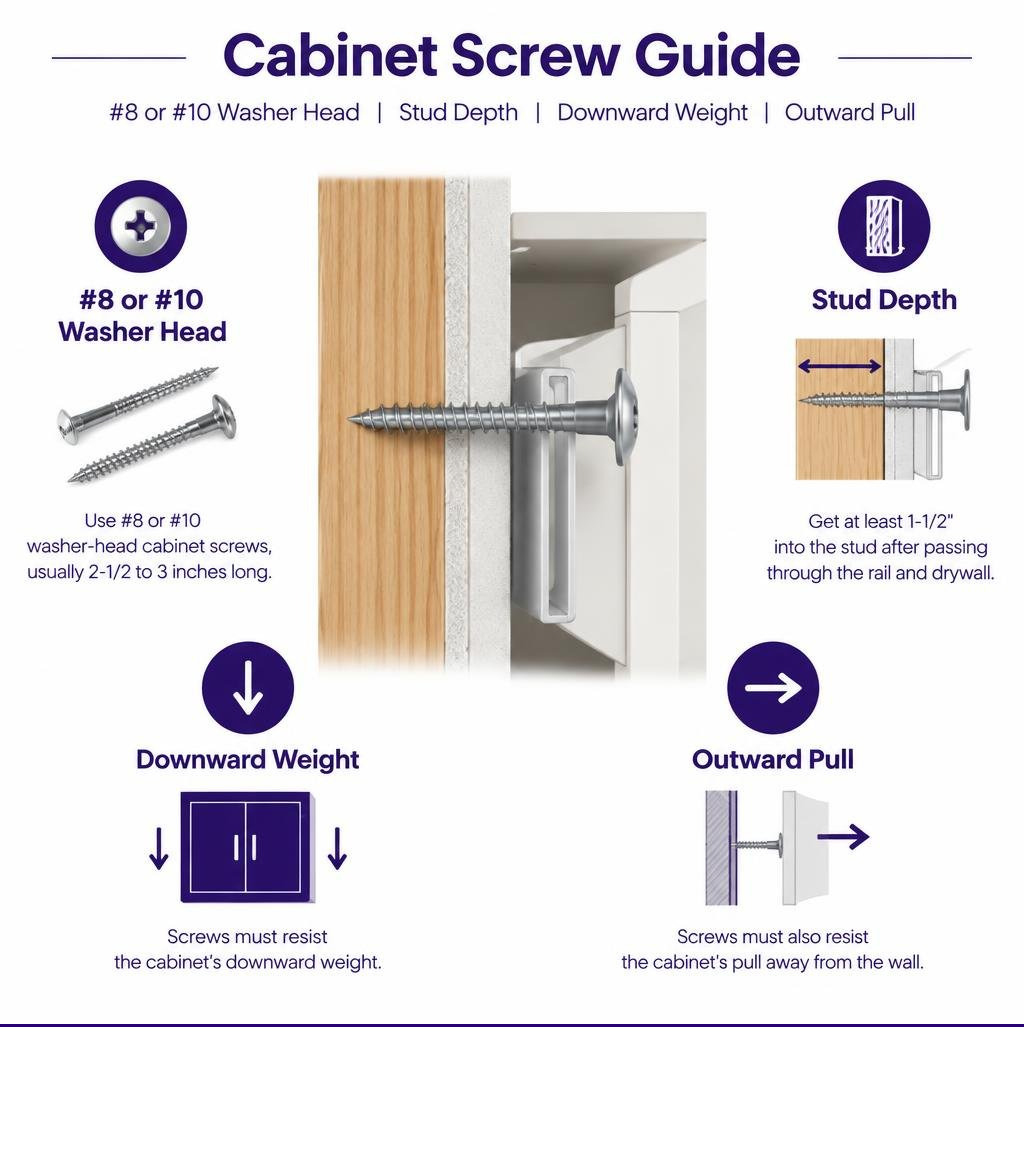
The Anatomy of Cabinet Screws vs. Standard Wood and Drywall Screws
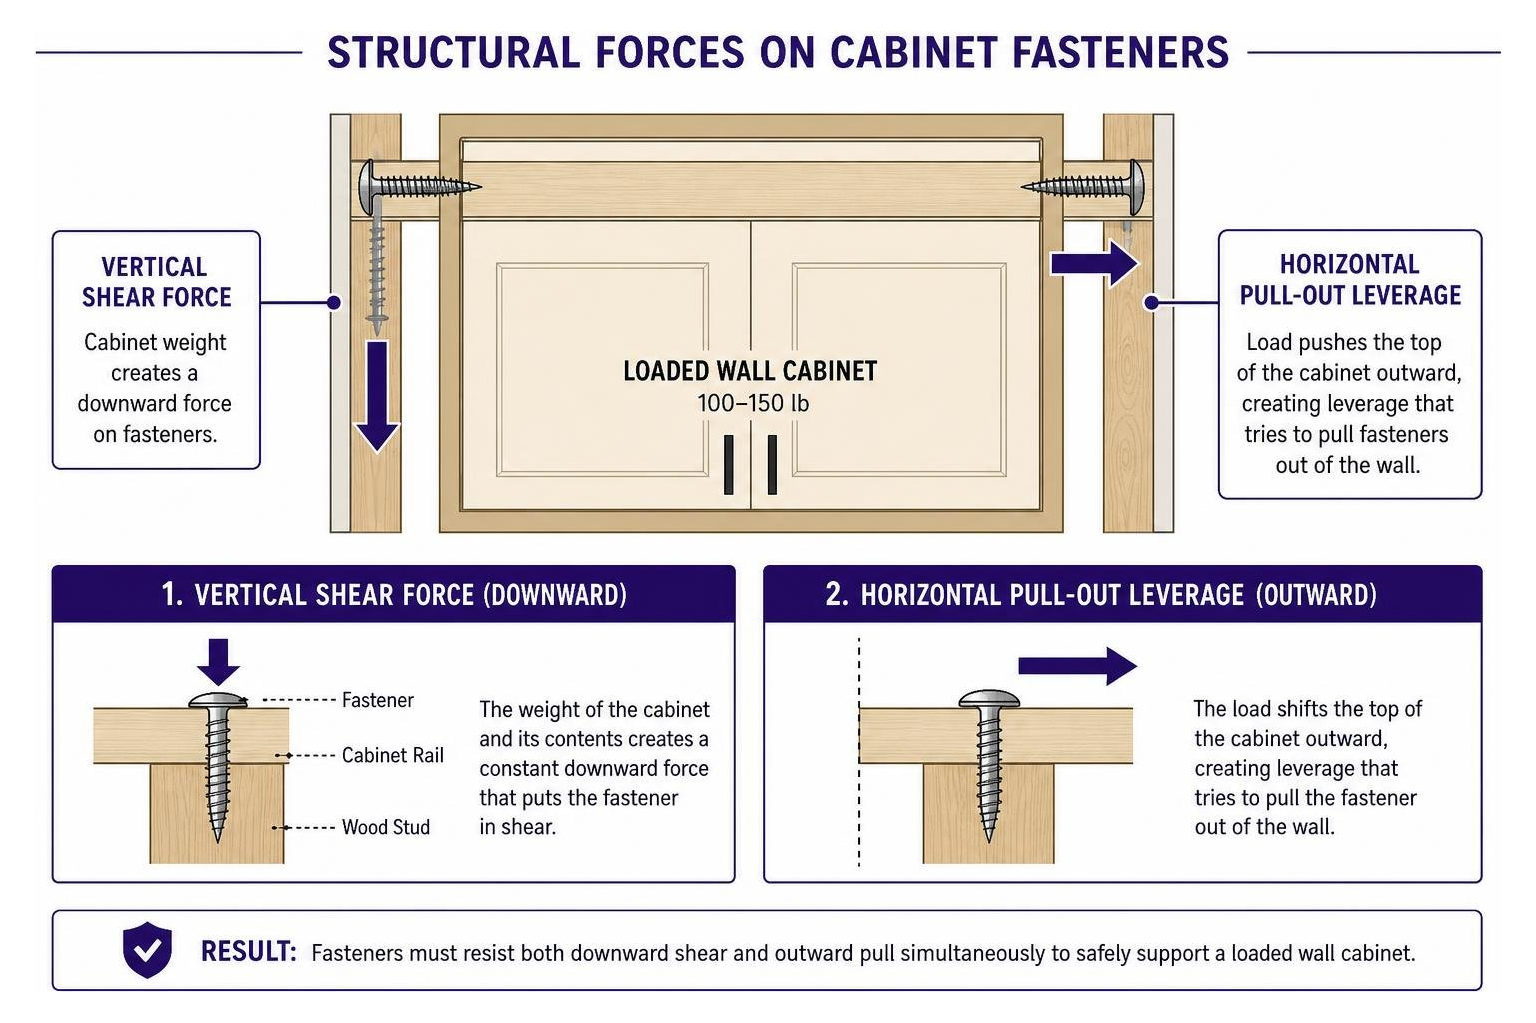
Hanging upper kitchen cabinets puts continuous stress on mechanical fasteners. A standard wall cabinet loaded with dishes easily holds 100 lb to 150 lb of static weight. That load generates two forces: downward vertical shear force and outward horizontal pull-out leverage along the top rail.
To handle these loads, purpose-built cabinet screws use heat-treated, hardened carbon steel. Unlike standard wood screws with tapered bugle heads, dedicated cabinet screws feature integrated washer heads, high shear ratings, and specialized threads. To learn more about various fastener styles, see this complete guide to choosing the right cabinet screw types.
| Screw Type | Standard Gauge | Shear Strength Rating | Head Profile | Primary Failure Risk Under Cabinet Load |
|---|---|---|---|---|
| Cabinet Screws | #8, #10 | High (Hardened Steel) | Large Washer / Round Head | Minimal when sized correctly into studs |
| Standard Wood Screws | #6, #8 | Moderate (Mild Steel) | Countersunk Flat Head | Countersink wedging, splitting rails |
| Drywall Screws | #6, #8 | Extremely Low (Brittle Core) | Bugle Head | Sudden shank snap, head pull-through |
| Deck Screws | #8, #10 | High (Bending/Ductile) | Bugle or Trim Head | Splitting interior hardwoods, undersized head pull-through |
Mounting something heavy where there’s no stud? GHOSTUD® spreads the load across the drywall with a wide backplate instead of relying on the gypsum core. GS1 holds up to 250 lb shear, GS2 up to 1,000 lb. Made in the USA from recycled structural plastic. Shop GHOSTUD® from $16.99 →
Why Drywall and Deck Screws Fail Under Cabinet Loads
Drywall screws are designed for one job: holding lightweight gypsum board flat against wood or steel framing. They are case-hardened to pierce sheetrock quickly, which leaves their core brittle. Under the lateral downward load of a loaded wall cabinet, drywall screws cannot flex. They suffer sudden catastrophic shear failure, snapping clean off at the shank. Furthermore, the small bugle head acts like a wedge, crushing the wood fibers of the hanging rail and pulling straight through the cabinet back.
Deck screws have better ductility than drywall screws, but they are engineered for exterior decking boards. Their bugle heads crush soft cabinet backs, and their aggressive threads can easily split 3/4-inch interior hardwood rails.
Anatomy of the Proper Type of Screws to Hang Cabinets
The correct type of screws to hang cabinets includes distinct engineering features:
- Large Washer or Round Head: Provides a wide bearing surface that clamps the hanging rail tight against the wall without sinking into the wood.
- Torx (Star) or Square Drive: Resists cam-out under high driving torque, preventing stripped drive heads.
- Type 17 Notched Point: Clears wood chips on contact, functioning as a self-tapping point that eliminates wood splitting in most framing timber.
- Smooth Upper Shank: Lets the screw spin freely through the cabinet rail and pull the box flush against the wall stud.
Sizing and Length Calculation for Wall Cabinet Mounting
Never guess the length of your mounting screws. If a screw is too short, it will tear out of the wall stud under load. If it is excessively long (over 3-1/2 inches), you risk piercing plumbing lines or electrical wiring run through the center of 2×4 framing studs.
Calculating Total Screw Length and Stud Penetration Depth
To guarantee structural holding power, your screw must achieve a minimum of 1-1/2 inches of embedment into solid wood framing. Calculate your total screw length using simple addition:
Rail thickness plus drywall thickness plus minimum stud embedment equals target screw length.
- Hanging Rail Thickness: Typically 3/4 inch (solid hardwood or structural plywood).
- Drywall Thickness: Standard residential drywall is 1/2 inch (or 5/8 inch for fire-rated walls).
- Minimum Stud Penetration: 1-1/2 inches into the center of the wooden stud.
Add 3/4 inch for the rail, 1/2 inch for the drywall, and 1-1/2 inches for the stud. That totals 2-3/4 inches. In practice, a 3-inch cabinet screw is the ideal standard size for walls with 1/2-inch sheetrock and a 3/4-inch cabinet back rail. It leaves roughly 1-3/4 inches embedded in structural wood. Review our guide on drywall anchor vs stud support to understand structural framing loads.
Gauge Selection: #8 vs. #10 Screws
For standard upper wall cabinets up to 30 inches tall, #8 gauge washer-head screws provide ample shear capacity when driven into sound framing. For heavy 36-inch or 42-inch solid hardwood upper cabinets, deep pantry units, or installations into softer framing lumber, step up to #10 gauge screws. The larger #10 shank provides increased shear load resistance across the gap created by the drywall layer.
Primary Type of Screws to Hang Cabinets and Assemble Boxes
Hanging cabinets on the wall is only half the job; joining individual cabinet boxes side-by-side forms a continuous, rigid run that distributes heavy static loads evenly across the room.
When connecting individual carcasses, consult this pro sizing chart for attaching cabinets together to ensure your fasteners do not break through exterior finished surfaces.
Fasteners for Face-Frame vs. Frameless European Cabinets
- Face-Frame Cabinets: Clamp the face frame stiles perfectly flush. Drill an 1/8-inch pilot hole through the edge of the first face frame stile, and drive a 2-1/4 inch #8 trim-head or washer-head screw into the adjacent stile. The screw spans the two 3/4-inch stiles (1-1/2 inches total thickness) securely without poking through the front profile.
- Frameless (Euro-Style) Cabinets: Frameless boxes lack front stiles; their side panels (gables) butt directly together. Use 1-1/4 inch to 1-3/8 inch #8 screws driven through existing 5 mm shelf-pin holes, or use dedicated metal binding posts (Chicago bolts) and confirmat screws to clamp the 3/4-inch melamine or plywood side panels without splitting the material.
Thread Pitch and Material Coatings for Diverse Substrates
- Coarse-Thread Screws: Feature deep, wide-spaced threads engineered for softwoods, pine wall studs, MDF, and particleboard. Coarse threads bite deeply into porous fibers without stripping out.
- Fine-Thread Screws: Use tighter thread spacing for dense hardwoods (like solid maple or oak stiles) and heavy-gauge metal studs.
- Zinc-Plated Steel: The standard choice for climate-controlled indoor kitchens and living spaces.
- Stainless Steel or Coated Fasteners: Essential for high-humidity installations, outdoor kitchens, coastal regions, and laundry rooms where moisture can corrode bare carbon steel over time.
Step-by-Step Cabinet Installation and Fastener Best Practices
Follow this step-by-step process to hang upper cabinets securely:
- Locate and Mark Framing Studs: Use a magnetic or electronic stud finder to locate the edges and centers of all wall studs along the run. Mark the stud centers with a pencil at the installation height.
- Install a Temporary Ledger Board: Screw a straight 1×4 or 2×4 level support ledger into the wall studs along your bottom cabinet line. The ledger supports the cabinet weight while you level and fasten the boxes.
- Pre-Drill the Hanging Rails: Measure your stud layout and transfer the marks to the cabinet’s internal structural hanging rails. Drill pilot holes using a 1/8-inch wood drill bit.
- Hang and Shim the First Box: Set the corner or end cabinet onto the ledger board. Drive #8 or #10 x 3-inch washer-head screws through the top and bottom hanging rails into the marked studs. Leave the screws slightly loose, plumb the box with shims behind the rail, and then drive the screws home.
- Join Adjacent Cabinets: Set the next cabinet on the ledger, clamp the face frames together with parallel bar clamps, align the faces, and fasten them together using 2-1/4 inch #8 screws.
- Final Torque Check: Tighten the wall mounting screws until the washer head sits firmly flat against the rail. Do not overdrive the fasteners.
Selecting the Right Type of Screws to Hang Cabinets by Wall Material
When mounting into standard wood studs, use self-tapping cabinet screws with washer heads. For heavy installations, our guide on how to mount heavy shelves safely provides detailed insights into structural load dynamics.
- Wood Framing: Always use #8 or #10 washer-head structural cabinet screws with at least 1-1/2 inches of stud penetration.
- Pre-Drilling Rule: Pre-drill dense hardwood hanging rails and stiles to 70–80% of the screw’s core shank diameter. Pre-drill softwood or MDF to 90% to avoid edge blowouts.
- Torque Setting: Set your drill clutch to medium-high (20–25 in-lb for #8 screws). Stop driving as soon as the washer head seats firmly against the rail surface.
How to Handle Non-Stud Locations and Structural Gaps
Always anchor kitchen cabinets directly into wooden wall studs whenever framing is available. However, in wide cabinet runs, you may encounter layout gaps where one side of a cabinet does not land over a wall stud.
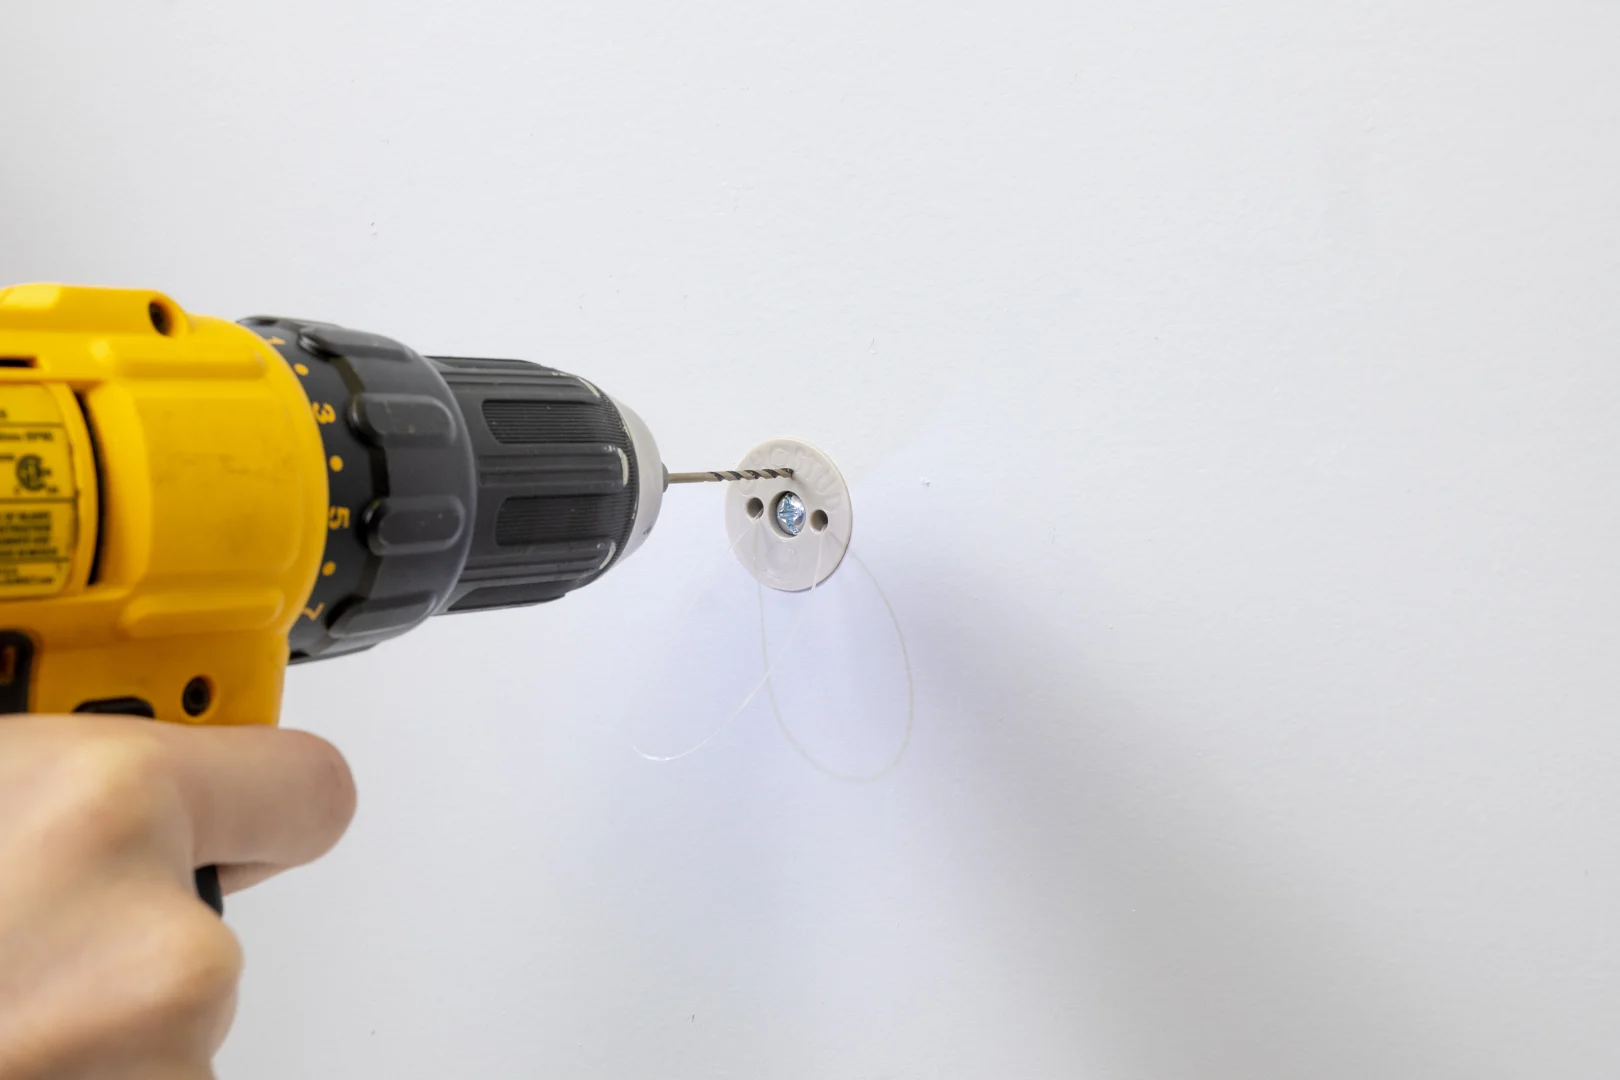
If cyclic loading from slamming cabinet doors repeatedly stresses a hollow-wall mounting point, the gypsum core can crush and the mounting hole can wallow out over time. For hollow wall spans on eligible drywall, GHOSTUD manufactures a high-capacity anchor. The GS2 anchor requires a 2-inch hole saw, installs into 1/2-inch or 5/8-inch drywall, and is rated up to 1,000 lb shear. It uses a patented load-distribution flange made from 100% recycled plastic in the USA to bridge the gypsum without crushing the face paper.
When not to use a drywall anchor:
- If an accessible wooden wall stud is available at your mounting point, always drive a structural cabinet screw directly into the stud instead of using an anchor.
- Do not use drywall anchors for loads under 5 lb where basic picture hardware suffices.
- Drywall anchors are strictly for 1/2-inch or 5/8-inch drywall. They are not suitable for plaster, lath, concrete, masonry, brick, stucco, tile over backer board, or metal studs. For those surfaces, use dedicated fasteners rated for that specific material.
For complete performance specifications, read our strongest drywall anchor shear ratings guide.
Frequently Asked Questions About Hanging Cabinets
Do I need to pre-drill pilot holes for cabinet installation screws?
Pre-drilling is highly recommended when driving screws through solid hardwood hanging rails, MDF, or near the outer edges of face-frame stiles. Even if using modern self-tapping cabinet screws with Type 17 cutting points, drilling an 1/8-inch pilot hole through the cabinet’s internal rail prevents wood splitting and ensures the screw runs straight into the wall stud.
How many screws are required per wall cabinet?
Install a minimum of four screws per wall cabinet up to 30 inches wide: two screws driven into each stud through the upper structural hanging rail, and two screws through the lower rail. For cabinets wider than 30 inches that span three studs, drive at least six screws total (two per stud across the upper and lower rails) to evenly distribute downward weight and pull-out stress.
What screw size is needed for cabinet hinges and drawer slides?
For mounting concealed Euro hinges and drawer slide hardware to internal cabinet carcasses, use #6 gauge screws with lengths between 1/2 inch and 5/8 inch. Use flat-head or deep-thread Pozi/Phillips screws designed to seat flush inside the hardware mounting holes without interfering with moving parts or poking through 3/4-inch side panels.
Conclusion
Securing heavy wall cabinets requires fasteners engineered to handle demanding shear and tension loads. Never substitute brittle drywall screws or wedge-headed deck screws for dedicated hardware. Use #8 or #10 washer-head cabinet screws that penetrate a full 1-1/2 inches into solid wood framing studs.
Take your tape measure and stud finder to the wall right now. Mark your stud centers, verify your hanging rail thickness, and select the correct screw length before hanging your first cabinet box. For specialized anchoring situations, explore our comprehensive drywall anchor types guide.
Mount it once, mount it right. Compare GS1 and GS2 →