
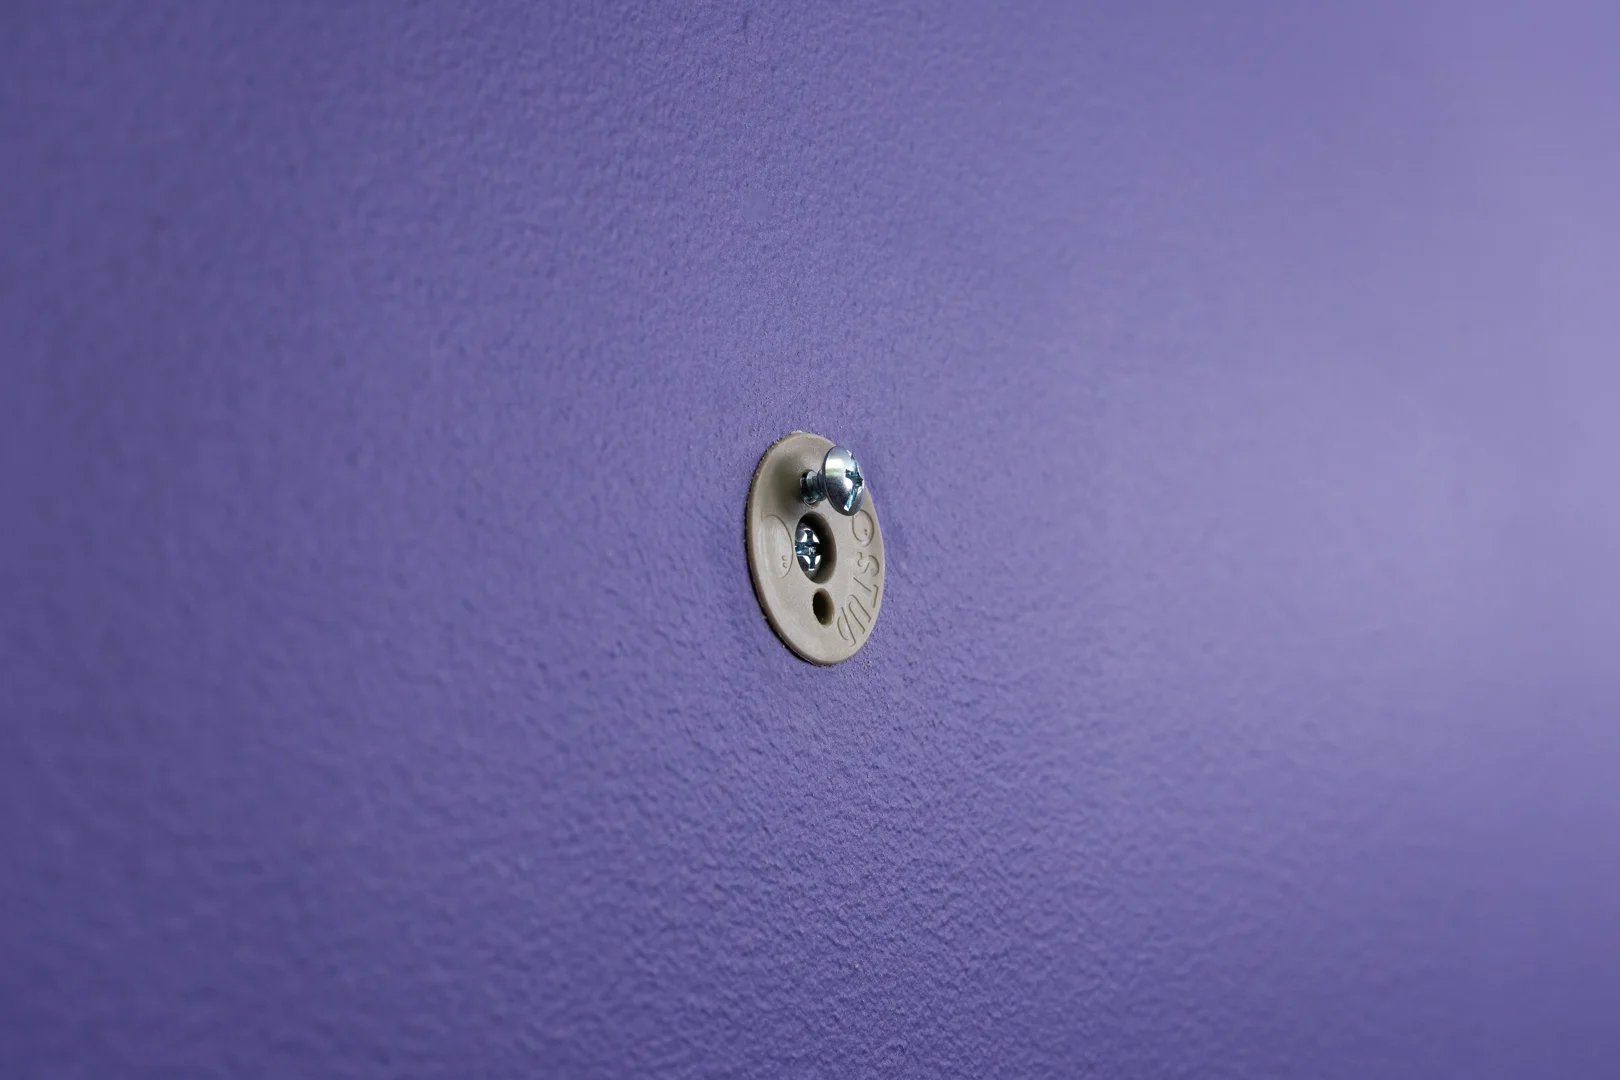
How to Install Wall Anchors Without a Drill on a Budget
Install Wall Anchors Without a Drill Using Simple Hand Tools
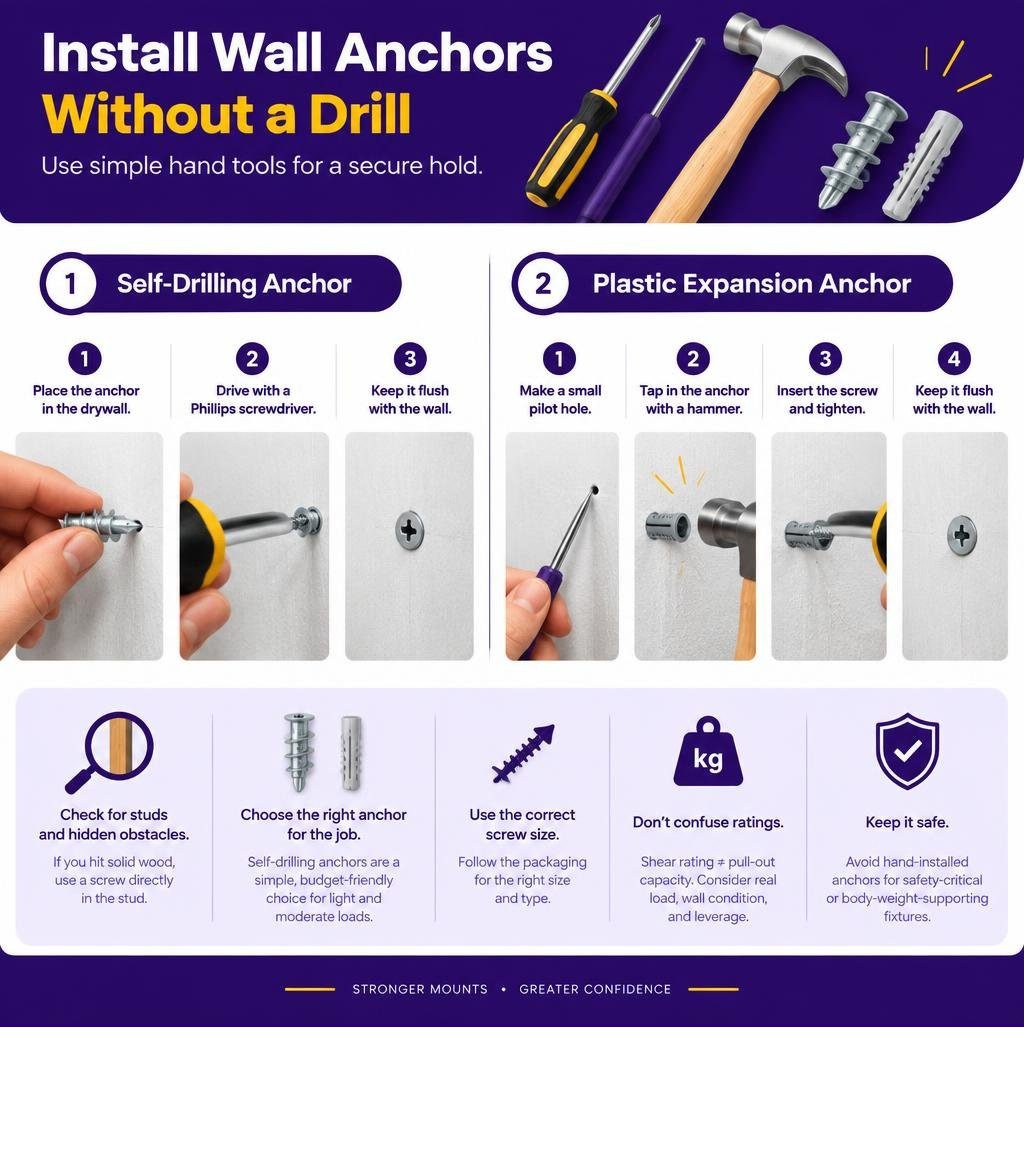
You can install many drywall anchors without a power drill. Use a self-drilling anchor with a Phillips screwdriver, or make a small pilot hole with an awl or nail, then tap in a light-duty plastic expansion anchor with controlled hammer strikes. Keep the anchor flush with the drywall, use the screw size listed on its package, and stop tightening once the item is secure.
For how to insert wall anchors without a drill, start by checking for a stud and hidden obstacles. If you hit solid wood, do not force an anchor into it; use a suitable screw directly in the stud instead. Self-drilling anchors are usually the simplest budget choice for light and moderate drywall mounting. Plastic sleeve anchors work for lighter items, but only if the hand-made pilot hole is slightly smaller than the anchor body.
Do not treat an anchor’s published shear rating as its pull-out capacity. A picture frame hangs mostly downward in shear, while a shelf, deep hook, or other item that projects from the wall also pulls outward and adds leverage. Choose hardware well above the real load, account for the condition of the drywall, and avoid using hand-installed anchors for safety-critical or body-weight-supporting fixtures.
Discover more about how to insert wall anchors without a drill:
- how to install anchors into drywall without a drill
- how to use a wall anchor tool
- how to insert an anchor into wall
Anchor Types and Tools for Drill-Free Wall Mounting
Selecting Compatible Anchor Types for Drywall
Drywall consists of a brittle gypsum core sandwiched between two structural paper faces. Standard drywall thickness in modern construction is 1/2 inch or 5/8 inch, with standard stud spacing typically set at 16 or 24 inches on center. When a stud is unavailable, anchors create a mechanical grip against the gypsum core or the rear paper face.
Reviewing a detailed guide to different drywall anchor varieties helps you identify the best hardware for manual installation:
- Self-Drilling (Threaded) Anchors: These fasteners feature a sharp, pointed tip and deep, wide exterior threads. They require no pre-drilled pilot hole. The wide outer threads displace and compact the gypsum core as you drive them in with a manual screwdriver.
- Plastic Expansion (Ribbed) Anchors: These smooth or ribbed plastic sleeves require a tight, narrow pilot hole. As the mounting screw threads inside, it forces the split plastic legs outward against the gypsum walls. They rely strictly on friction and core compression.
- Hollow-Wall Fasteners (Spring Toggle Bolts): These assemblies consist of a threaded machine bolt and a spring-loaded metal wing set. Once pushed through the wall, the spring wings snap open behind the rear drywall surface, distributing tension across a broader surface area on the back face of the sheet.
Essential Hand Tools: How to Insert Wall Anchors Without a Drill on Drywall
Installing wall hardware manually requires basic hand tools:
- Phillips Screwdriver (#2): Serves as the primary drive tool for self-drilling anchors and mounting screws.
- Scratch Awl or Punch: Pierces the front paper facing and establishes a controlled starter hole without cracking the surrounding gypsum.
- Claw Hammer: Provides light, controlled impact to seat expansion sleeves flush against the outer wall board.
- Common Framing Nail (8d or 10d): Functions as a manual punch to create sized pilot holes for plastic sleeves when an awl is unavailable.
- Utility Knife: Useful for scoring drywall paper, deburring ragged edges, or enlarging clearance openings. Reviewing practical tips on putting anchors in walls ensures you keep your workspace tidy.
Step-by-Step Guide: How to Insert Wall Anchors Without a Drill
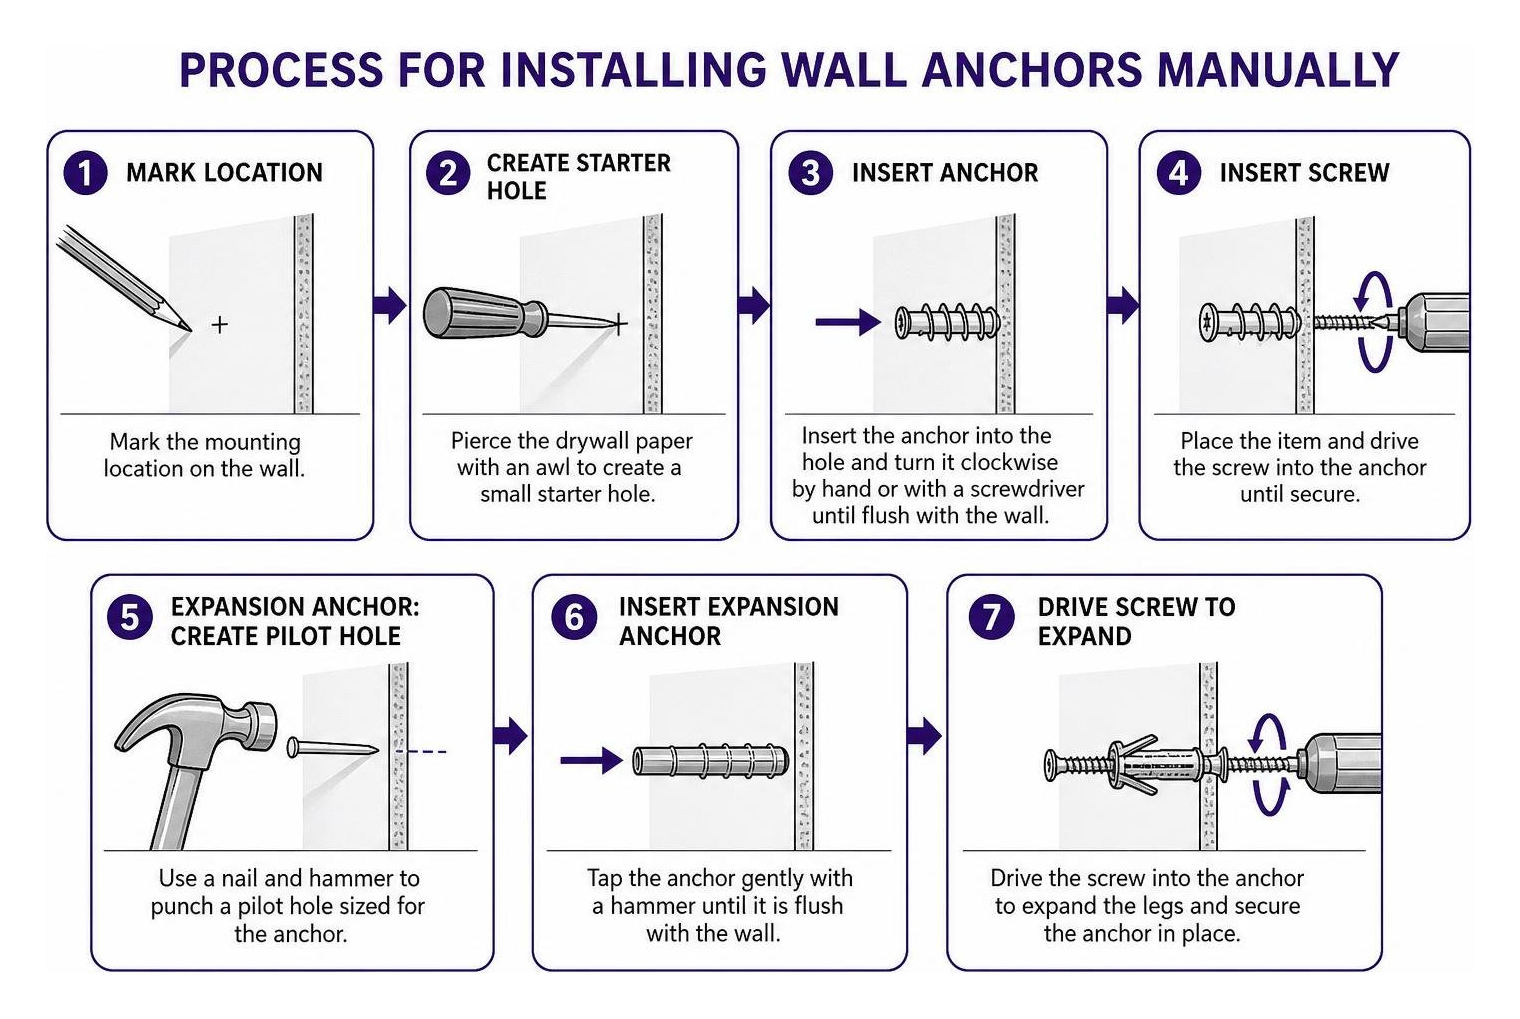
Method 1: How to Insert Wall Anchors Without a Drill Using Self-Drilling Hardware
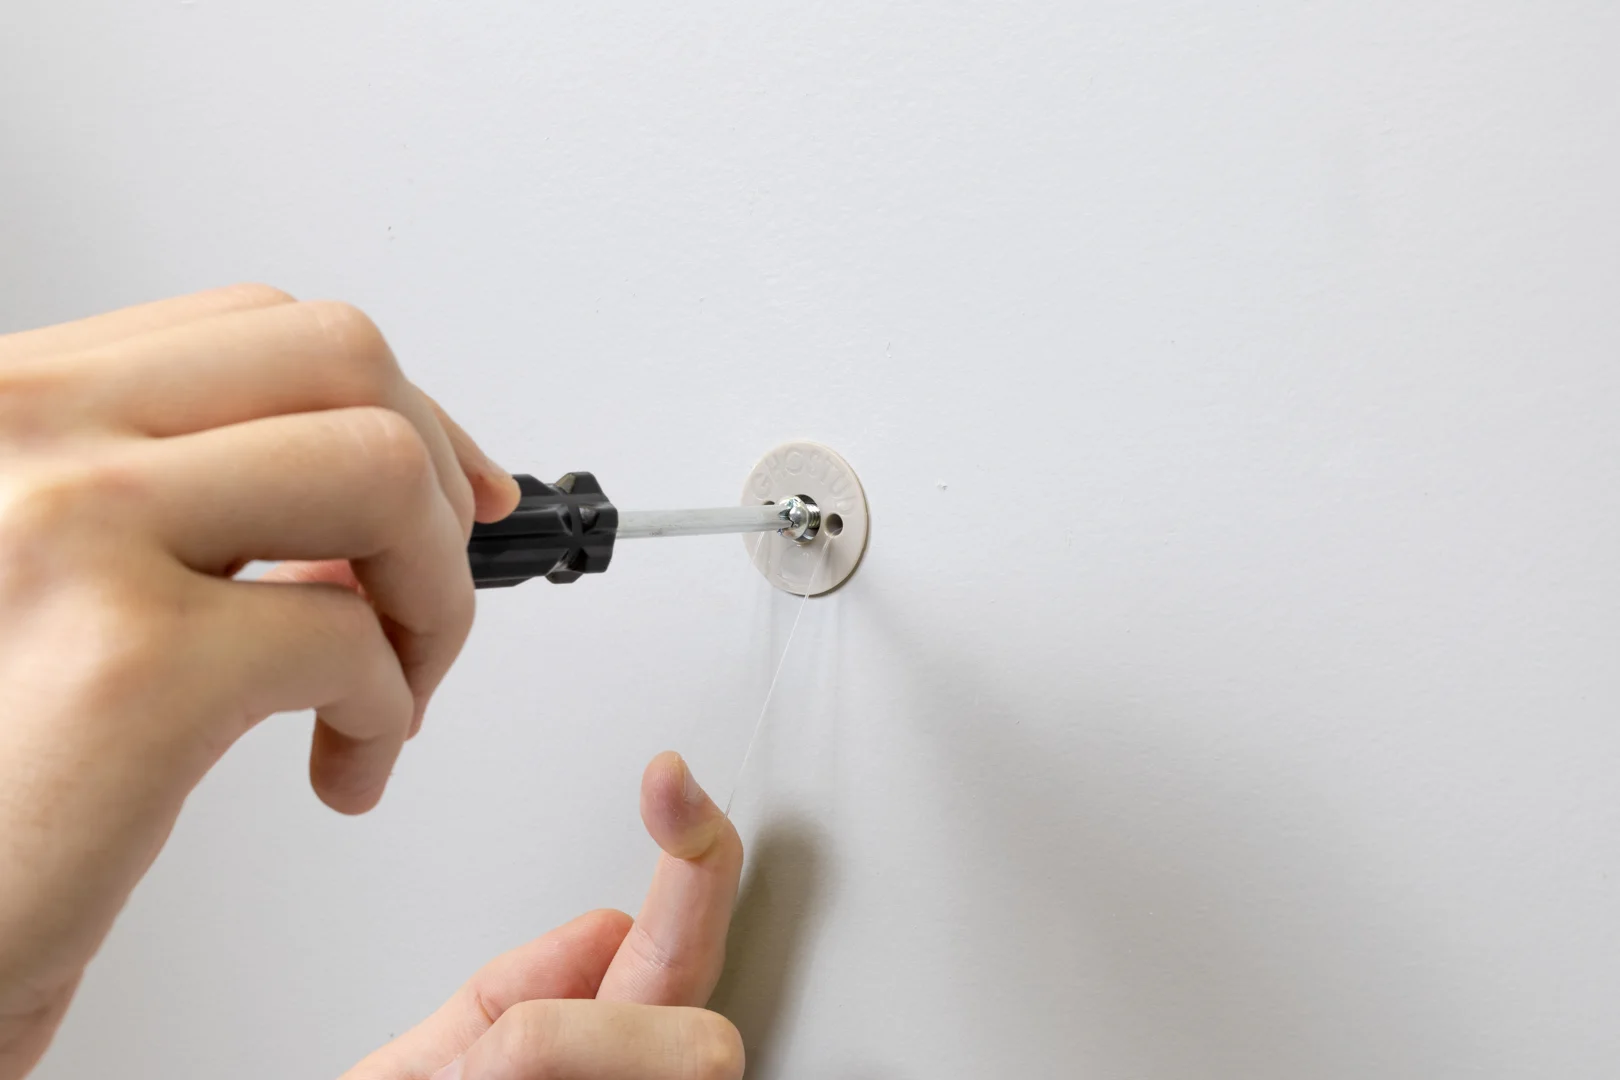
Self-drilling anchors are the most reliable option when you do not own a power drill. Follow these steps for manual installation, making sure to consider how to choose anchors for specific weight loads:
- Mark the Target Point: Measure your mounting location and place a distinct pencil mark on the drywall.
- Create a Starter Indentation: Take a #2 Phillips screwdriver or an awl and press the tip firmly into the pencil mark. Rotate it by hand to pierce the outer paper layer. This prevents the wide threads from wandering across the wall surface.
- Align the Fastener: Seat the pointed tip of the self-drilling anchor squarely into the starter dimple at a 90-degree angle to the wall plane.
- Apply Axial Pressure and Rotate: Press firmly inward toward the wall while turning the screwdriver clockwise. Do not let the tip slip out of the head. Maintain constant forward pressure until the wide cutting threads bite into the gypsum core.
- Seat Flush: Continue driving until the collar rests flush against the drywall surface. Stop turning immediately once the flange touches the wall. Over-rotating will strip the soft gypsum core, destroying the mechanical threads and rendering the anchor useless.
- Drive the Screw: Position your fixture over the anchor opening, insert the included screw, and tighten until snug.
Method 2: Installing Basic Plastic Anchors with an Awl or Nail
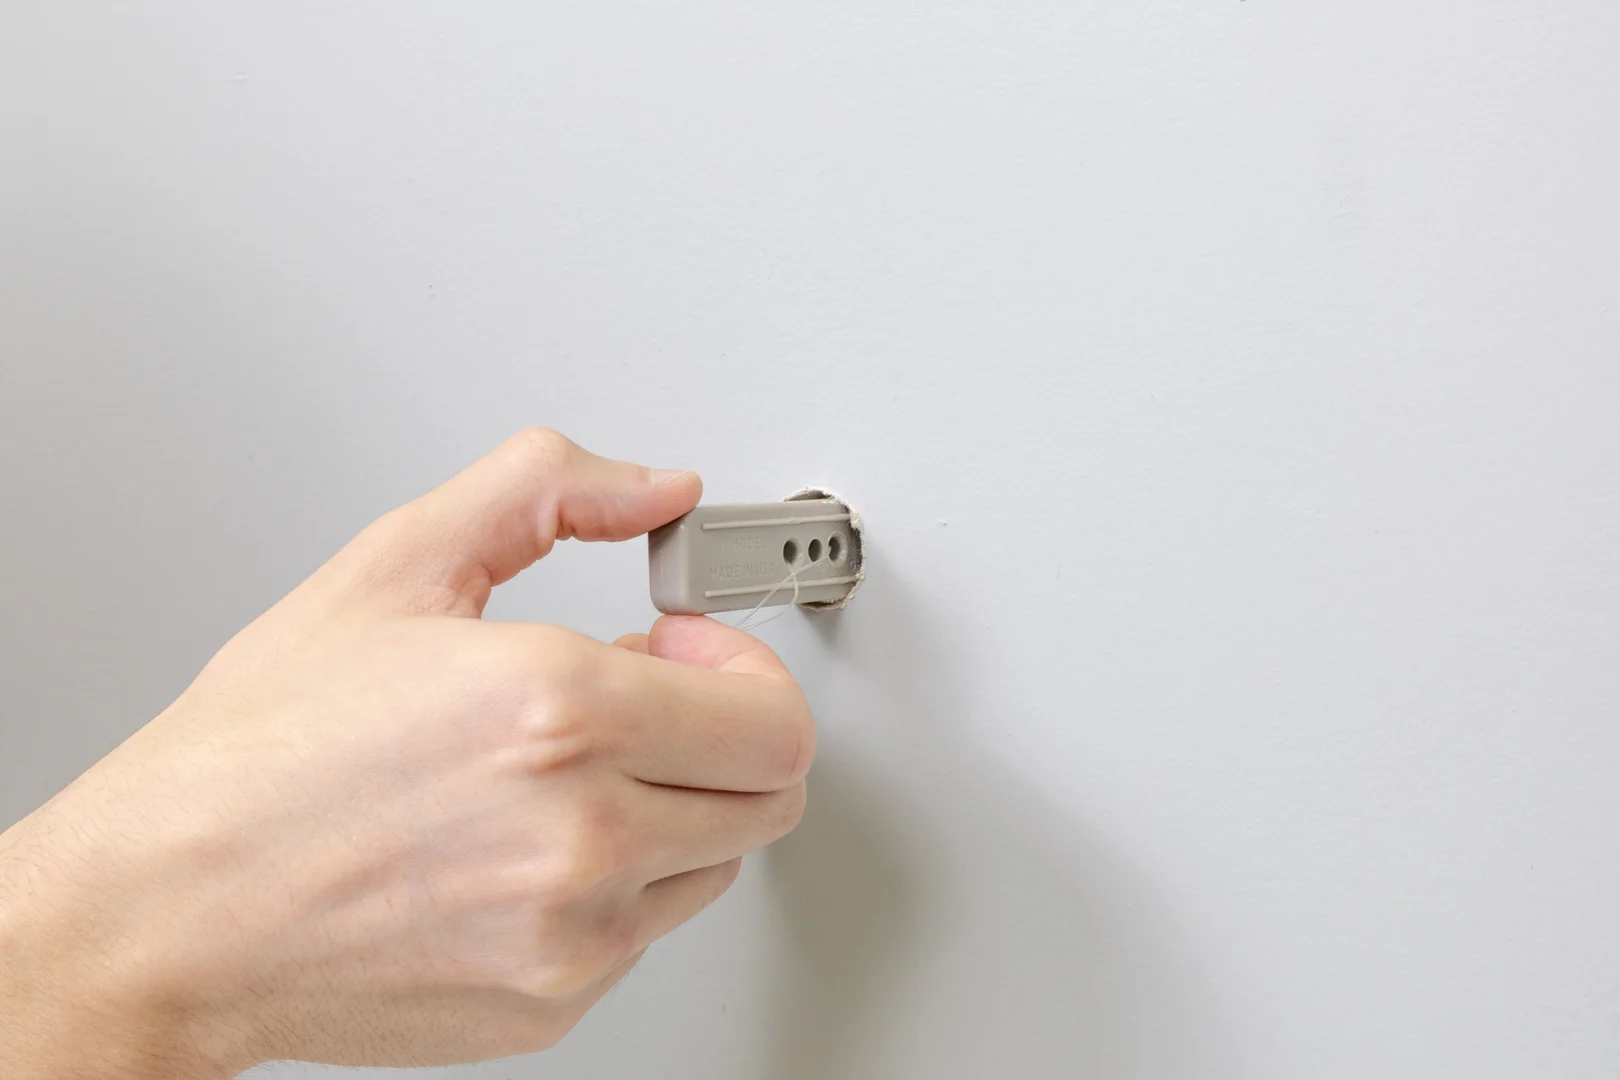
Standard plastic expansion sleeves require a pilot hole sized slightly smaller than the sleeve shank. When drilling is not an option, use these proven manual insertion techniques:
- Punch the Pilot Hole: Position the point of an awl or a clean finishing nail against your pencil mark. Tap the back of the tool lightly with a hammer until it punctures the 1/2-inch or 5/8-inch gypsum wallboard.
- Size the Aperture: Rotate the awl manually in a circular motion to widen the opening. Test-fit the tip of the plastic anchor; the hole must be just wide enough to accept the tapered lead of the sleeve while remaining snug around the main body.
- Insert the Sleeve: Push the anchor into the hole by hand.
- Tap to Flush: If resistance prevents full manual insertion, tap the head gently with a hammer. Keep strikes square to avoid bending or crushing the plastic collar. Stop when the rim is perfectly flush with the wall.
- Fasten the Object: Drive the mounting screw into the plastic sleeve. The expanding screw forces the split halves of the plastic sleeve outward against the compacted gypsum.
Method 3: Inserting Hollow-Wall Fasteners Manually
When mounting heavier items without a drill, spring-loaded toggle bolts provide strong resistance by clamping the back paper face. For step-by-step guidance, review manual drywall anchoring solutions:
- Mark and Punch: Create a centered starter punch through the drywall using an awl.
- Ream the Clearance Hole: Toggle bolts require a wider aperture (typically 3/8-inch to 1/2-inch) to allow the folded spring wings to pass through. Insert the tip of a utility knife or a broad Phillips screwdriver and rotate it carefully to carve away the gypsum core until the hole reaches the required clearance diameter.
- Assemble the Hardware: Thread the bolt through the mounting hole of the bracket or item you intend to hang, then thread the spring wing onto the bolt tip with the wings folding backward toward the screw head.
- Insert the Wings: Squeeze the spring wings flat between your fingers and push the assembly through the reamed opening.
- Engage the Back Face: Push until you hear and feel the wings snap open inside the wall cavity. Pull outward on the bolt head to seat the metal wings firmly against the back of the drywall.
- Tighten the Bolt: Maintain continuous outward pulling tension with your fingers while turning the bolt clockwise with your screwdriver until the assembly clamps tight against the wall.
Weight Limits, Safety Factors, and Wall Material Limitations
Understanding wall anchor capacities requires examining how force moves through gypsum. Drywall fails in specific, predictable mechanical modes:
- Core Crushing: Soft gypsum crumbles under excessive downward localized pressure, allowing the fastener shank to cut downward through the sheet like a cheese wire.
- Cone Blowout: When subjected to direct outward tension, the rear paper face tears, pulling a conical plug of gypsum out from the wall.
- Torsional Stripping: Excessive rotational force during installation strips the internal drywall threading, leaving the anchor loose before a load is even attached.
Published manufacturer ratings represent maximum ultimate failure points under laboratory conditions. In practical applications, apply a standard safety factor by using no more than 25 percent of the total rated weight capacity.
| Anchor Type | Installation Method | Working Shear Load (1/2″ Drywall) | Mechanical Grip Mechanism |
|---|---|---|---|
| Plastic Ribbed Sleeve | Manual Awl/Nail Punch | 2 to 5 lbs (up to 10 lbs/pair) | Lateral friction and radial expansion against gypsum core |
| Self-Drilling Nylon/Zinc | Manual Screwdriver | 5 to 15 lbs (rated up to 50–75 lbs shear) | Thread compaction through front face and gypsum core |
| Spring Toggle Bolt | Manual Knife Reaming | 15 to 30 lbs (rated up to 50–100 lbs shear) | Mechanical clamping against the rear drywall paper face |
Note: All published weight ratings describe static vertical shear capacity (downward force flat against the wall). They do not equal pull-out capacity. Cantilevered fixtures (such as deep shelves or swinging brackets) convert vertical downward weight into rotational leverage, creating outward tensile pull that significantly lowers the allowable load.
Wall Material Constraints
These manual techniques are designed strictly for standard drywall.
- Plaster and Wood Lath: Plaster is hard, brittle, and backed by solid horizontal wood laths. Pounding an awl or nail into plaster will shatter the plaster matrix, causing the finish coat to detach from the lath without creating a secure opening.
- Concrete, Brick, and Masonry: Solid masonry walls cannot be penetrated with hand-driven drywall hardware. Forcing plastic or self-drilling anchors into brick or masonry without a hammer drill and masonry bit will break the fastener.
Troubleshooting Common Mistakes and Safe Anchor Removal
Manual installations can sometimes encounter issues. Here is how to address common problems:
- Anchor Spins Freely in the Hole: This occurs when the gypsum core strips from over-tightening.
- Fix: Back out the center screw. If you have wall clearance, insert a wider-diameter toggle bolt that clamps behind the board. If not, remove the loose anchor, patch the damaged spot with spackling paste, sand it smooth, and reinstall a fresh anchor at least 2 inches away.
- Hitting a Stud Unexpectedly: If you meet hard, unyielding resistance after penetrating 1/2 inch, you have hit a framing stud.
- Fix: Do not force a drywall anchor into solid wood; the anchor will crush or snap. Back out the anchor and drive a standard wood screw directly into the stud.
- Drywall Paper Tears or Bulges: Pushing too hard with an unthreaded anchor can cause the outer paper to tear or bubble outward.
- Fix: Slice away the raised torn paper with a sharp utility knife, seat the anchor collar flush, and touch up with spackle before final fastening.
Removing Drywall Anchors Safely
When moving or redecorating, remove hand-installed anchors using one of two techniques:
- Pliers Extraction (Sleeve & Self-Drilling): For plastic expansion sleeves or threaded anchors, unthread the mounting screw completely. Insert the tips of needle-nose pliers into the mouth of the anchor (or grip the outer rim), pull gently outward, and unscrew threaded anchors counter-clockwise.
- Push-Through Method (Hollow-Wall & Stubborn Sleeves): If a plastic sleeve resists pulling, place the tip of a Phillips screwdriver against the anchor head and tap it with a hammer to push the body into the hollow wall cavity. It will drop harmlessly to the bottom plate, leaving a clean hole ready for spackle.
Frequently Asked Questions About Manual Wall Anchoring
Can you install GHOSTUD anchors without a power drill?
No. GHOSTUD anchors are heavy-duty structural drywall anchors designed exclusively for drywall applications and require cutting a precise circular opening using a hole saw (a 1-inch hole saw for GS1 or a 2-inch hole saw for GS2). Because of the torque and precision needed to cut clean 1-inch or 2-inch diameter holes through gypsum wallboard, GHOSTUD anchors require a power drill or driver. Furthermore, GHOSTUD anchors are designed specifically for 1/2-inch or 5/8-inch drywall and are not suitable for plaster, masonry, concrete, or metal framing.
What should you do if an anchor hole becomes oversized?
If you enlarge a pilot hole too much while reaming by hand, a standard plastic expansion anchor will spin and pull out immediately. You have two options:
- Upgrade to a Toggle Mechanism: Switch from an expansion sleeve to a spring-loaded toggle bolt. Toggle wings bridge large holes because the clamping force is applied against the rear drywall face rather than within the hole walls.
- Patch and Relocate: If toggle hardware is not practical, patch the oversized hole with compound and set a new anchor a few inches away into undamaged drywall.
How much shear weight can manual drywall anchors hold safely?
Under manual installation, light-duty plastic expansion sleeves support 2 to 5 lbs of safe working shear load, while self-drilling drywall anchors support 5 to 15 lbs of safe working shear load in standard 1/2-inch drywall. While self-drilling anchors can carry maximum static shear loads up to 50 to 75 lbs under optimal conditions, always apply a 25 percent safety factor. Dynamic forces (vibrations, pulling, or pushing) and cantilevered loads (depth leverage) reduce these thresholds.
Conclusion
Manual installation allows you to hang artwork, mirrors, and light decorative fixtures securely using tools you likely already have at home. By selecting self-drilling hardware or preparing clean pilot holes with an awl and hammer, you achieve stable holding power in drywall without buying power tools.
When your mounting project exceeds the structural capacity of basic hand-installed anchors, heavier mounting hardware is necessary. For medium-to-heavy fixtures where framing studs are inaccessible, our engineered solutions distribute force across broad drywall areas: the GHOSTUD GS1 supports up to 250 lb shear in 1/2-inch or 5/8-inch drywall using a 1-inch hole saw, while the GS2 supports up to 1,000 lb shear in 1/2-inch or 5/8-inch drywall using a 2-inch hole saw. These ratings apply specifically to vertical shear loads flat against the wall, not direct outward pull-out tension.
If you encounter solid wall framing studs, always fasten directly into the wood framing rather than using hollow-wall fasteners. For comprehensive instructions on heavy-duty mounting, refer to our complete installation guide.