
Install a Drywall Anchor by Hand
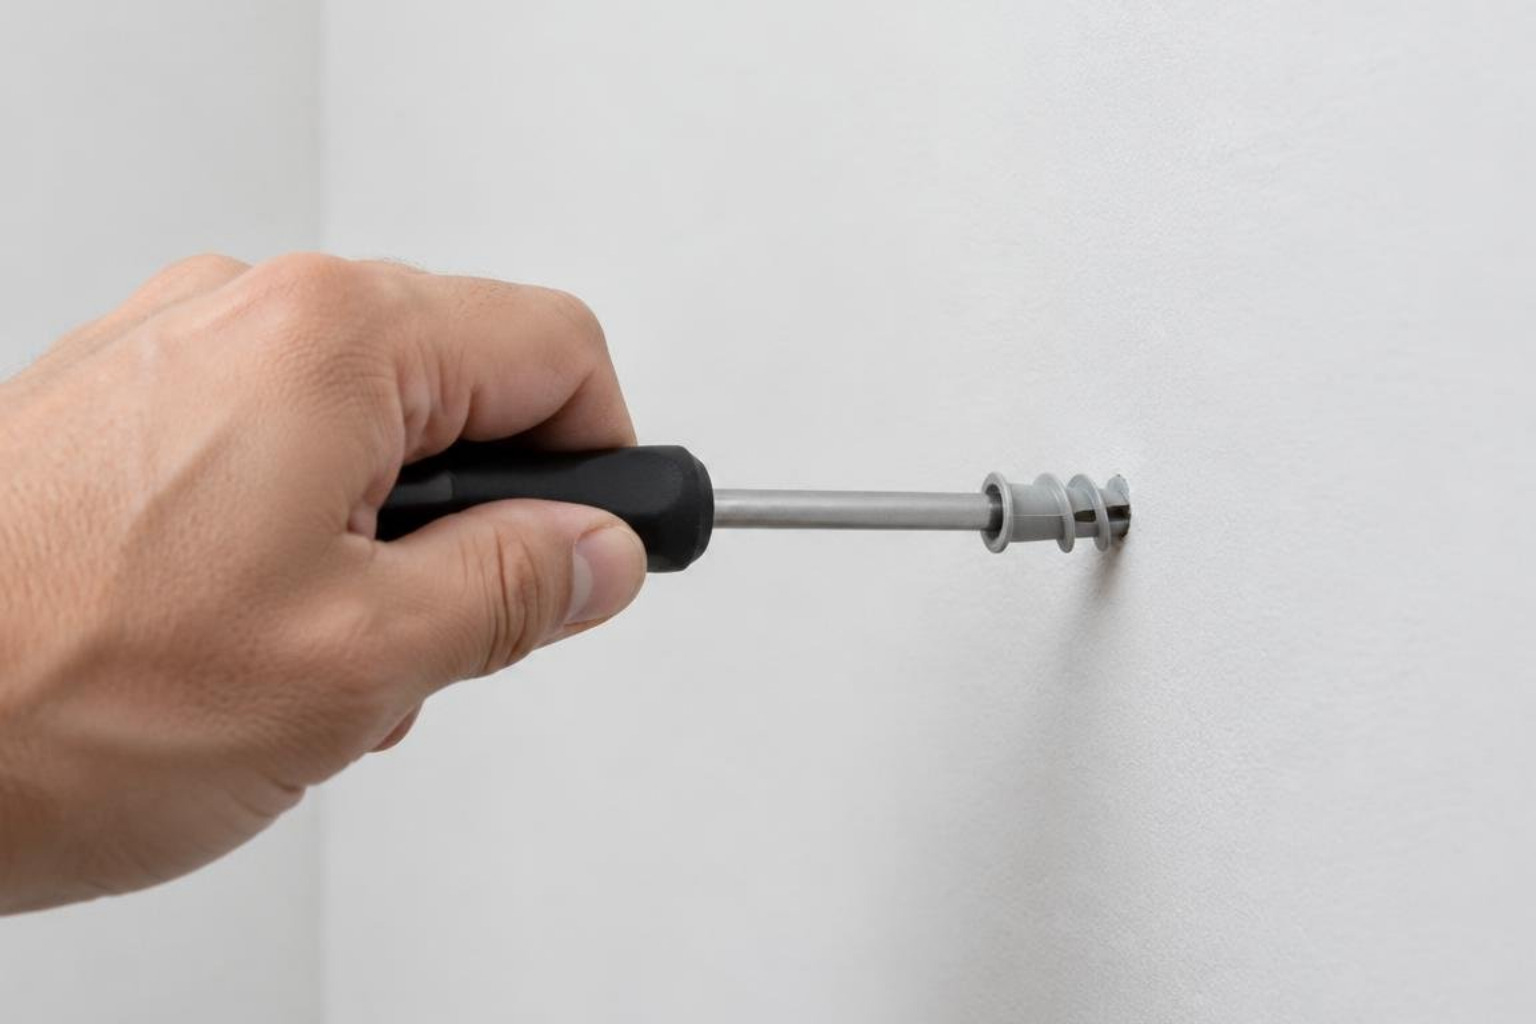
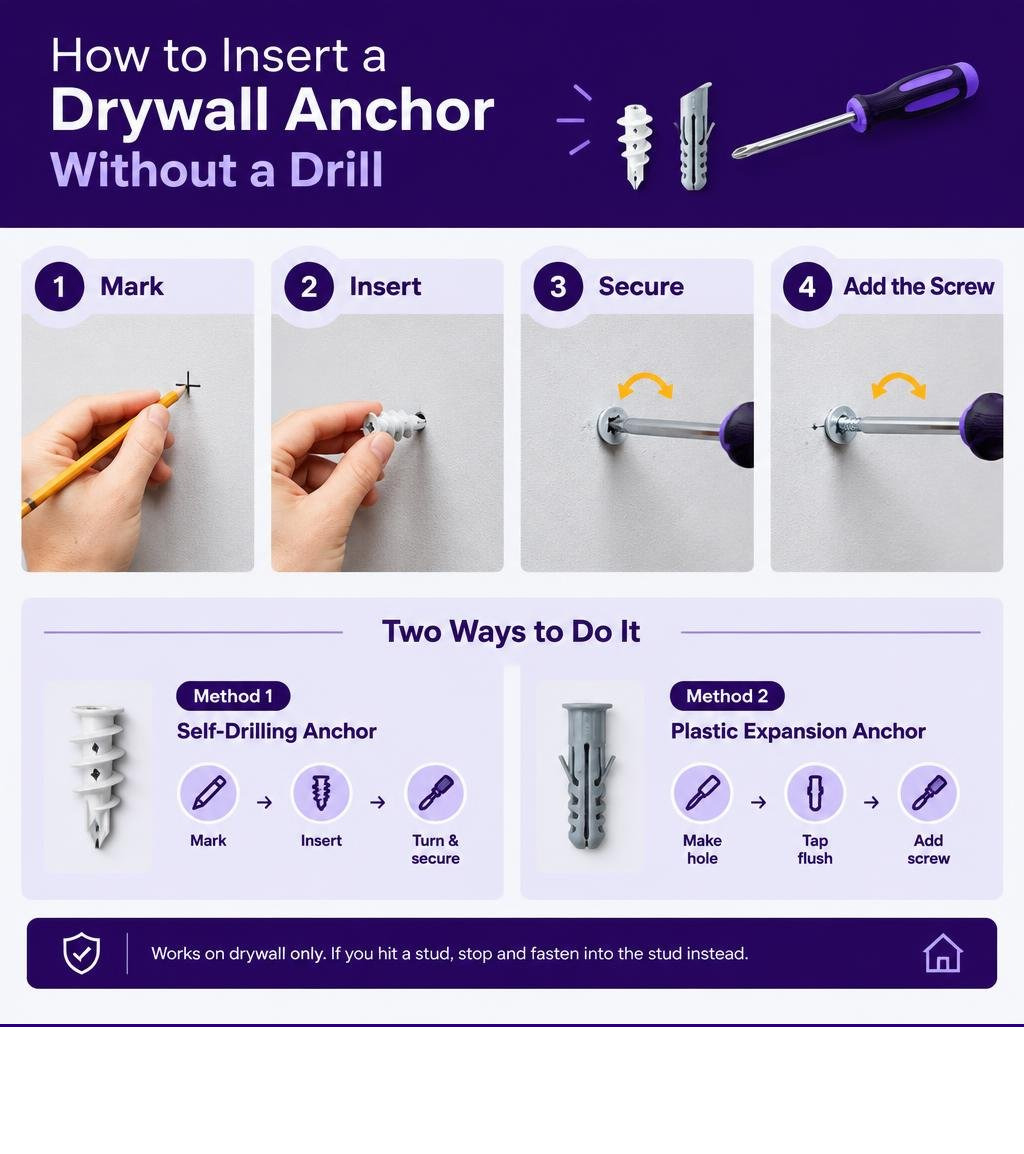
Here is how to insert a drywall anchor without a drill: use a self-drilling drywall anchor and a hand screwdriver. Mark the spot, hold the anchor straight, and turn it clockwise until its head sits flush with the wall. Then drive in the matching screw by hand. For a plastic expansion anchor, first make a snug hole with an awl, gently tap the anchor flush, and add the screw. Either method can take under five minutes when your tools are ready.
These methods are for drywall, not plaster or masonry. If you hit a stud, stop and fasten into the stud instead.
Related resources for manual installation:
- how to install wall anchors without a drill on a budget
- how to install anchors into drywall without a drill
- how to use a wall anchor tool
Essential Hand Tools and Mechanics for Drill-Free Fastening
Understanding drywall mechanics makes drill-free fastening simple. Standard drywall consists of a gypsum plaster core sandwiched between two layers of paper facing. Drywall boards are typically 1/2 inch or 5/8 inch thick. A standard wood or drywall screw driven alone into hollow drywall cannot hold weight; the thin gypsum crushes under tension and strips out under less than 5 pounds of force.
Drywall anchors solve this problem by converting point pressure into distributed resistance across two primary forces:
- Shear load: The downward force parallel to the wall face (such as a flat picture frame hanging straight down).
- Pull-out (tension) force: The outward force pulling perpendicular to the wall (such as the top bracket of a loaded shelf).
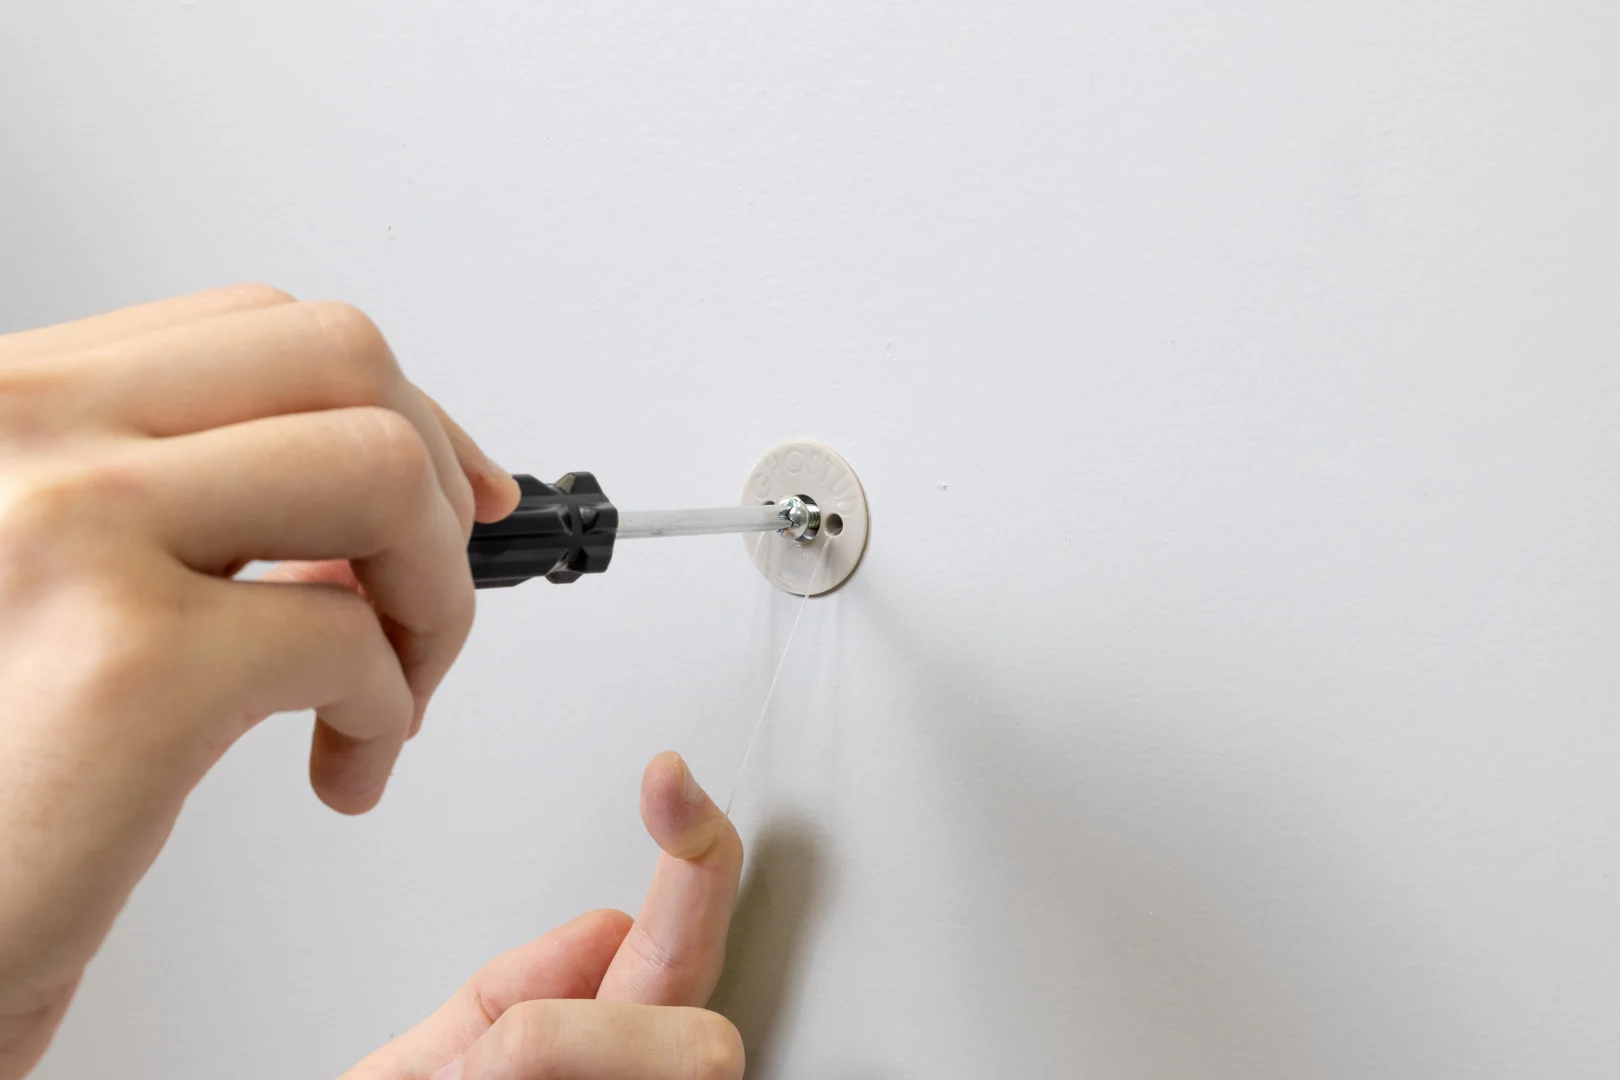
When you install an anchor manually, you rely on controlled hand torque rather than high-speed power. This gives you superior tactile feedback, helping you avoid over-reaming the soft gypsum core.
Gather these essential tools for wall anchors without power tools:
- #2 Phillips screwdriver: A cross-head driver with a rubberized grip provides the necessary turning leverage.
- Scratch awl or center punch: Creates clean, targeted pilot impressions without crushing the outer paper.
- Finishing nail (1.5 to 2 inches): Serves as a manual core puncture tool.
- Claw hammer or rubber mallet: Used for gentle, controlled tapping.
- Painter’s tape: Prevents paper blowouts and face tearing around the hole.
- Pencil: Accurately marks your layout.
- Safety glasses: Protects your eyes from falling drywall dust.
How to Create a Precise Manual Pilot Hole
A clean pilot hole protects the paper facing of the drywall. The paper facing provides up to 70% of the wall’s tensile strength. Punching or driving directly with blunt force causes drywall blowouts—a failure mode where the back paper tears away in a wide cone, destroying the gypsum’s structural resistance.
Applying a small piece of blue painter’s tape over your pencil mark before creating a hole contains the paper fibers and prevents surface flaking. You can also explore proven hand methods for inserting wall anchors to ensure consistent results.
The Screwdriver Rotation Method
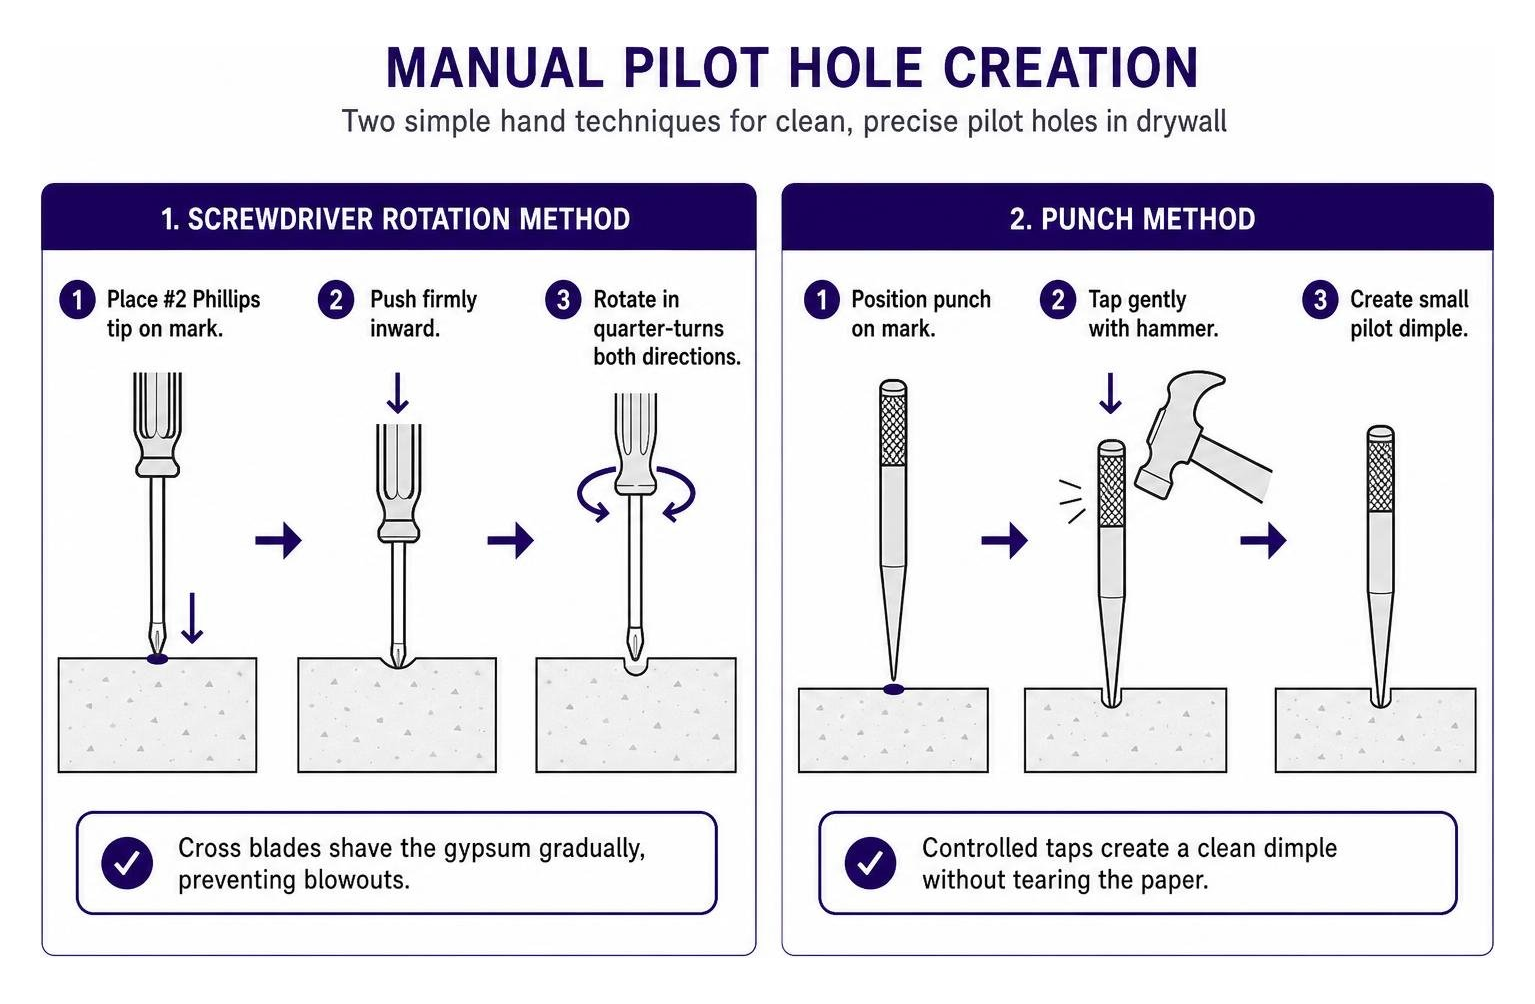
Use this method for standard expansion anchors or when prepping tough drywall for self-drilling units:
- Place a cross-head #2 Phillips screwdriver tip directly over your marked target.
- Push firmly inward while rotating the screwdriver clockwise and counter-clockwise in quarter-turns.
- Allow the cross blades of the screwdriver tip to shave the gypsum rather than punch through it abruptly.
- Stop as soon as the tip breaks through the backside of the drywall board.
- Vacuum or wipe away the localized gypsum dust.
The Punch-and-Hammer Technique
Follow these guidelines for putting screws in drywall without power tools when working with plastic ribbed plugs:
- Position a small finishing nail or scratch awl against the center of your tape mark.
- Tap the end lightly with a hammer until it penetrates roughly 1/2 inch through the wall board.
- Pull the nail straight out without wiggling it side to side, which prevents widening the mouth of the hole.
- Check that the resulting micro-pilot hole is slightly smaller than the core diameter of your anchor sleeve.
Step-by-Step Guide: How to Insert Drywall Anchor Without Drill
Learning how to insert drywall anchor without drill equipment requires straight alignment and steady manual pressure. Review this comprehensive overview of drywall anchor types to match your anchor to your hardware before starting.
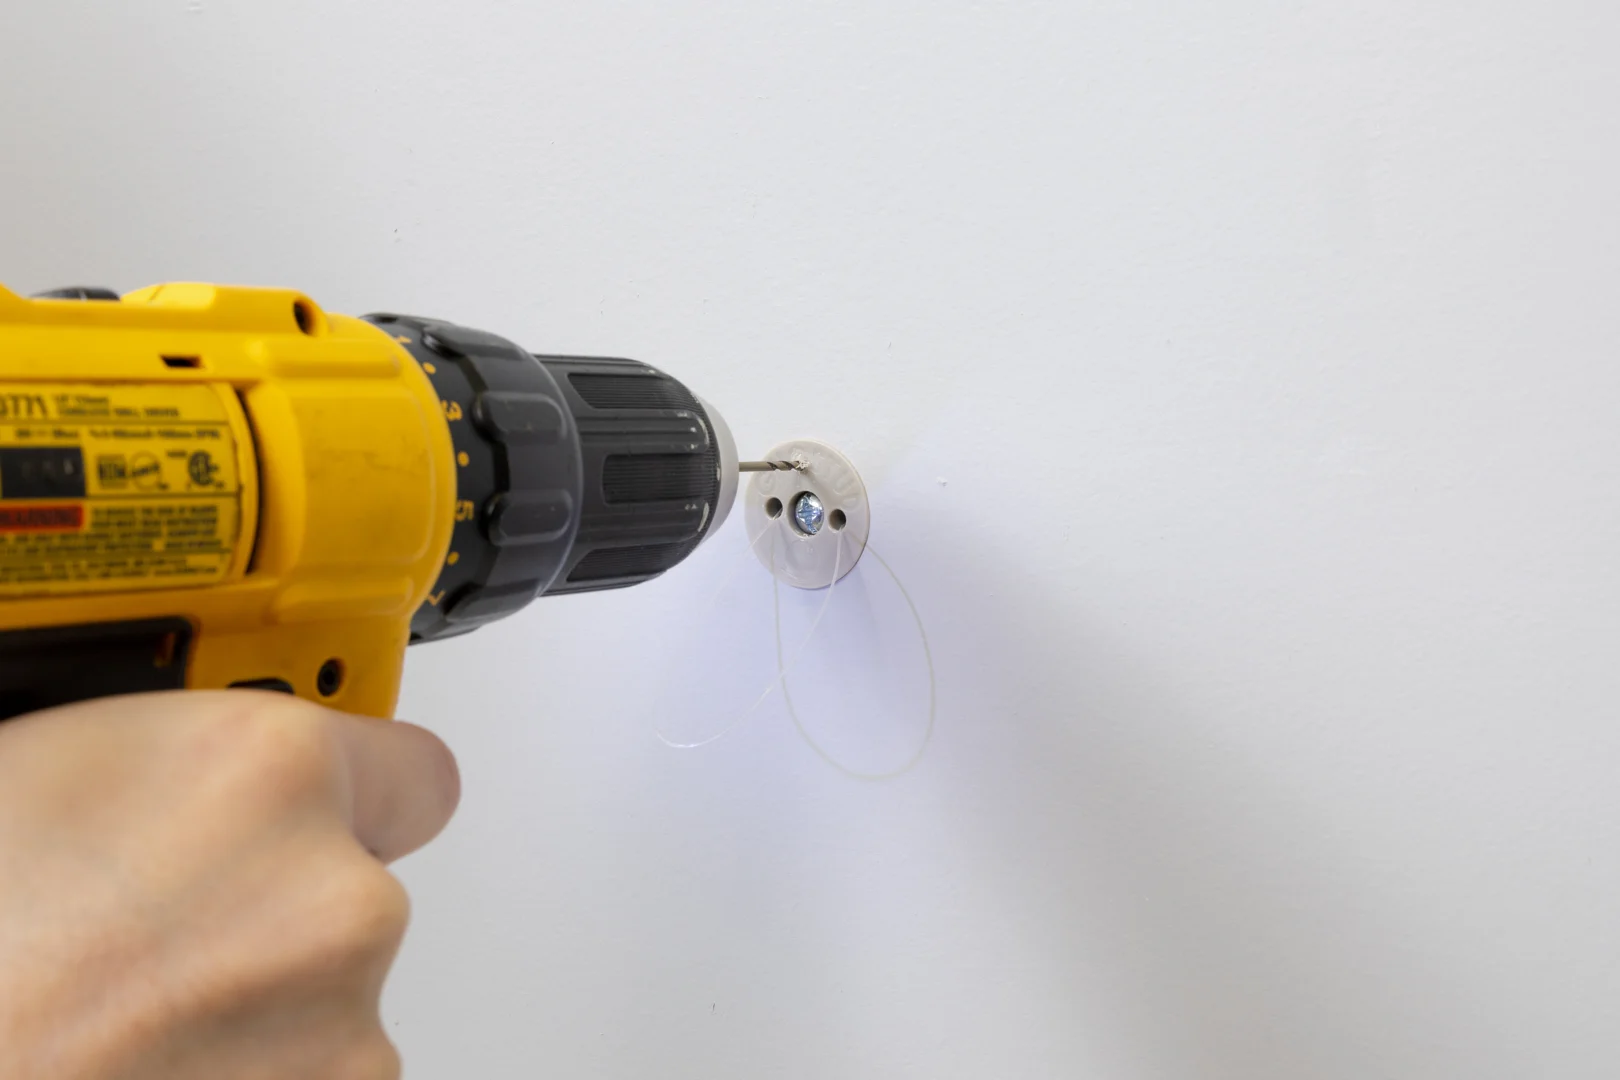
Method 1: How to Insert Drywall Anchor Without Drill Using Self-Drilling Anchors
Self-drilling anchors (threaded zinc or nylon drywall anchors) are the most reliable option for drill-free jobs. They feature deep outer threads and a pointed, self-tapping tip that carves directly into gypsum.
- Mark the wall: Use a pencil and level to set your fixture location.
- Set the anchor point: Press the pointed tip of the threaded anchor directly against the mark. Press firmly enough to dimple the surface.
- Engage the threads: Align your #2 Phillips screwdriver with the head of the anchor. Keep the tool completely perpendicular (90 degrees) to the wall.
- Drive clockwise: Apply firm, forward pressure into the wall while turning clockwise. The anchor’s cutting tip will bore into the gypsum. Follow these pro tips for installing drywall anchors by hand to maintain steady forward pressure.
- Seat flush: Stop turning as soon as the wide outer collar sits perfectly flush with the wall face. Overtightening will strip the gypsum threads and destroy the anchor’s grip.
- Fasten the fixture: Place your fixture bracket over the anchor, insert the provided metal screw, and turn clockwise until snug.
Method 2: How to Insert Drywall Anchor Without Drill Using Plastic Expansion Anchors
Plastic expansion anchors require a pre-formed hole so the plastic sleeve does not bend or collapse upon entry.
- Form the pilot hole: Use the punch-and-hammer technique with an awl or finishing nail to create a hole matched to the anchor’s narrow shaft.
- Insert the sleeve: Push the tip of the plastic expansion sleeve into the manual pilot hole.
- Tap flush: If friction stops the sleeve, tap the head gently with a hammer or rubber mallet until the rim rests against the drywall face. Do not use excessive force; if the anchor bends, enlarge the pilot hole slightly.
- Drive the screw: Insert the screw through your item and into the plastic sleeve using a screwdriver.
- Expand the fins: Tighten the screw by hand. As the screw threads pull forward, they force the split plastic legs inside the wall cavity to flare outward against the back of the drywall. Review these step-by-step manual anchor installation techniques for more details.
Selecting the Right No-Drill Anchor by Weight Capacity
Anchor performance depends on static weight, load direction, and drywall thickness (1/2 in or 5/8 in). Review this guide on choosing the right anchor load capacity to match your fixture weight properly.
| Anchor Type | Installation Tool | Drywall Compatibility | Working Load Range (Shear) | Ideal Applications |
|---|---|---|---|---|
| Adhesive Strips / Hooks | None (Peel & Stick) | Painted Drywall | 1 to 15 lb | Small canvas frames, keys, light decor |
| Plastic Expansion Plugs | Screwdriver + Nail/Hammer | 1/2 in or 5/8 in Drywall | 5 to 20 lb | Lightweight framed art, small clocks, smoke detectors |
| Self-Drilling Nylon Anchors | #2 Phillips Screwdriver | 1/2 in or 5/8 in Drywall | 15 to 30 lb | Light mirrors, decorative wall hangings |
| Self-Drilling Zinc Anchors | #2 Phillips Screwdriver | 1/2 in or 5/8 in Drywall | 30 to 50 lb | Bathroom towel rings, small floating shelves, wall sconces |
| GHOSTUD GS1 | Hole Saw (Power Tool Required) | 1/2 in or 5/8 in Drywall | Up to 250 lb | Towel bars, curtain rods, toilet paper holders |
| GHOSTUD GS2 | Hole Saw (Power Tool Required) | 1/2 in or 5/8 in Drywall | Up to 1,000 lb shear | Heavy mirrors, TV wall mounts, loaded cabinetry |
Mounting something heavy where there’s no stud? GHOSTUD® spreads the load across the drywall with a wide backplate instead of relying on the gypsum core. GS1 holds up to 250 lb shear, GS2 up to 1,000 lb. Made in the USA from recycled structural plastic. Shop GHOSTUD® from $16.99 →
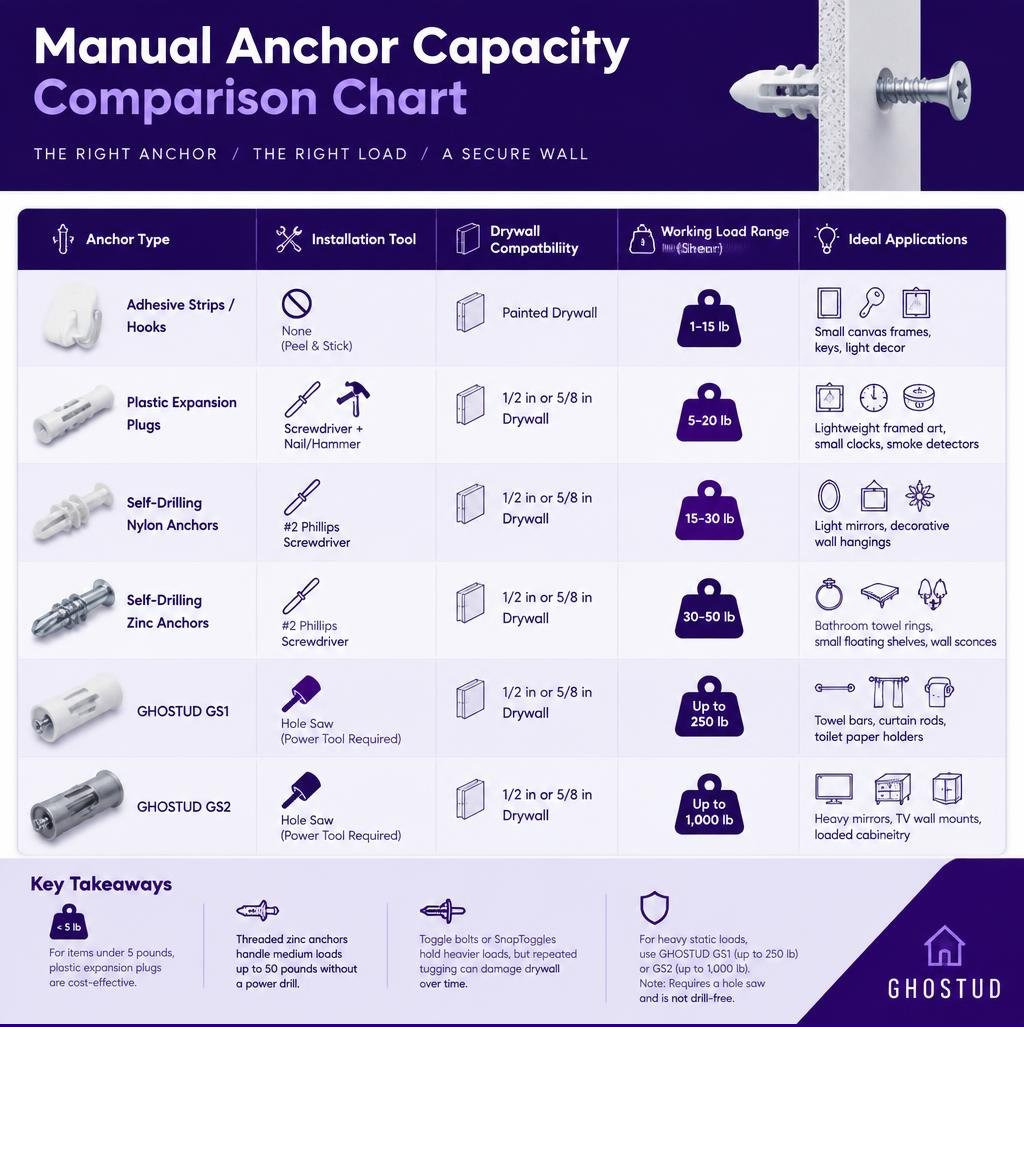
When selecting anchors, match the hardware to the true mechanical demand:
- For items under 5 pounds, basic plastic expansion plugs are completely sufficient and cost-effective.
- Threaded zinc anchors handle medium loads up to 50 pounds without requiring a power drill.
- Standard toggle bolts can hold heavier loads, but repeated dynamic tugging (cyclic loading) can crush the soft drywall core over time and cause the mounting hole to wallow out.
- For heavy static loads or continuous daily pulling, specialized fasteners like GHOSTUD provide high-capacity load distribution. The GS1 is rated up to 250 lb for fixtures like curtain rods and towel bars, while the GS2 is rated up to 1,000 lb shear in 1/2 in or 5/8 in drywall for heavy items like TVs and wall cabinets. GHOSTUD requires cutting a 1-inch or 2-inch hole with a hole saw and is not an option for drill-free, hand-tool installation.
Troubleshooting Manual Installation Mistakes and Wall Obstacles
Installing hardware by hand can sometimes present unexpected wall issues. You can use these techniques and reference using specialized wall anchor tools when manual driving runs into resistance.
- Managing driving friction: If turning a screw into an anchor requires excessive effort, apply a dry lubricant like beeswax, candle wax, or a drop of dish soap to the screw threads. This cuts driving friction by up to 50% without reducing holding power.
- Stripped or loose anchor holes: If a self-drilling anchor spins freely without catching, the gypsum core has stripped out. Back the anchor out completely. You can either patch the hole with spackle and move your mounting location 2 inches away, or replace the damaged fastener with a larger toggle anchor.
- Loose expansion sleeves: If a plastic expansion anchor hole is slightly oversized, insert two wooden toothpicks alongside the sleeve before inserting the screw. The added wood fibers fill the void and compress against the plastic, restoring internal friction.
- Hitting a wood stud: If your screwdriver hits solid wood behind the drywall, stop trying to insert an anchor. A drywall anchor cannot penetrate a wooden framing stud. Remove the anchor and drive a standard #8 or #10 wood screw directly into the stud through your fixture. A direct stud connection provides higher load strength than any hollow-wall fastener.
- Plaster walls: Do not use manual drywall punch methods on plaster and lath walls. Plaster is hard, brittle, and will fracture or crack under point impacts. Plaster walls require pre-drilling with a dedicated masonry bit.

Frequently Asked Questions About Manual Anchor Installation
Can I use a hammer to install drywall anchors without a drill?
You can use a hammer or mallet to tap plastic expansion anchors or tap-in anchors into a pre-punched hole. However, never hammer a self-drilling threaded anchor into drywall. Hammering a threaded anchor crushes the gypsum core and tears the paper facing, leaving no solid material for the outer threads to bite into.
Are manually installed anchors as strong as drilled anchors?
Yes. An anchor installed manually with a screwdriver holds just as much weight as one installed with a power drill, provided the hole is straight and the anchor fits tightly. Hand installation often results in a more secure mount because manual torque gives you better tactile control, preventing you from over-torquing and stripping the gypsum core.
What should I do if I hit a wall stud while installing an anchor by hand?
Stop turning the anchor immediately. Back the anchor out of the drywall and set it aside. Position your fixture directly over the pilot mark and drive a standard wood screw into the stud with your screwdriver.
Conclusion
Manual drywall anchor installation provides clean, dust-free mounting for lightweight to medium items without power tools. Always match your fastener to the wall material and verify the item weight before mounting.
Grab your pencil, mark your fixture location, and check the wall for studs before making your pilot hole. If your project involves heavy static loads or daily pulling fixtures that exceed manual anchor limits, GHOSTUD’s GS1 (up to 250 lb, 1-inch hole) and GS2 (up to 1,000 lb shear, 2-inch hole) anchors install with a hole saw in 1/2 in or 5/8 in drywall for jobs beyond hand-tool anchors. Review our complete drywall mounting and installation guide to plan a safe, structural installation.
Mount it once, mount it right. Compare GS1 and GS2 →