
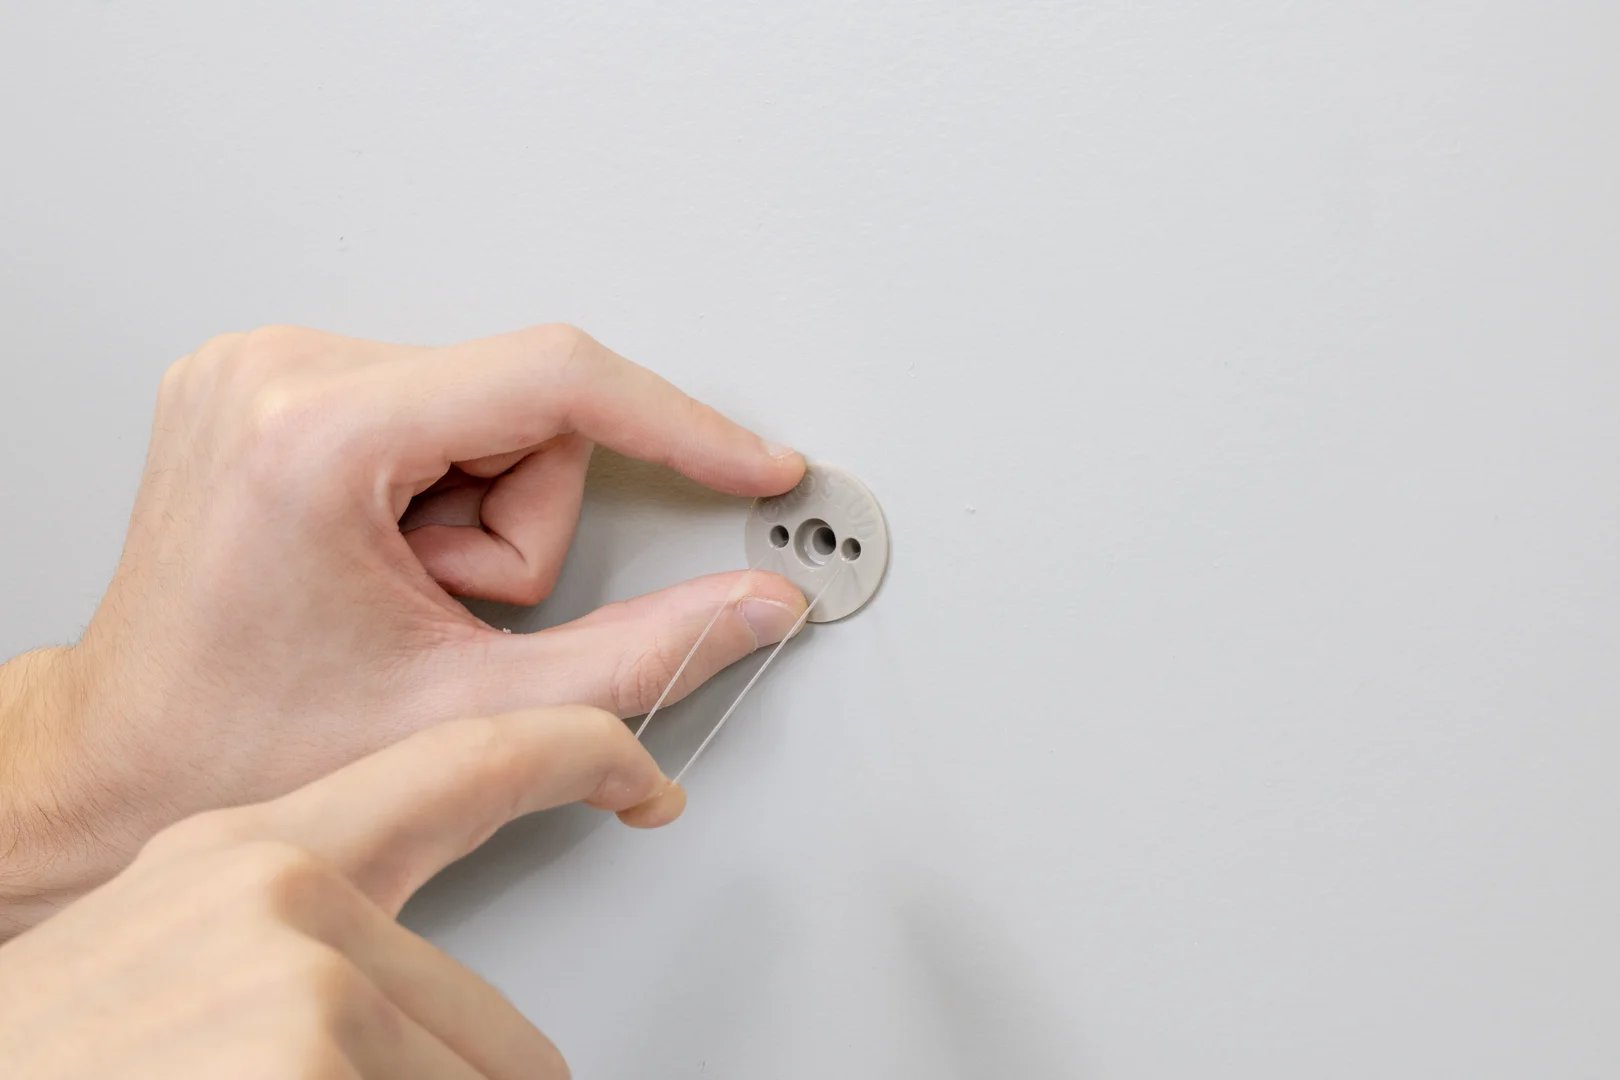
Understanding Wall Mechanics: Why Curtain Rod Anchors Pull Out
To install a curtain rod anchor, mark your bracket height and width, drill a pilot hole sized to the anchor, seat the anchor flush with the drywall, and drive the bracket screws until snug. Match the anchor to the curtain weight and wall material before you drill.
Standard drywall consists of a soft gypsum core pressed between two layers of paper. Driven directly into hollow drywall, a standard wood or drywall screw has almost no holding power. The threads strip the powdery gypsum core immediately upon tightening.
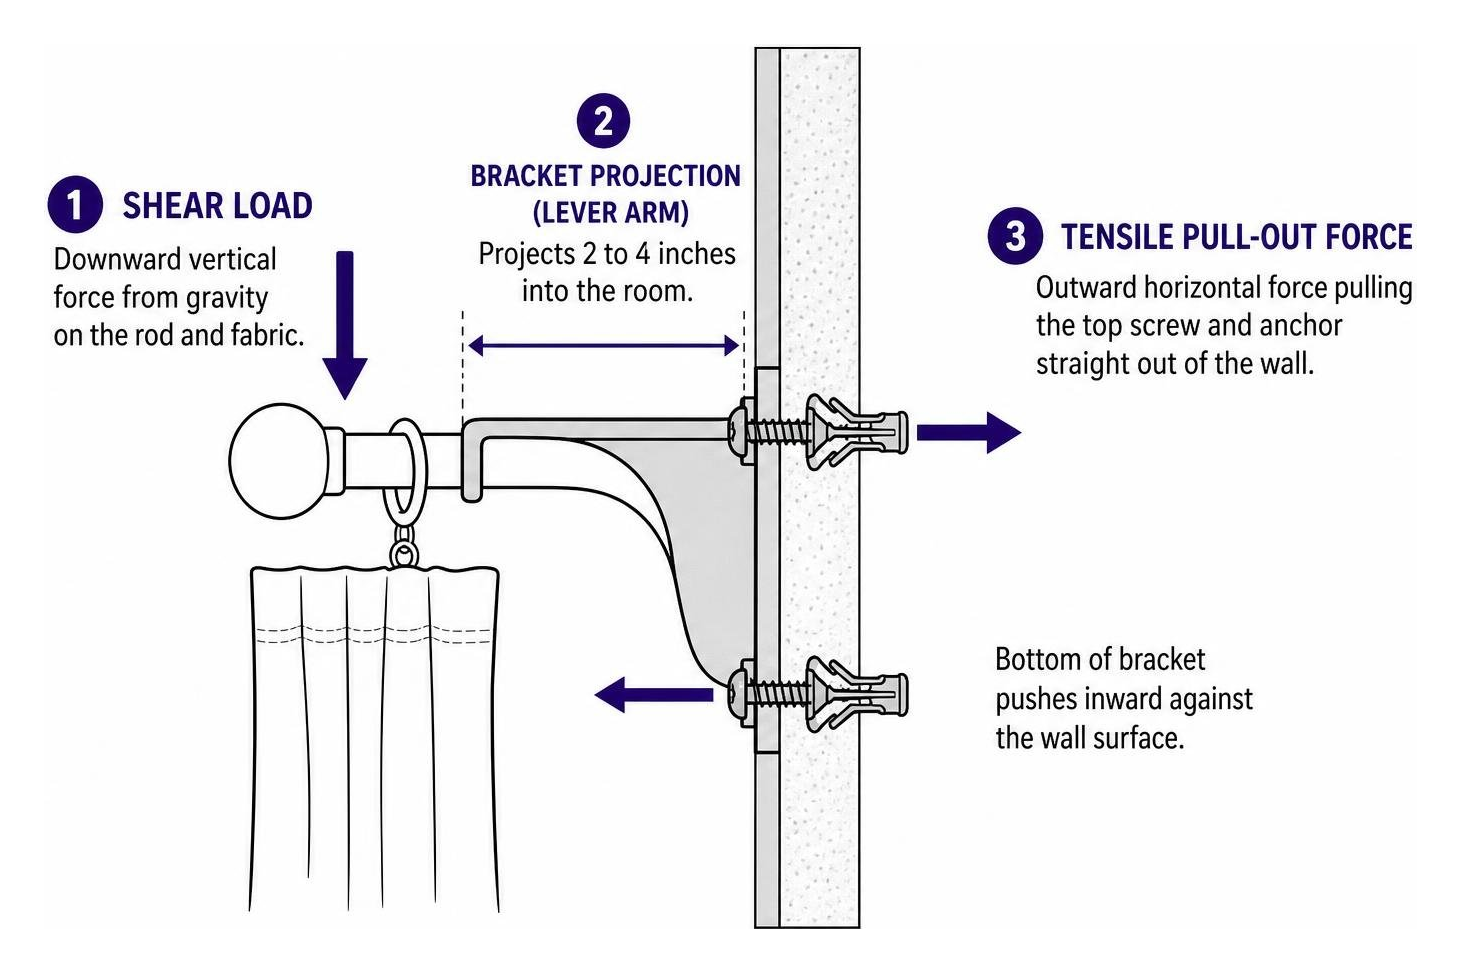
Curtain hardware introduces two distinct mechanical forces: shear load and tensile load.
- Shear load is the direct downward vertical force created by gravity pulling on the rod and fabric.
- Tensile load is the outward horizontal force pulling the fastener straight out of the wall.
Curtain rod brackets do not sit flush against the wall like a picture frame. They project 2 to 4 inches into the room. This projection creates a lever arm. When you pull curtains closed, that downward shear load converts into rotational torque. The top mounting screw acts as the pivot point experiencing severe tensile pull-out force, while the bottom of the bracket pushes inward against the wall surface.
A lined pair of curtains on a 68-inch rod weighs roughly 24 pounds with the rod included. Across three brackets, that equals a static load of 8 pounds per bracket. However, daily drawing and pulling generate dynamic forces up to four times the static weight—spiking the load on an individual bracket to over 30 pounds.
When an undersized plastic anchor is subjected to repeated dynamic cycles, it experiences progressive failure. The anchor rocks back and forth, pulverizing the soft gypsum around the hole. The hole wallows out, the anchor loosens, and the bracket pulls cleanly out of the drywall. To understand how framing impacts holding strength, review our proper support selection guide.
How to Install a Curtain Rod Anchor: The 3-Step Process
Step 1: Measuring and Pilot Drilling
- Set the height: Measure 4 to 6 inches above the top edge of the window frame (or halfway between the trim and ceiling for taller rooms). Make a light pencil mark.
- Set the width: Measure 3 to 6 inches outward from the outer edge of the window trim on each side. For wide stack-backs on heavy drapes, extend this up to 8 to 10 inches so open curtains clear the glass.
- Check for studs: Run an electronic stud finder across your target marks. If a wood stud aligns with your desired bracket location, drive a 2-1/2 inch wood screw directly into the framing. If no stud is present, proceed with wall anchors. Follow proven measuring and mounting guidelines to verify your bracket span.
- Mark and level: Hold the bracket against the wall at your height and width marks. Use a torpedo level to ensure the bracket sits plumb. Mark the exact screw hole locations with a pencil. Repeat on the other side, using a long level or laser level across the window to ensure both brackets sit on the exact same horizontal plane.
- Add center supports: If your curtain rod spans more than 60 inches (or 48 inches for heavy blackout drapes), mark a center bracket location directly above the midpoint of the window.
- Drill the pilot hole: Match your drill bit diameter to the exact size specified on your anchor packaging. Drill straight into the drywall at a 90-degree angle. Do not wobble the drill bit, or you will create an oversized hole that compromises anchor grip.
Step 2: Setting the Drywall Anchor Flush to the Wall
- Clear debris: Blow out any drywall dust from inside the pilot hole.
- Position the anchor: Push the anchor tip into the drilled hole.
- Seat the anchor:
- For plastic expansion sleeves, tap the head gently with a rubber mallet until the collar sits completely flush with the drywall surface. Do not overdrive the anchor past the drywall paper face.
- For threaded self-drilling anchors, place a manual Phillips screwdriver into the recess and drive the anchor clockwise with steady forward pressure until the head meets the wall. Avoid high-speed power drills, which easily strip out the gypsum. Learn proper insertion techniques to avoid damaging your wall surface during seating.
- For toggle fasteners, collapse the metal wings, push the channel through the hole until it snaps open behind the hollow drywall cavity, and cinch the plastic collar tight against the front face.
Step 3: Fastening Brackets and Securing the Rod
- Align the bracket: Place the curtain rod bracket directly over the installed anchors, matching the bracket holes to the anchor openings.
- Drive the mounting screws: Insert the screws provided with your anchor kit through the bracket holes. Drive them using a hand screwdriver. Tighten until the bracket sits rigid and flat against the drywall. Stop turning immediately once the screw is snug to prevent stripping the anchor internal threads.
- Verify alignment: Check both brackets with a bubble level before placing the hardware. Read our guide on secure drywall mounting methods for fine-tuning bracket alignment.
- Assemble and hang: Slide your curtain panels or rings onto the rod. Set the rod into the bracket cups.
- Secure hardware: Tighten the small locking set screws on the underside of each bracket to lock the rod in place. Screw on the decorative finials at each end.
Choosing the Right Wall Anchor by Curtain Weight
Selecting the right fastener prevents wall damage. Use the weight of your curtain fabric and rod assembly to pick the correct hardware. For a broader comparison of fastener classes, see our drywall anchor guide.
Light Loads: Plastic Expansion Anchors
Basic ribbed plastic anchors hold roughly 5 to 10 pounds. They work solely by radial friction: driving a screw forces the plastic sleeve to split and press against the sides of the pilot hole.
These anchors are suitable only for lightweight cafe rods, sheer voile curtains (approx. 2 pounds per panel), or small decorative rods under 48 inches.
Limitations: Plastic ribbed anchors under a pinch pleat or blackout panel over 5 pounds will pull out of drywall within a year due to dynamic pulling forces.
Medium Loads: Self-Drilling Threaded Anchors
Threaded drywall anchors (made from zinc or glass-filled nylon) feature wide external threads that cut directly into the gypsum. They offer a working load of 20 to 40 pounds in 1/2-inch drywall.
A common self-drilling anchor is rated for higher loads when the item sits flush to the wall, but a curtain bracket stands the load an inch or two off the wall and pries on the fastener, so treat its working limit as 40 pounds. They handle lined cotton draperies (approx. 5 pounds per panel) and medium-span rods cleanly. Review anchor thread designs before drilling.
Heavy Drapery: Toggle Bolts and High-Capacity Fasteners
For heavy velvet curtains, thermal draperies, or blackout panels (often weighing 9 pounds or more per panel), standard friction anchors fail. You must use fasteners that anchor mechanically behind the drywall face. Follow professional curtain hanging best practices when mounting heavy assemblies.
- Steel Toggle Bolts: These feed a solid metal channel through a 1/2-inch drilled hole. Once behind the wall, the channel pivots flat against the back of the drywall. A standard toggle bolt publishes a high ultimate rating in 1/2-inch drywall. Applying the standard one-quarter safety factor gives a reliable working load for heavy curtains. Under heavy dynamic cycles, toggle bolts can gradually crush the rear gypsum paper face over several years.
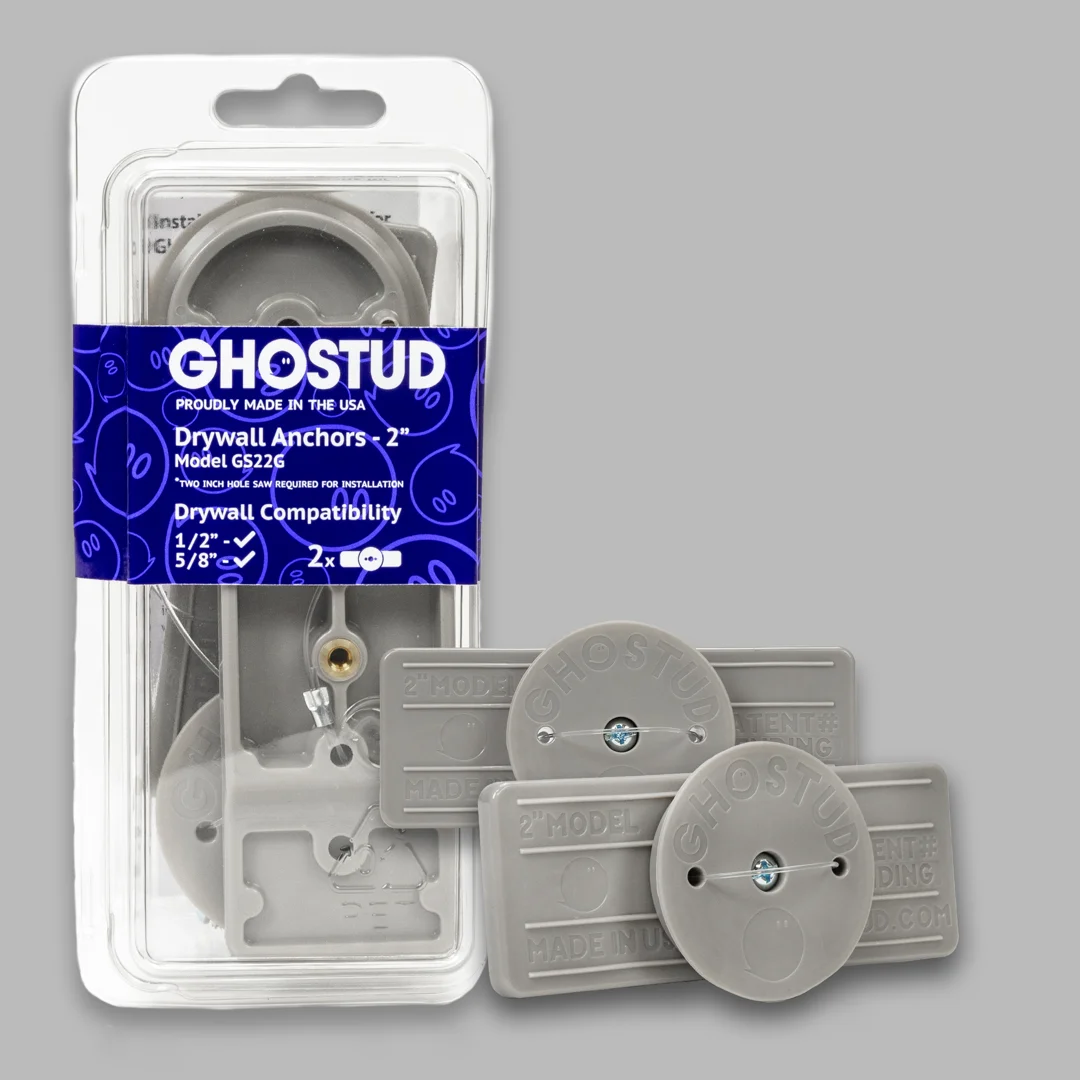
- GHOSTUD GS1 Anchors: For frequent daily operation and heavy dynamic loading on drywall, consider the GHOSTUD GS1 anchor. The GS1 installs into a 1-inch hole cut with a hole saw and is rated up to 250 lb for dynamic and daily-use fixtures in 1/2 in or 5/8 in drywall. It distributes dynamic pull-out torque across a wide, patented internal footprint rather than focusing stress on a single point of the gypsum core. View our high-load capacity selection for full technical ratings.
| Anchor Type | Wall Condition | Flush Static Shear Capacity | Working Curtain Load (Per Bracket) | Best Application |
|---|---|---|---|---|
| Plastic Ribbed Plug | 1/2 in Drywall | 10–15 lb | Under 5 lb | Lightweight sheers, tension rods |
| Self-Drilling Zinc Anchor | 1/2 in Drywall | 50–75 lb | 20–40 lb | Lined cotton curtains, standard rods |
| Molly Bolt (Sleeve Type) | 1/2 in Drywall | 40–50 lb | 25–35 lb | Medium drapes, double rods |
| Steel Toggle Bolt | 1/2 in Drywall | High ultimate rating | 50–65 lb | Heavy blackout drapes, multi-panels |
| GHOSTUD GS1 | 1/2 in or 5/8 in Drywall | Rated up to 250 lb | Up to 250 lb | Daily-use curtain rods, heavy drapery |
Edge Cases: Plaster Walls, Masonry, and Blown-Out Holes
Plaster and Masonry Limitations
GHOSTUD anchors are designed for 1/2 in or 5/8 in drywall only. They cannot be used on plaster, lath, brick, concrete, stone, or tile over backer board.
- Plaster and Wood Lath (Pre-1950 construction): Plaster is brittle and crumbles under expanding anchors. Never use plastic expansion plugs or self-drilling screws in plaster. Pre-drill slowly using a masonry or carbide bit without hammer action to prevent shattering the plaster keys behind the lath. Use traditional spring-wing steel toggle bolts that pass through the lath gaps and open against the rear framing.
- Brick, Concrete, and Masonry: Pre-drill using a hammer drill and masonry bit to the exact depth of the fastener. Insert lead expansion shields, ribbed nylon wall plugs, or drive concrete screws directly into the solid substrate.
Fixing a Pulled-Out Curtain Rod Anchor
If an existing anchor pulls out, it leaves behind a torn, powdery crater in the drywall.
- Do not put the same anchor back in the hole. It will have zero holding power.
- Upgrade to a toggle fastener: If the drywall around the hole remains solid, drill out the damaged hole cleanly to 1/2-inch and install a steel toggle bolt. The toggle bar bridges across the undamaged drywall behind the blowout.
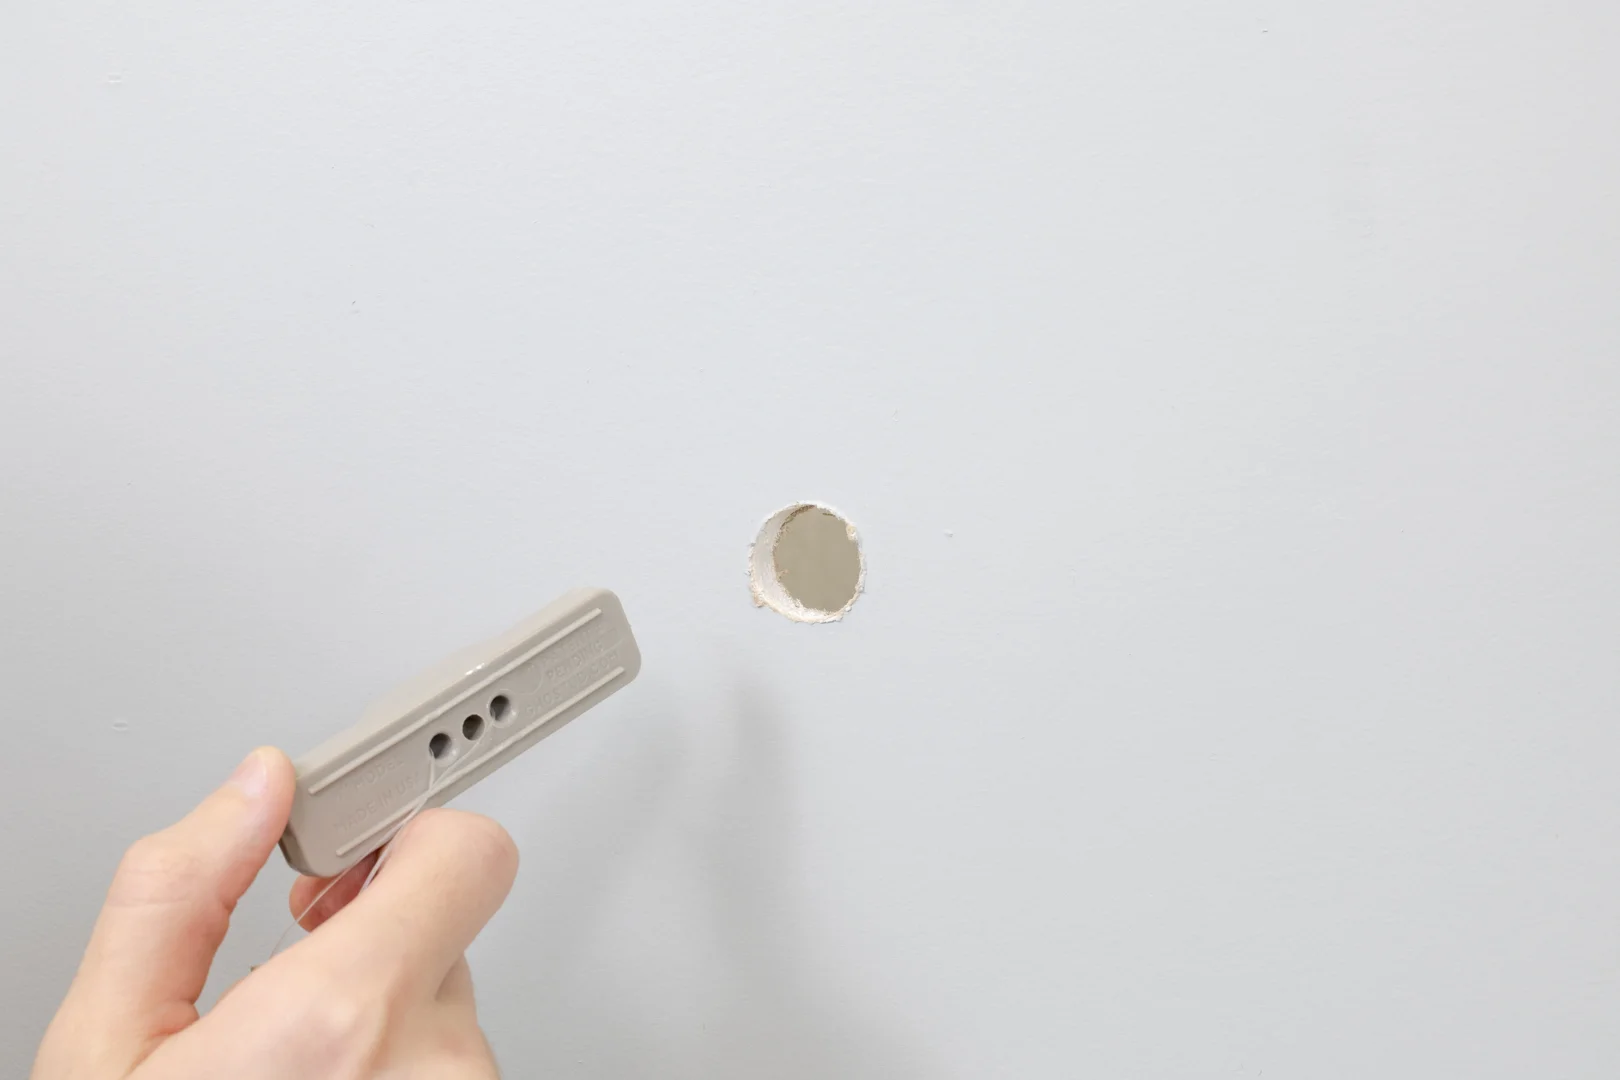
- Install a large-format anchor: For larger damaged areas in 1/2 in or 5/8 in drywall, cut a clean 1-inch opening with a hole saw centered over the damaged spot and install a GHOSTUD GS1 anchor (rated up to 250 lb).
- Relocate the bracket: Shift the bracket position 1 to 2 inches up or outward into solid wall material. Patch the damaged hole with spackle or a mesh drywall patch, sand flush, and repaint.
Frequently Asked Questions About Installing Curtain Rod Anchors
Can I hang heavy blackout curtains without hitting a stud?
Yes. Heavy blackout curtains (weighing 9 to 20 pounds total) can be hung securely in hollow 1/2-inch or 5/8-inch drywall using mechanical toggle bolts or high-capacity anchors like the GHOSTUD GS1. Always install a third support bracket at the center of the span to divide the load and prevent the rod from sagging.
What size drill bit do I need for a curtain rod wall anchor?
Check the anchor manufacturer’s packaging for the exact drill bit dimension:
- Plastic ribbed anchors: 3/16-inch or 1/4-inch bit
- Self-drilling anchors: No bit required (or 1/8-inch pilot hole for precision)
- Standard toggle bolts: 1/2-inch bit
- GHOSTUD GS1 anchors: 1-inch hole saw
Why does my curtain rod anchor keep loosening in the wall?
Anchors loosen when undersized plastic friction plugs are installed under dynamic pulling loads. The bracket arm acts as a lever, prying the top screw outward every time you operate the curtains. This continuous motion crushes the soft gypsum core, wallowing out the hole until the anchor pulls free.
Conclusion
Install curtain rods securely by calculating your total fabric weight, accounting for bracket leverage, and matching the anchor to your wall material. For curtain rods that see daily use, shop GHOSTUD GS1 anchors at ghostud.com after confirming that the wall is 1/2 in or 5/8 in drywall and no accessible stud is available.
Take your tape measure to the wall right now. Mark your bracket locations 4 inches above the trim, test the spots with a stud finder, and select the correct anchor before drilling your first hole.