
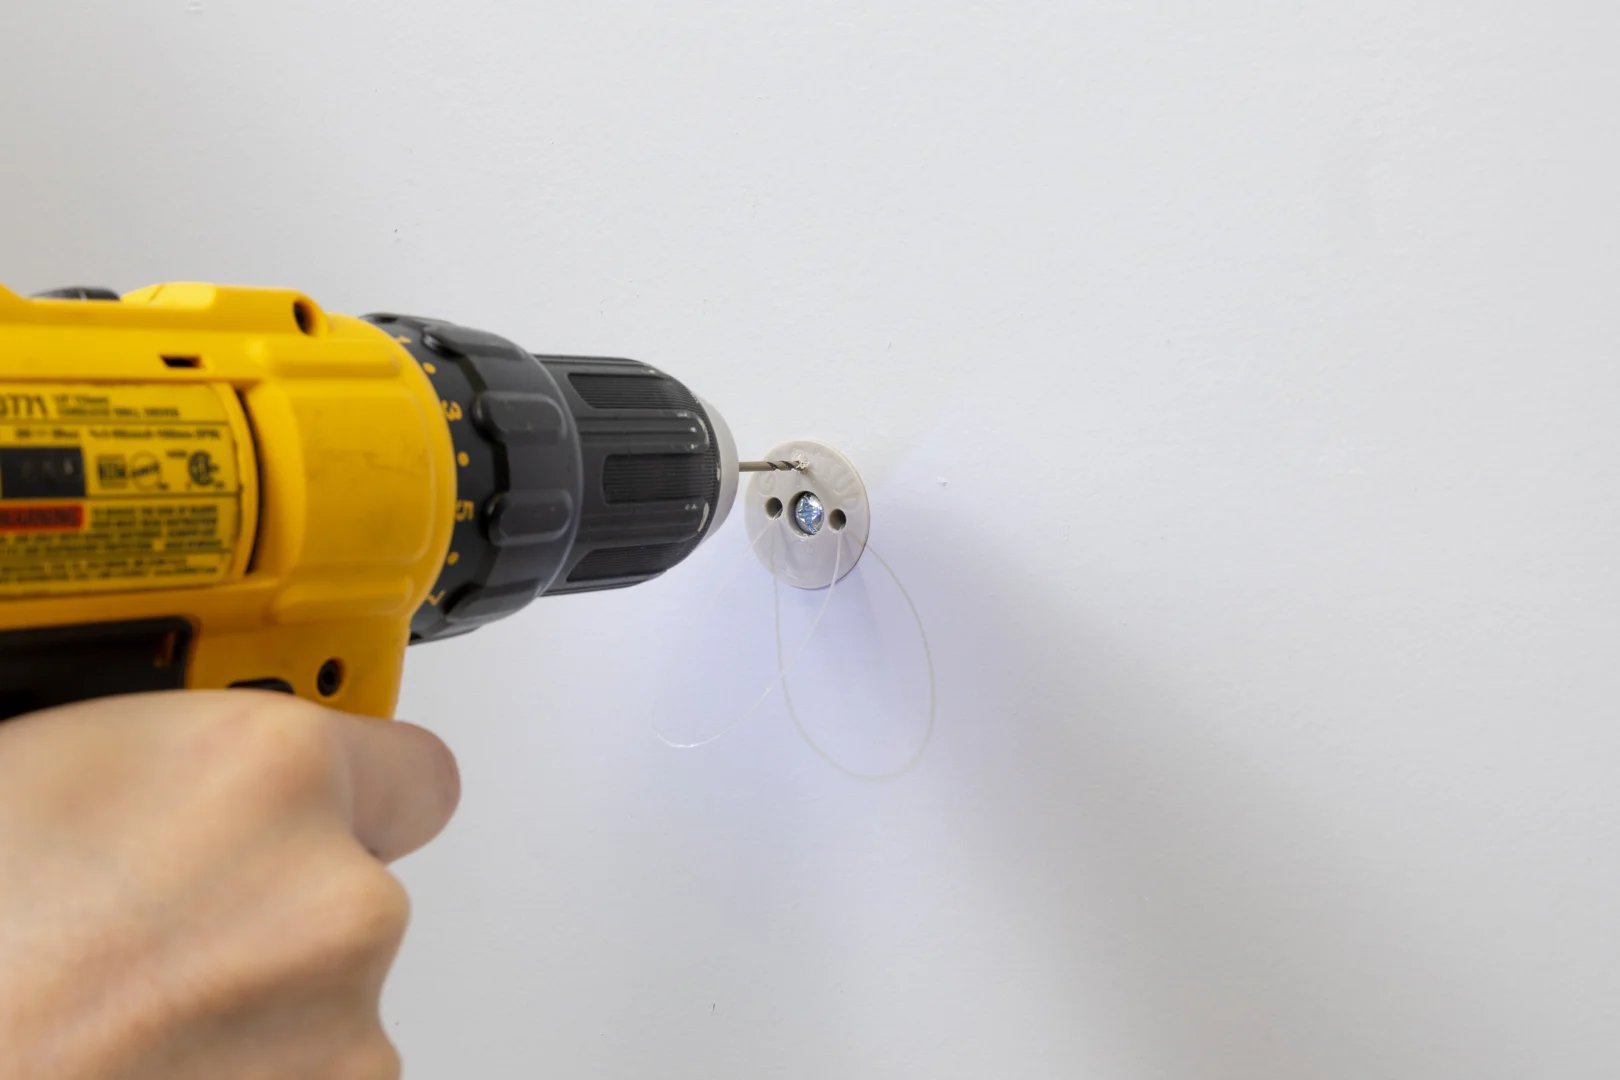
How to Install Metal Drywall Anchor in Less Than an Hour
Install Metal Drywall Anchors Correctly the First Time
For reliable metal drywall anchor installation, choose an anchor rated for your wall thickness and the fixture’s load, mark the holes, drill the exact pilot-hole size if required, seat the anchor flush, then tighten the screw only until the anchor expands and the fixture is snug. Stop before the drywall face dents or crumbles. An oversized hole can make the anchor spin; too much torque can crush the gypsum core and weaken the hold.
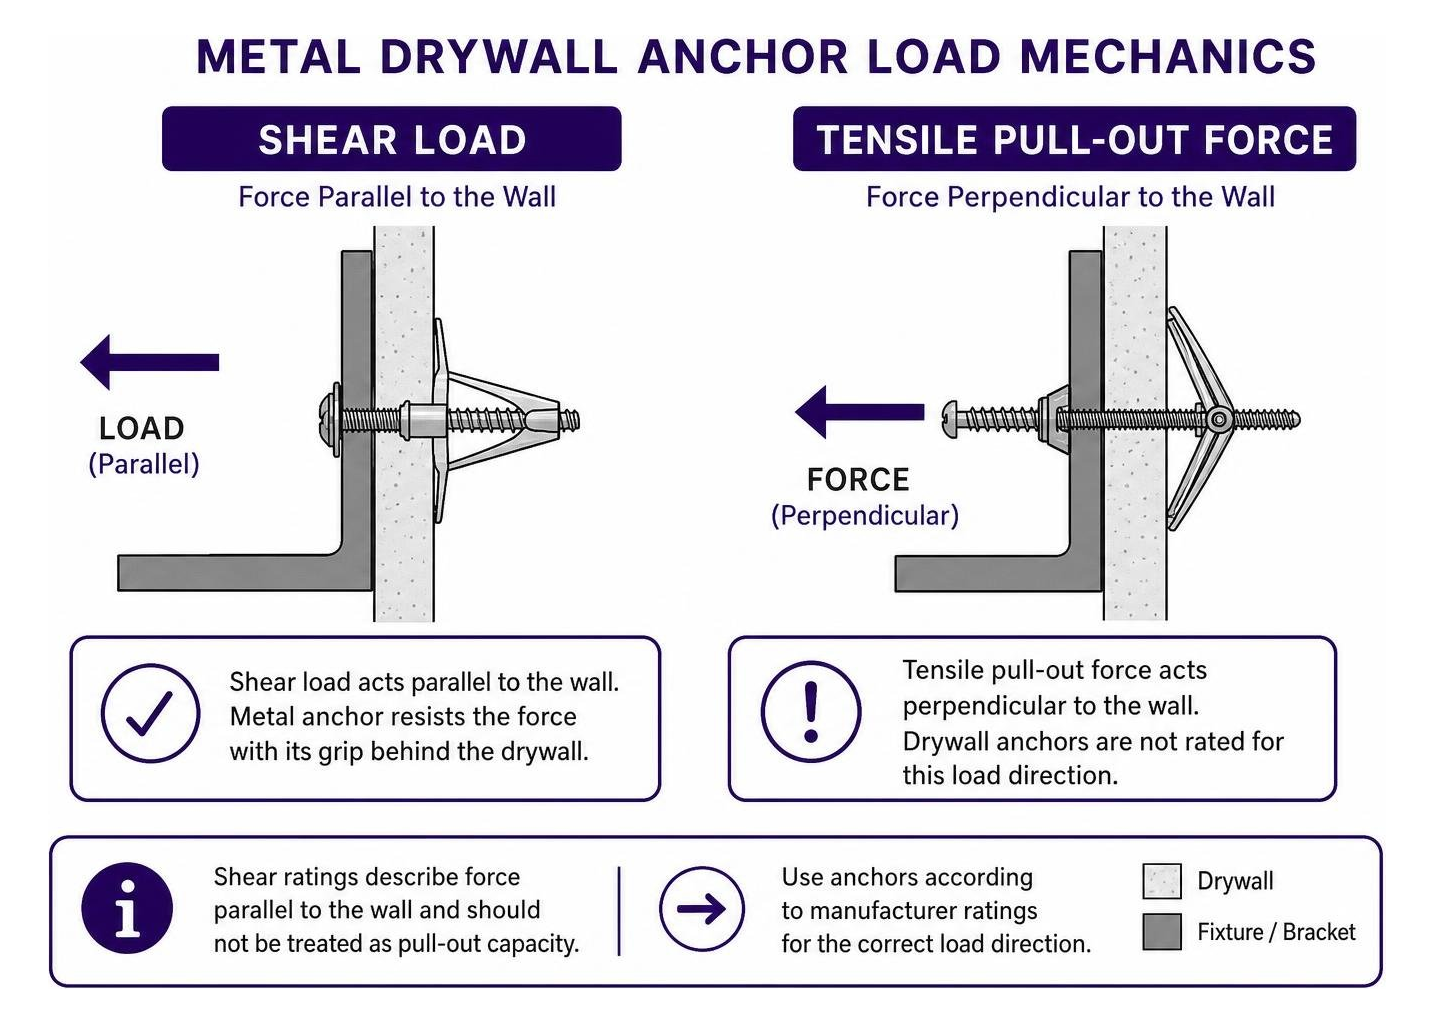
Metal anchors work by creating a mechanical grip behind hollow drywall. Molly bolts spread a metal sleeve behind the board, while toggle bolts open wings that distribute force over a wider area. Use the manufacturer’s rating for the exact drywall thickness and installation method. A shelf or arm-mounted fixture pulls away from the wall, which is different from a straight downward load; published shear ratings describe force parallel to the wall and should not be treated as pull-out capacity.
If a stud is easy to reach, fasten to it instead. For ceiling-mounted items, use hardware specifically approved for overhead loads, since gravity creates ongoing tension on the anchor.
I’m Trevor Jones, owner of GHOSTUD in Knoxville, Tennessee, with more than 16 years of experience in entrepreneurship, marketing, and technology focused on practical building-hardware solutions. I bring a data-driven approach to metal drywall anchor installation, including how drywall thickness, load direction, hole size, and torque affect a mount.
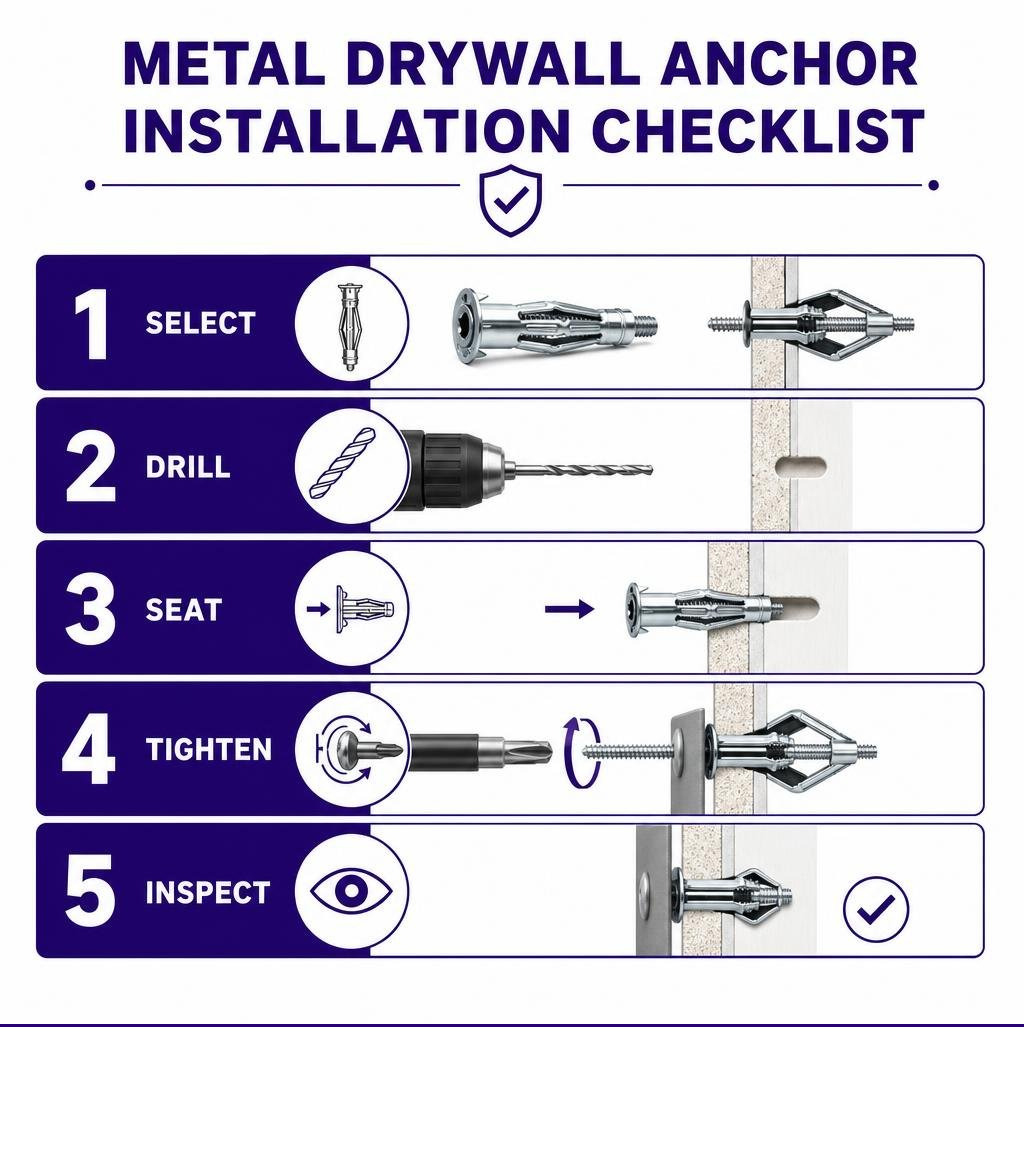
Basic metal drywall anchor installation vocab:
Types of Metal Drywall Anchors and Weight Limits
Hollow-wall fasteners rely on different mechanical behaviors to distribute stress across the gypsum core. Understanding the mechanical differences helps prevent catastrophic wall blowouts. Review our Step-by-Step Guide to Drywall Anchor Types for an exhaustive look at the entire fastener landscape.
- Zinc Self-Drilling Anchors (Threaded Fasteners): Cast from zinc alloy, these fasteners feature aggressive outer threads and a pointed cutting tip. As you drive them into gypsum board, the wide exterior threads tap directly into the chalky core. Self-drilling anchors can hold up to 150 pounds per pair on drywall in pure vertical shear. However, they rely strictly on thread contact inside the board. Over-torquing strips the soft gypsum, causing the anchor to spin and lose all mechanical resistance.
- Steel Molly Bolts (Hollow Wall Drive Anchors): A molly bolt consists of a slotted metal sleeve and an internal machine screw. As the screw tightens, the slotted legs collapse outward against the concealed back surface of the board, creating a broad, four-legged bearing flange. Molly bolts can hold up to 75 pounds per pair on drywall, plaster and other hollow walls. If you are comparing expanding sleeves to hinged systems, see A Practical Guide to Molly Bolt vs Toggle Bolt Comparisons for direct mechanical distinctions.
- Spring Toggle Bolts: Featuring spring-actuated metal wings threaded onto a machine bolt, toggle bolts require a large clearance hole through the drywall. Once pushed past the back of the panel, the wings snap open flat against the rear paper face. Toggle bolts distribute tension across a wide surface area behind the wall. Standard metal toggle assemblies support substantial loads, but removing the bolt drops the spring wings permanently down the wall cavity.
| Metal Anchor Type | Typical Drill Bit / Clearance Size | Drywall Thickness Range | Primary Holding Mechanism | Working Shear Load Limit (Per Pair) |
|---|---|---|---|---|
| Zinc Self-Drilling | No drill (or 1/8 in pilot) | 3/8 in to 5/8 in | Wide external thread bite | Up to 150 lb |
| Steel Molly Bolt | 1/4 in to 5/16 in | Specific to sleeve (1/2 in or 5/8 in) | Collapsing metal expansion sleeve | Up to 75 lb |
| Spring Toggle Bolt | 3/8 in to 5/8 in | 3/8 in to 3/4 in | Spring-loaded wide steel wings | 50 to 100 lb |
When structural demands exceed standard hollow-wall fasteners on 1/2-inch or 5/8-inch gypsum, heavy-duty mounting hardware like the Ghostud Drywall Anchors line provides engineered load spreading without requiring access to a wooden framing member.
Essential Tools for Metal Drywall Anchor Installation
Accurate installation requires matched tools to avoid stripping the fastener head or ripping the drywall face paper:
- Hand Screwdriver (PH2 and Flathead): A standard #2 Phillips hand screwdriver allows precise tactile feedback. Avoid high-RPM impact drivers during the final seating stage, which easily ream out gypsum cores.
- Drill and Matched Bits: Match the drill bit diameter exactly to the anchor sleeve specifications. A bit that is even 1/16-inch oversized prevents the anchor collar from gripping the drywall.
- Rubber Mallet or Light Hammer: Used to tap molly bolt anti-rotation prongs flush into the drywall surface without denting the surrounding plasterboard.
- Safety Glasses and Dust Mask: Drilling dry gypsum generates airborne calcium sulfate dust. Always wear eye protection.
If you are working on a wall without power equipment, consult our guide on how to install anchors into drywall without a drill.
Ceiling vs. Wall Installation Limitations
Wall mounts and ceiling mounts experience entirely different mechanical forces. On a vertical wall, a flush-mounted fixture exerts downward force parallel to the drywall surface—known as shear force. Drywall provides high resistance against downward shear because the load presses against the vertical plane of the panel.
Overhead ceiling installations subject fasteners to pure tensile pull-out force. The fixture pulls directly outward against the back paper face of the ceiling board, assisted continuously by gravity. Because gypsum cores are brittle and soften under humidity fluctuations, standard expanding metal anchors or threaded zinc plugs risk pulling directly through the board.
For overhead direct-mount systems, commercial installers reference engineering standards like the USG Drywall Suspension Direct Mount System Installation Guide (English) – AC5420. When anchoring overhead, standard metal expansion plugs must be derated by at least 50% (a safety factor reduction of 2), or secured into solid structural framing members.
Step-by-Step Metal Drywall Anchor Installation Guide
Executing a secure install requires controlled depth, straight alignment, and torque control.
- Locate and Mark: Hold your mounting bracket against the wall with a bubble level. Mark your mounting points with a pencil. Use an electronic stud finder to verify whether a stud is behind the mark. If a solid wood or metal stud sits directly behind the hole, use standard framing fasteners or review The Ultimate Guide to Drywall to Metal Screws 2026 rather than an expansion anchor.
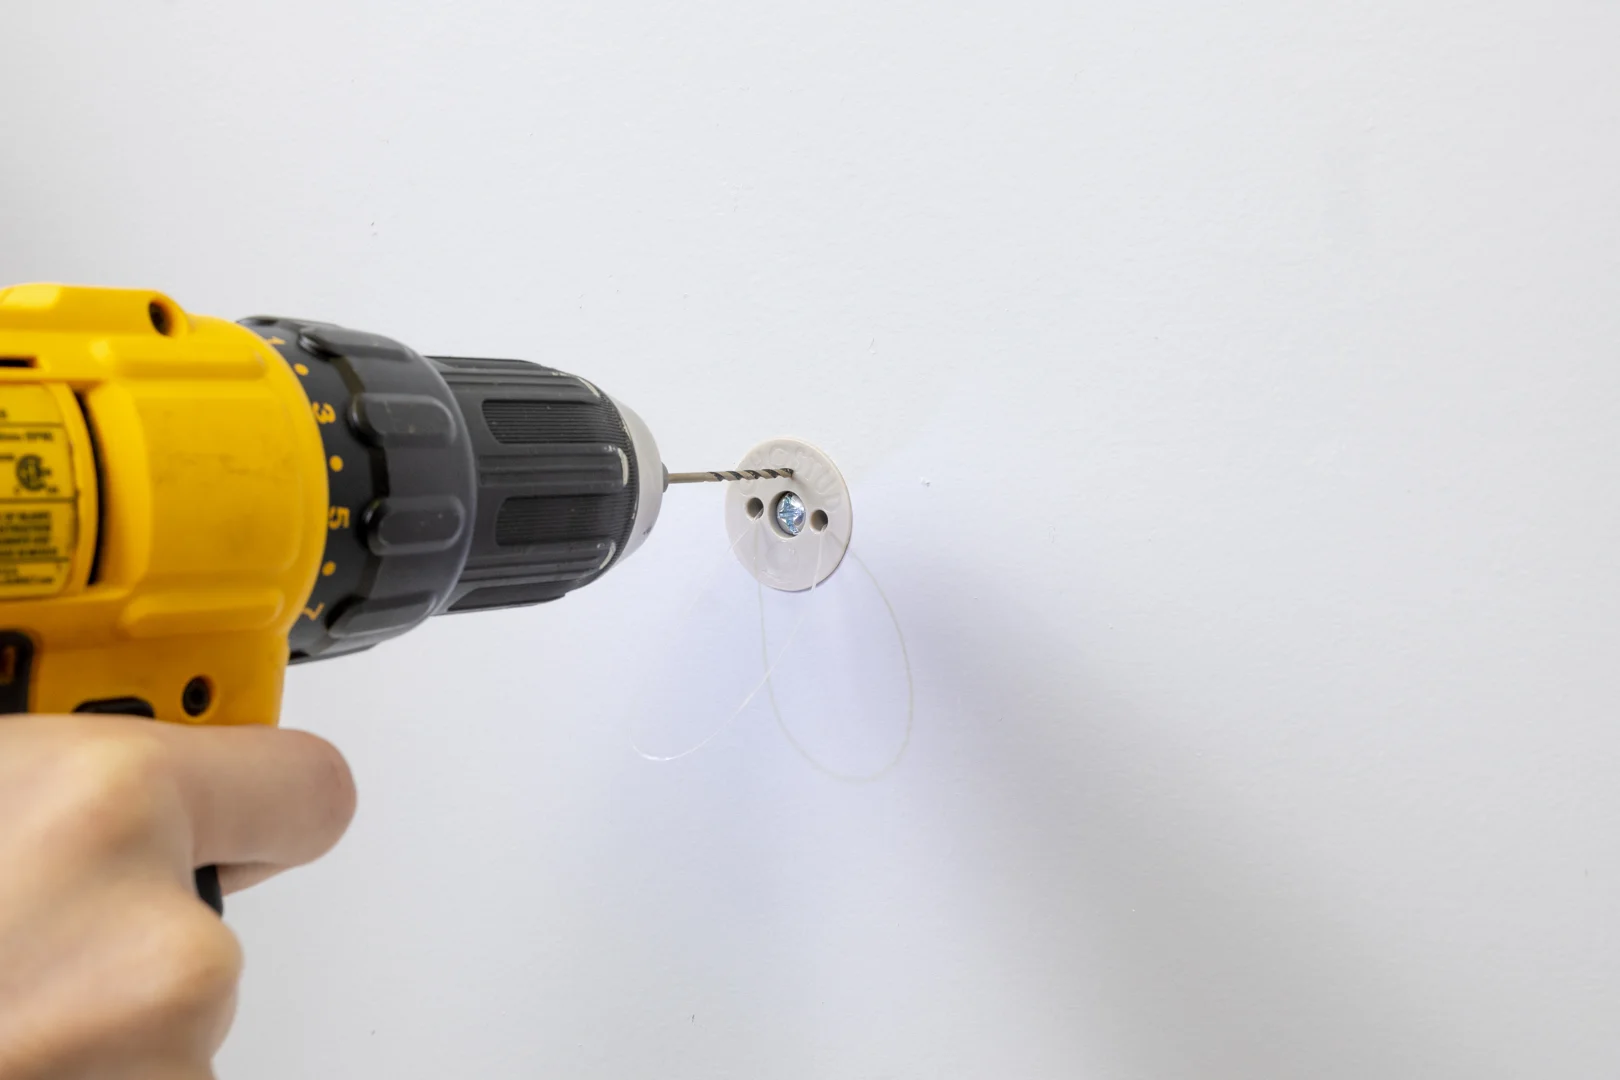
- Drill the Pilot Clearance: If using molly bolts or toggle anchors, chuck the recommended drill bit size into your drill. Hold the bit perpendicular (90 degrees) to the wall. Drill smoothly through the drywall until you penetrate the hollow wall cavity.
- Seat the Anchor: For self-drilling zinc anchors, place a #2 Phillips bit into the center recess, press firmly into the drywall mark, and turn clockwise until the broad head sits flush with the paper surface. For molly bolts, push the sleeve into the drilled hole and tap the collar gently with a mallet until the anti-rotation teeth seat into the paper.
- Expand the Mechanism: Insert the machine bolt through your fixture and into the anchor sleeve. Turn the bolt clockwise using a hand screwdriver. As resistance increases, you will feel the expanding legs collapse against the hidden rear surface. Stop turning immediately once the bolt is snug and resistance spikes.
For additional insertion variations across masonry and hollow materials, check our resource on how to insert an anchor into wall: 5 methods that guarantee results.
Installing Self-Drilling vs. Expanding Hollow Wall Anchors
Self-drilling metal anchors cut their own threads via a sharp lead-in point. As the threads turn into the gypsum, they compress the powdered core into the thread valleys. Stop the drill motor the exact millisecond the outer flange touches the paint surface. Driving it even one quarter-turn past flush strips out the internal gypsum threads, rendering the anchor useless.
Expanding hollow wall anchors (molly bolts) do not rely on thread friction inside the core. Instead, tightening the machine screw draws an internal nut toward the wall face, bowing the metal sleeve outward into a four-pointed star behind the board. The mechanical strength comes from clamping the drywall panel between the outer flange and the expanded metal rear legs.
Common Mistakes to Avoid During Metal Drywall Anchor Installation
- Over-Torquing the Fastener: Using an impact driver to cinch down an anchor will crush the brittle gypsum core into loose powder, leading to sudden pull-out failure.
- Drilling an Oversized Pilot Hole: If the pilot hole is even slightly too wide, the anchor’s anti-spin tabs cannot grip the drywall paper, causing the whole assembly to spin freely.
- Hitting Hidden Obstructions: Forcing a 2-inch molly bolt into a shallow cavity where plumbing pipes, conduit, or framing blocks the sleeve will bend the bolt and crack the wall face.
- Miscalculating Cantilevered Loads: Hanging deep floating shelves or articulating arm mounts creates rotational leverage. This shifts the load from pure downward shear to direct outward tensile pull. Standard shear ratings do not apply to cantilevered brackets.
Troubleshooting, Removal, and Wall Repair
When a metal anchor fails or needs to be removed during remodeling, standard pulling techniques will tear large chunks of gypsum out of the wall.
Removing an Over-Tightened or Loose Anchor
If a molly bolt has expanded behind the wall and spins freely, you cannot back it out by simply unscrewing it. Use one of these two non-destructive removal methods:
- The Push-Through Method: Back the central machine screw out halfway. Place a narrow punch or small flathead screwdriver against the screw head, and tap it sharply with a mallet. This flattens the expanded metal legs slightly. Back the screw out completely, place an awl or punch against the hollow center, and push the entire sleeve into the wall cavity where it drops safely to the bottom plate.
- The Drill-Out Flange Method: Chuck a 3/8-inch high-speed steel drill bit into your drill. Place the bit directly over the metal collar on the finished wall surface. Drill lightly at low speed until the circular head separates from the sleeve. Pry the loose outer washer off with a flathead screwdriver, then tap the remaining sleeve into the wall cavity with a punch.
Once the hardware is cleared, fill the depression with non-shrinking spackle or setting-type joint compound, let it dry, sand it smooth, and touch up the paint.
Frequently Asked Questions About Metal Drywall Anchors
Can metal drywall anchors be reused once removed?
Self-drilling zinc threaded anchors can generally be backed out of the wall and reused in a fresh location if their outer drive threads and drive recess are undamaged. However, expanding molly bolts cannot be reused because their slotted metal sleeves undergo permanent mechanical deformation behind the wall. Once expanded, the metal fatigue prevents the sleeve from straightening back to its factory shape.
What should you do if a metal drywall anchor spins freely in the hole?
If an anchor spins while you try to drive the screw, slip the tip of a thin flathead screwdriver or the edge of needle-nose pliers under the outer metal lip. Pull outward gently to apply friction against the rear paper face while turning the screw with a hand tool. If the drywall core is completely pulverized, push the anchor into the cavity, patch the hole, and move your mounting location at least 1.5 inches away.
Are metal drywall anchors stronger than plastic drywall anchors?
Metal drywall anchors offer significantly higher shear strength, fire resistance, and resistance to brittle failure than standard plastic expansion plugs. Standard plastic ribbed anchors rely on basic friction inside a drilled hole and hold only about 10 pounds per pair. Zinc self-drilling anchors and steel molly bolts mechanically clamp the panel or tap deep threads, providing 75 to 150 pounds of shear resistance per pair on intact drywall.
Safe Hardware Selection and Project Execution
Completing your mounting project securely depends on choosing the correct mechanical fastener for your wall material and load direction. Standard plastic expansion plugs work well for lightweight photo frames (under 5 to 10 pounds), while metal self-drilling anchors and molly bolts handle medium-duty items like towel bars, bathroom mirrors, and small shelving units.
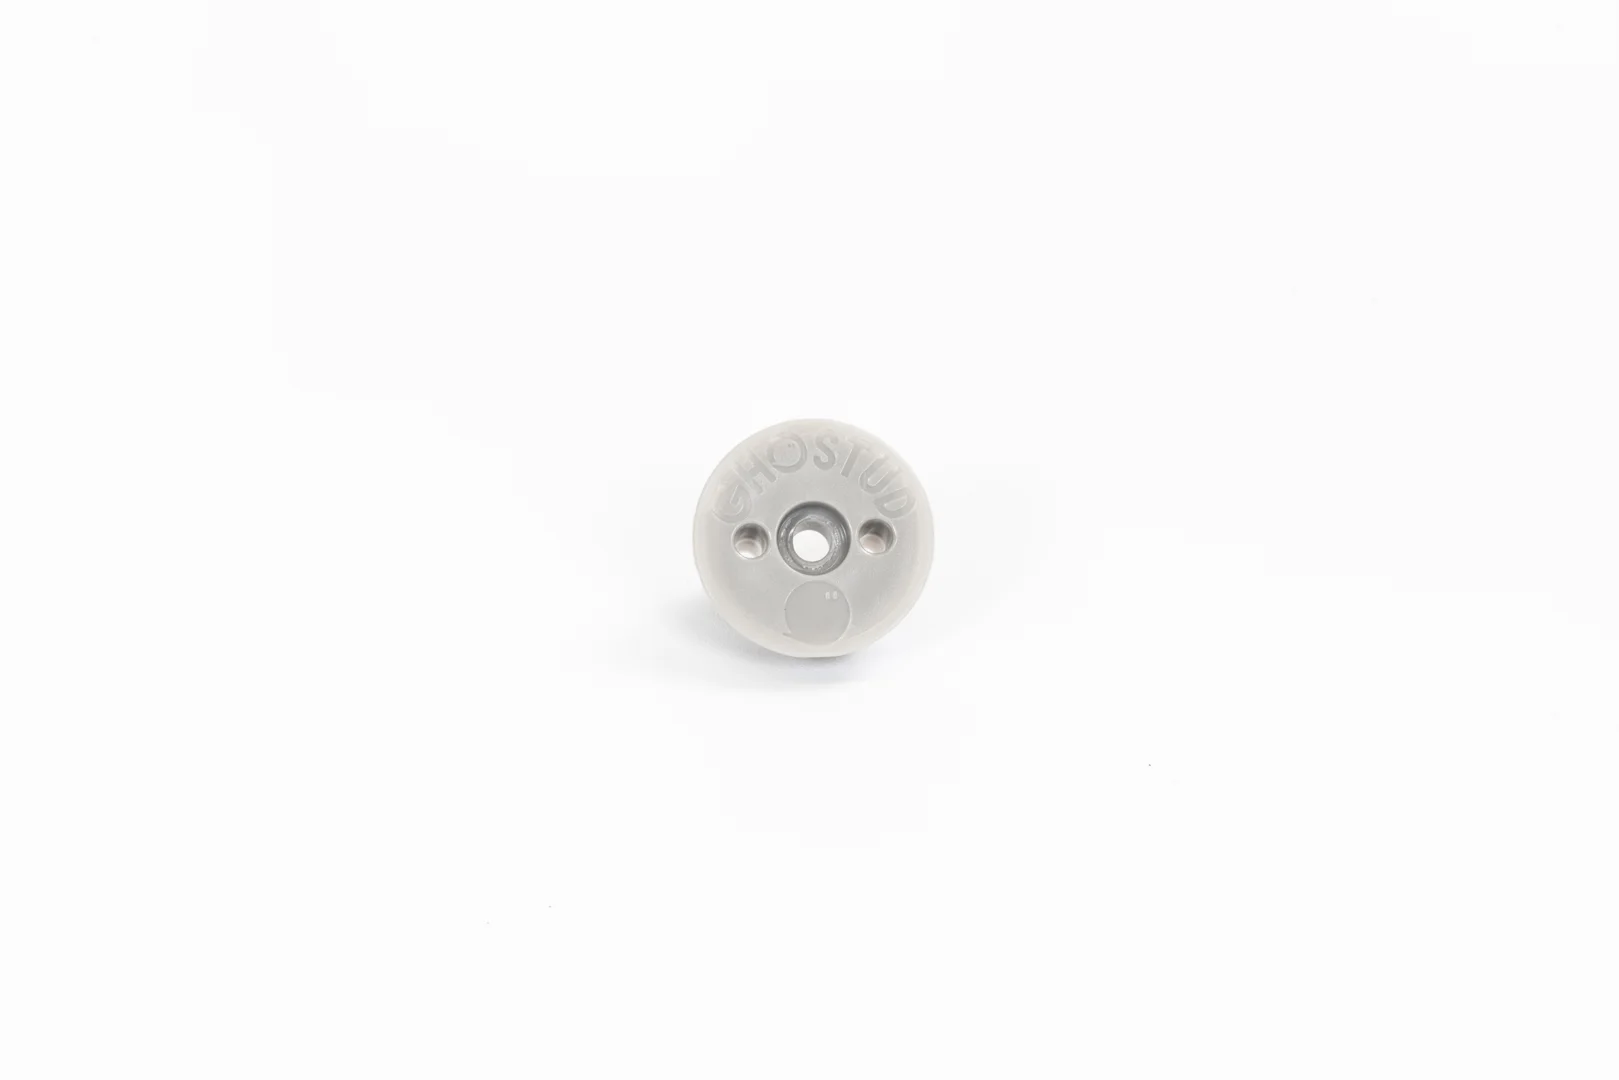
When your installation demands extreme load-bearing capacity without access to a wall stud, our patented GHOSTUD fasteners provide engineered performance. The GS1 anchor installs with a 1-inch hole saw and supports up to 250 lb on 1/2-inch or 5/8-inch drywall, while the heavy-duty GS2 installs with a 2-inch hole saw and supports up to 1,000 lb shear in 1/2-inch or 5/8-inch drywall. Manufactured in the USA from 100% recycled plastic, both systems are sold in 2-packs and 20-packs.
When GHOSTUD Is the Wrong Choice: GHOSTUD products are engineered strictly for hollow drywall. If you encounter concrete, brick, plaster and lath, stucco, tile backer board, or light-gauge metal studs, GHOSTUD is the wrong fastener. Do not use GHOSTUD hardware on solid masonry or plaster assemblies; instead, stop work at the wall, select dedicated masonry sleeve anchors or toggle bolts designed for structural substrates, and drill the appropriate pilot holes with a masonry bit. Furthermore, never use hollow-wall anchors for safety grab bars, handrails, or applications intended to support human body weight—those fixtures require direct structural fastening into solid framing studs.
For complete step-by-step instructions, hole cut specifications, and layout guidelines, visit our comprehensive Install Guide.