
How to Hang Shelves Without Studs Safely
Use a stud if one is in the right spot. If not, weigh the shelf and everything you plan to put on it. Choose hollow-wall anchors and shelf brackets suited to that load. Check for hidden wires and pipes, mark level mounting points, install the hardware as directed, then add weight gradually while watching for movement or sag.
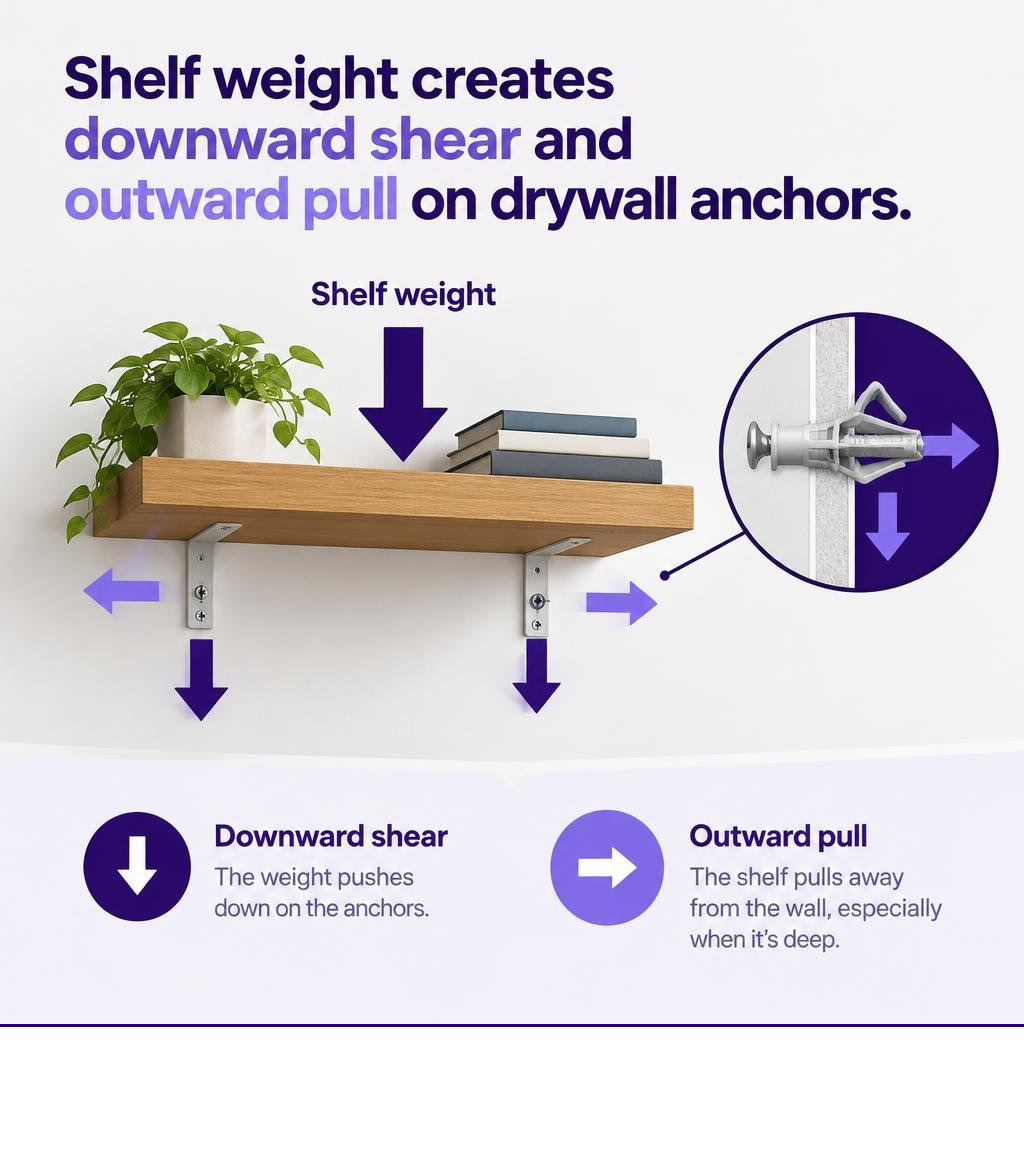
A shelf also pulls outward on its fasteners, especially when it is deep. An anchor’s downward shear rating is not the safe weight limit for a finished shelf.
Hollow-wall anchors for this job are made for 1/2-inch or 5/8-inch drywall only. For plaster, lath, concrete, masonry, brick, stucco, tile over backer board, or metal studs, use a mounting method made for that surface.
Know your shelf-anchoring terms:
- how to anchor a shelf without studs
- how to mount a shelf without studs
- best wall anchor for heavy shelf
Understanding Drywall Mechanics: Shear Force vs. Pull-Out Leverage
Drywall consists of a brittle gypsum core encased in paper facing sheets. Standard residential interior walls use either 1/2-inch (12.7 mm) or 5/8-inch (15.9 mm) panels. Because drywall lacks the grain structure of dimensional lumber, it cannot grip standard wood screws. Driving a screw straight into drywall strips the gypsum core immediately under load.
When you mount a flat item like a picture frame against a wall, the weight pulls straight down. This is downward shear force. Drywall resists shear force relatively well when paired with wide fasteners that do not slice through the core.
Shelving introduces a second, more destructive force: cantilever leverage. The shelf acts as a lever arm. Downward weight at the front edge of the shelf pivots on the bottom of the bracket, translating into a direct horizontal pull-out tension on the top mounting anchors.
Standard anchors fail mechanically in two distinct ways under shelf loads:
- Gypsum Core Crushing: The top fastener pulls outward, crushing the soft gypsum plaster against the back paper face until the fastener pulls completely free.
- Paper Tear-Out (Hole Wallowing): Repeated vibrations or cyclic loading cause the narrow metal or plastic anchor collar to saw through the front paper face, elongating the hole and causing the shelf to tip downward.
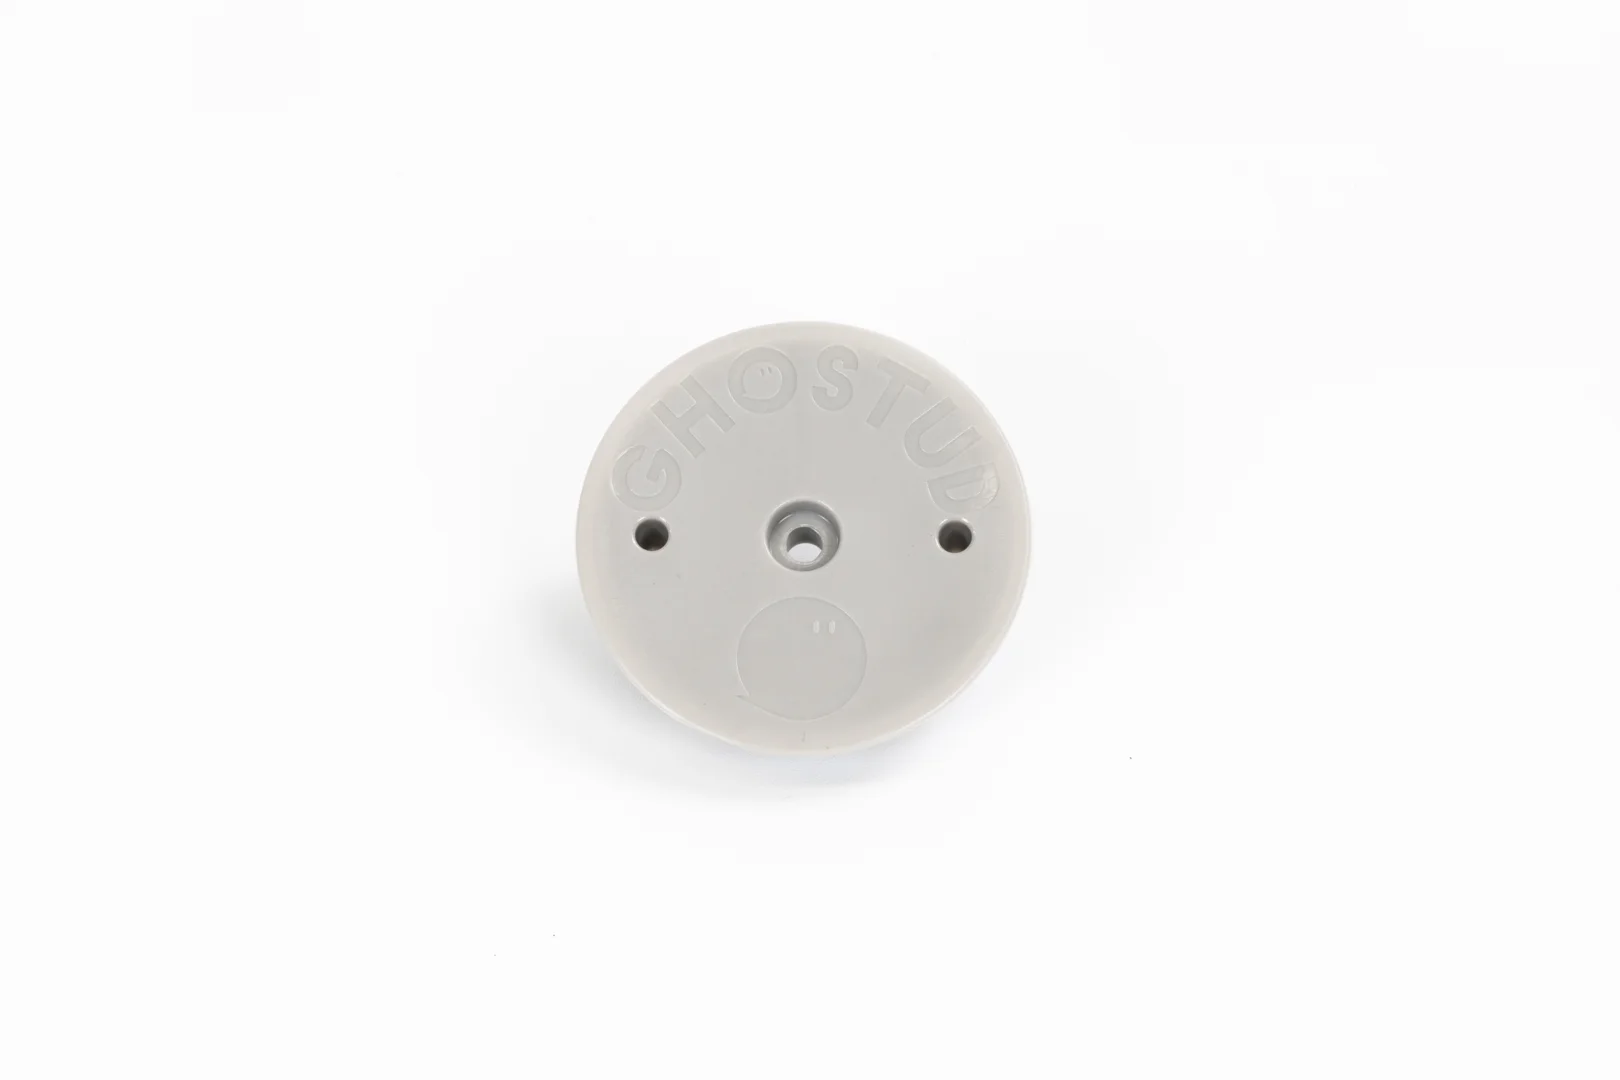
To maintain structural hold without framing studs, fasteners must distribute clamping force across a broad surface area behind the wall panel. We engineer our load-distributed hardware to spread this pressure widely across the inner face of the gypsum. For a technical breakdown of testing methods, review our guide to understanding shear ratings and anchor mechanics.
The table below outlines our authorized ratings and specifications for hollow drywall panels:
| Product Model | Hole Saw Size Required | Drywall Thickness | Rated Shear Capacity | Recommended Applications |
|---|---|---|---|---|
| GHOSTUD GS1 | 1-inch (25.4 mm) | 1/2 in or 5/8 in drywall | Up to 250 lb shear | Light shelving, curtain rods, towel bars, picture frames |
| GHOSTUD GS2 | 2-inch (50.8 mm) | 1/2 in or 5/8 in drywall | Up to 1,000 lb shear | Heavy shelving, cabinets, TVs, mirrors, static storage loads |
Note: The 1,000 lb figure is a shear rating measured parallel to the wall surface, not a pull-out rating. Shelf installations must account for bracket depth and forward cantilever leverage.
Mounting something heavy where there’s no stud? GHOSTUD® spreads the load across the drywall with a wide backplate instead of relying on the gypsum core. GS1 holds up to 250 lb shear, GS2 up to 1,000 lb. Made in the USA from recycled structural plastic. Shop GHOSTUD® from $16.99 →
The 5-Step Guide: Hanging Shelves Without Studs
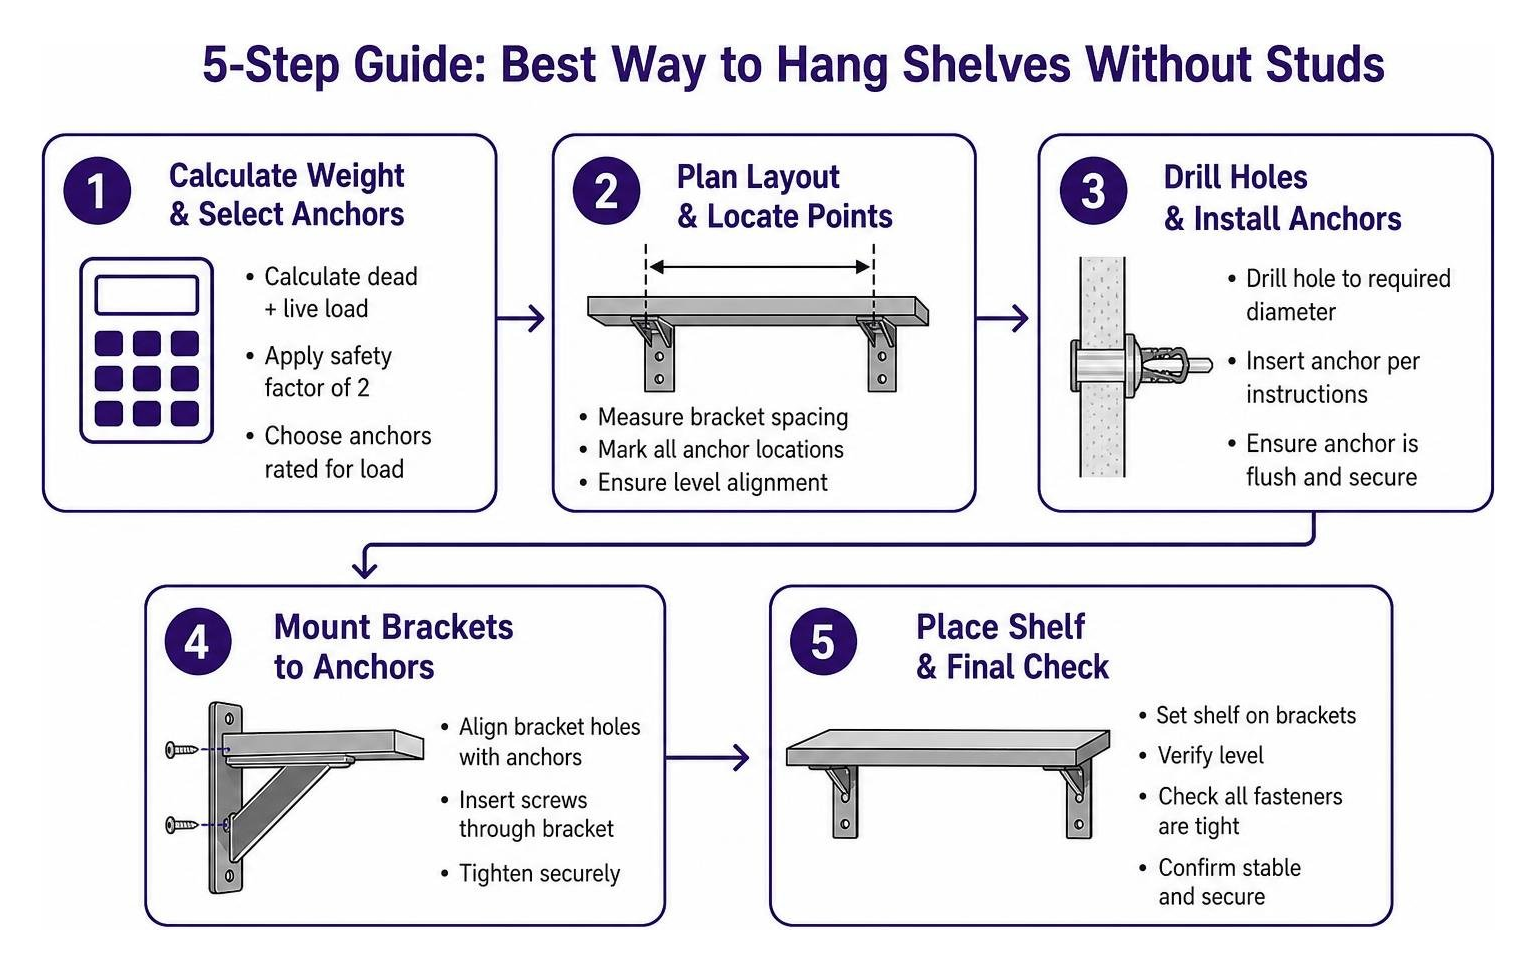
Finding the best way to hang shelves without studs comes down to methodical prep work and calculating your expected loads. Before picking up a drill, review the trade-offs of evaluating drywall anchors vs stud mounting. Always anchor into structural studs spaced 16 inches or 24 inches on center whenever your layout permits. When framing is unavailable, follow these five steps.
Step 1: Calculate Total Weight and Select Your Anchors
Calculate the combined dead load (the weight of the empty shelf and mounting hardware) and live load (all stored items, books, or dishware).
Apply a safety factor of 2. If your shelf and its contents weigh 40 pounds, select hardware rated to handle at least 80 pounds of static load distributed across your mounting points. For step-by-step sizing rules, read our walkthrough on selecting the right drywall anchor for your load.
Step 2: Mark Placement and Verify Hollow Cavities
- Place a torpedo level against the wall at your desired shelf height.
- Scribe a light pencil line along the top edge.
- Hold your shelf brackets against the line and mark each mounting hole clearly.
- Run an electronic stud finder over the marks. If a stud is present, use standard wood screws directly into the framing.
- If the space is hollow, use the sensor’s AC wire detection mode to verify there are no hidden electrical runs or plumbing lines behind the drywall.
Step 3: Drill Precise Pilot Holes
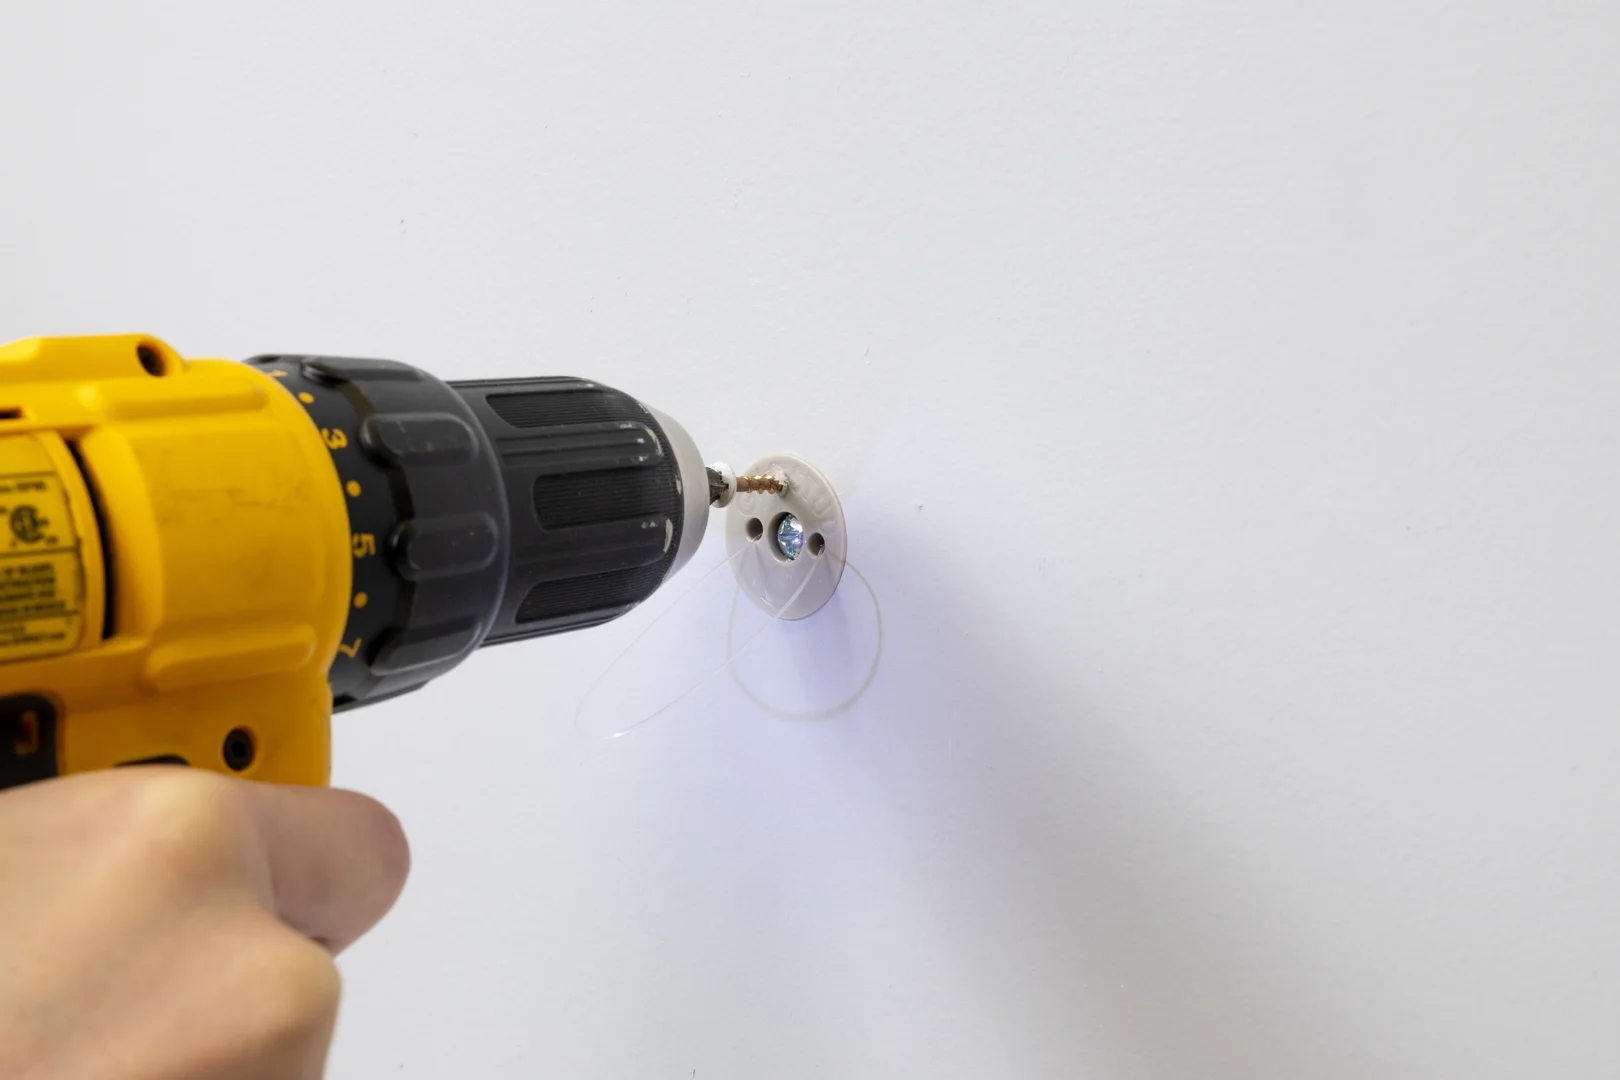
- Chuck the correct drill bit or hole saw into your drill driver based on your anchor specifications. For commodity anchors, match the drill bit shank to the anchor manufacturer’s exact diameter. For GHOSTUD GS1, use a 1-inch hole saw; for GS2, use a 2-inch hole saw.
- Hold the drill perpendicular (90 degrees) to the wall face.
- Drill at moderate speed without pressing excessively hard. Forcing the bit blows out the gypsum core on the back side of the sheet, weakening the wall.
- Vacuum drywall dust from around the perimeter of the opening.
Step 4: Insert Fasteners and Secure Mounting Brackets
- Insert your hollow-wall fastener into the prepared opening following the manufacturer’s engagement steps.
- Align your shelf bracket holes over the anchor mounting points.
- Drive the machine screws into the anchor assembly using a manual handheld screwdriver rather than an impact driver. Impact tools deliver sudden torque spikes that can strip metal threads or compress gypsum past its elastic limit.
- Snug the bracket firmly against the drywall face until it cannot shift or wobble.
Step 5: Mount Shelf Body and Conduct Load Testing
- Secure the shelf plank to the mounted wall brackets using the supplied short wood screws.
- Place your level across the shelf surface from side to side and front to back.
- Apply firm, gradual downward pressure by hand to test the assembly for movement.
- Place items onto the shelf starting at the back edge closest to the wall, distributing weight evenly. Check out our detailed guide on how to mount heavy shelves safely without sagging to monitor long-term deflection.
Anchor Selection Guide: Matching Fasteners to Shelf Weight
Selecting the correct fastener prevents catastrophic pull-out and wall failure. Never use basic plastic expansion plugs for functional shelving; they rely purely on friction and pull out under forward leverage. For deeper mechanical insights, see our analysis on preventing pull-out failure on heavy wall shelves.
| Fastener Type | Shear Capacity (1/2″ Drywall) | Shear Capacity (5/8″ Drywall) | Best For | Trade-offs |
|---|---|---|---|---|
| Plastic Expansion Plug | 5–10 lbs | 10–15 lbs | 5 lb picture frames, smoke detectors | Zero cantilever resistance; pulls out of drywall easily |
| Self-Drilling Zinc Anchor | 25–50 lbs | Up to 135 lbs | Light decorative ledges (<15 lbs) | Fragile gypsum threads; fails under cyclic loading |
| Molly Bolt (Expansion Sleeve) | 30–50 lbs | 30–50 lbs | Medium wall brackets (20–40 lbs) | Difficult to remove cleanly; requires specific wall thickness |
| Spring Toggle Bolt | 50–75 lbs | 50–100 lbs | Moderate utility shelving (30–60 lbs) | Large entry hole; wings drop behind wall if screw is removed |
| GHOSTUD GS1 | Up to 250 lbs | Up to 250 lbs | Dynamic fixtures, light-to-medium shelves | Requires 1″ hole saw; permanent install |
| GHOSTUD GS2 | Up to 1,000 lbs | Up to 1,000 lbs | Heavy static shelving, cabinets, credenzas | Requires 2″ hole saw; permanent install |
Light-Duty Shelving (Under 20 lbs): GHOSTUD GS1
For lightweight shelving holding small framed photos, spice jars, or decorative accents, the load demands are low. Standard self-drilling zinc anchors hold 25 to 50 pounds in shear and work for purely static, non-critical items.
If the shelf experiences daily handling, use the GHOSTUD GS1. It requires a 1-inch hole saw and provides up to 250 lb shear capacity in 1/2-inch or 5/8-inch drywall, clamping securely to resist loosening over time.
Medium-Duty Shelving (20 to 50 lbs): Assessing GHOSTUD for the Load
Medium shelves holding dinnerware, folded linens, or small electronics generate substantial cantilever pull. Standard 1/4-inch toggle bolts support 50 to 75 pounds each in 1/2-inch drywall, while heavy-duty steel strap toggles handle 80 to 100 pounds.
However, standard toggle bolts concentrate all their clamping pressure onto two small metal wings. Over time, dynamic movement can crush the drywall core. Using the GS1 anchor spreads the load over a broad circular surface area on the drywall face, preventing progressive hole wallowing in standard 1/2-inch or 5/8-inch panels.
Heavy-Duty Shelving (50+ lbs): High-Load Anchoring Without Studs
When hanging solid butcher block ledges, hardwood bookshelves, or heavy pantry storage without studs, mechanical leverage multiplies rapidly. A 12-inch deep shelf holding 60 pounds of books exerts hundreds of pounds of outward tension on the upper bracket fasteners.
For these structural loads on 1/2-inch or 5/8-inch drywall, install the GHOSTUD GS2. Requiring a 2-inch hole saw, the GS2 delivers up to 1,000 lb shear strength per anchor in 1/2-inch or 5/8-inch drywall. It utilizes a wide backplate made from 100% recycled plastic to clamp hollow drywall securely across a broad radius. Distribute at least two GS2 anchors across your bracket mounting span for heavy static loads.
Note the trade-offs: the GS2 requires cutting a 2-inch opening with a hole saw, carries a higher hardware cost than commodity stamped-steel toggles, and represents a permanent wall installation. For custom woodwork, pair it with our system on how to mount a shelf without studs.
Floating Shelf Mounting: Seamless Studless Support
Floating shelves lack external diagonal support brackets, relying entirely on internal steel rods welded to a back mounting plate. This design concentrates extreme rotational torque directly at the wall face.
If you use self-drilling anchors, keep the total assembly weight under 30 to 40 pounds. For heavier floating shelves, anchor the base plate into 1/2-inch or 5/8-inch drywall using high-capacity hollow-wall hardware. Review our complete step-by-step instructions on mounting floating shelves correctly in 5 steps to align hidden rods accurately. For zero-stud floating configurations, see our detailed guide on mounting a floating shelf on drywall.
Edge Cases, Wall Material Limits, and Wall Repair
Plaster, Masonry, and Tile Limitations
GHOSTUD GS1 and GS2 anchors are strictly engineered for 1/2-inch and 5/8-inch drywall panels. They are not suitable for plaster and lath, brick, concrete block, masonry, stucco, tile over cement backer board, or metal framing studs.
- Plaster and Lath Walls: Hole saws tear old wood lath and shatter brittle lime plaster. Use standard steel toggle bolts or traditional molly bolts, drilling pilot holes slowly with masonry or carbide bits without percussion.
- Masonry and Brick: Use expansion sleeves, concrete wedge anchors, or masonry screws drilled directly into solid brick or mortar joints.
- Tile Surfaces: Drill pilot holes using a diamond-tipped core bit with water lubrication, penetrating into framing studs or using specialized hollow-tile toggles.
Troubleshooting Spinning Anchors and Wall Repair
When a standard plastic or threaded zinc anchor spins freely inside drywall, the gypsum core has blown out. The fastener has zero holding capacity.
- Back the center screw out using a manual screwdriver while applying light pulling pressure with pliers.
- Carefully pull the spinning anchor sleeve out of the wall face.
- If the bracket placement cannot move, drill a clean opening over the damaged hole using a hole saw and install a GHOSTUD GS1 (1-inch hole) or GS2 (2-inch hole) to span across the damaged area.
- If relocating the bracket, fill the blown-out cavity with setting-type joint compound or a fiberglass mesh patch, let dry, sand flush, and repaint.
If you are using toggle bolts, refer to how to anchor a shelf without studs fast by using toggle bolts and read how to hang shelves on drywall without studs safely alongside our overview on how to hang shelves without studs. For general mounting mechanics, consult the easiest way to fasten shelves to wall.
Frequently Asked Questions About Hanging Shelves Without Studs
Can I hang heavy butcher block or solid wood bookshelves on drywall without studs?
Yes, provided you calculate the total cantilever load and use heavy-duty fasteners designed for broad load distribution. For solid hardwood or butcher block shelving holding heavy static loads, install two or more GHOSTUD GS2 anchors on 1/2-inch or 5/8-inch drywall, which deliver up to 1,000 lb shear strength per anchor. For extremely deep shelves (over 12 inches), mount a continuous horizontal wood ledger strip across multiple wall sections to minimize point tension.
What should I do if a drywall anchor spins in the wall during installation?
Do not drive a screw into a spinning anchor. Remove the anchor using needle-nose pliers. If the drywall hole has crumbled, you can either step up to a larger toggle system, cut a clean opening with a 1-inch or 2-inch hole saw to install a GHOSTUD GS1 or GS2, or patch the hole completely with joint compound and shift your shelf location 2 inches to the left or right.
How do I remove drywall anchors without damaging the wall when moving?
For threaded self-drilling anchors, back the anchor out counterclockwise with a Phillips screwdriver. For traditional spring-wing toggle bolts, unthread the machine screw completely; the metal wing will fall harmlessly down the interior wall cavity. Push any remaining flush collar slightly below the drywall plane using the back of a screwdriver handle, cover the dimple with lightweight spackle, sand flat with 120-grit sandpaper, and apply touch-up paint.
Conclusion
Hanging shelves securely without studs comes down to basic physics: calculate your total static and dynamic weight, account for cantilever pull-out leverage, and match your wall panel to the correct fastener. While standard plastic plugs work for basic 5 lb picture frames, functional shelving requires mechanical load distribution to prevent gypsum blowout.
For additional mounting setups, explore our comprehensive floating shelves without studs guide.
Next physical action at the wall: Grab your tape measure, mark your desired shelf height, and run your stud finder across the line. If no stud is present, verify your drywall thickness (1/2 in or 5/8 in) before selecting your hollow-wall hardware.
Mount it once, mount it right. Compare GS1 and GS2 →