
How to Install Drywall Anchors Without a Drill
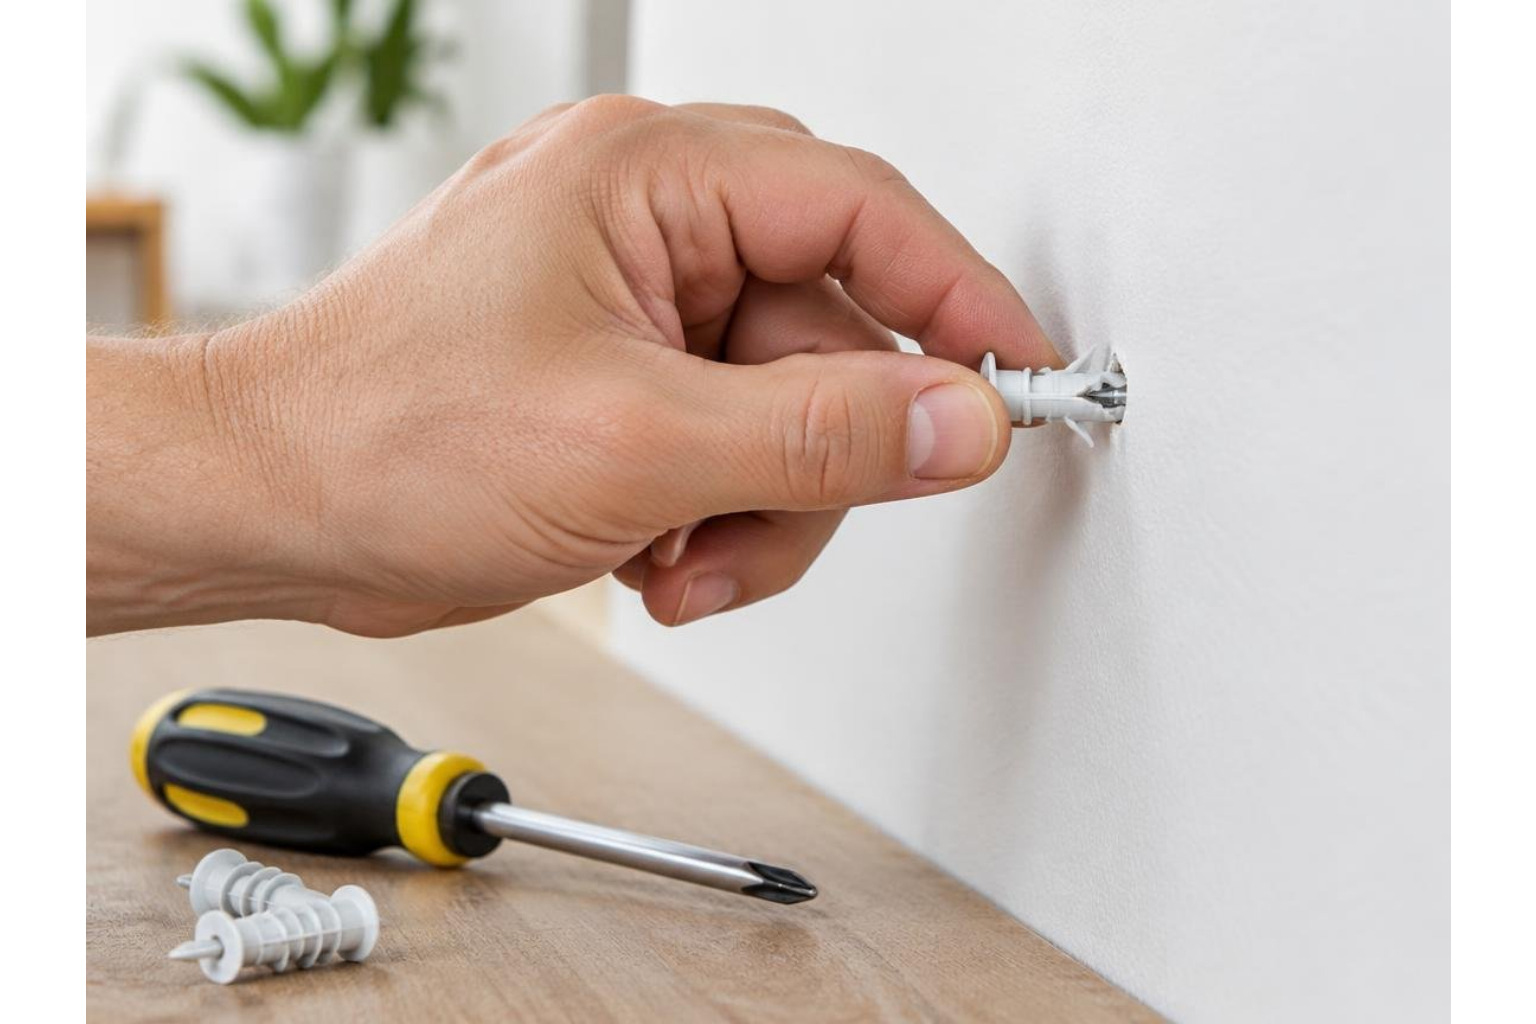
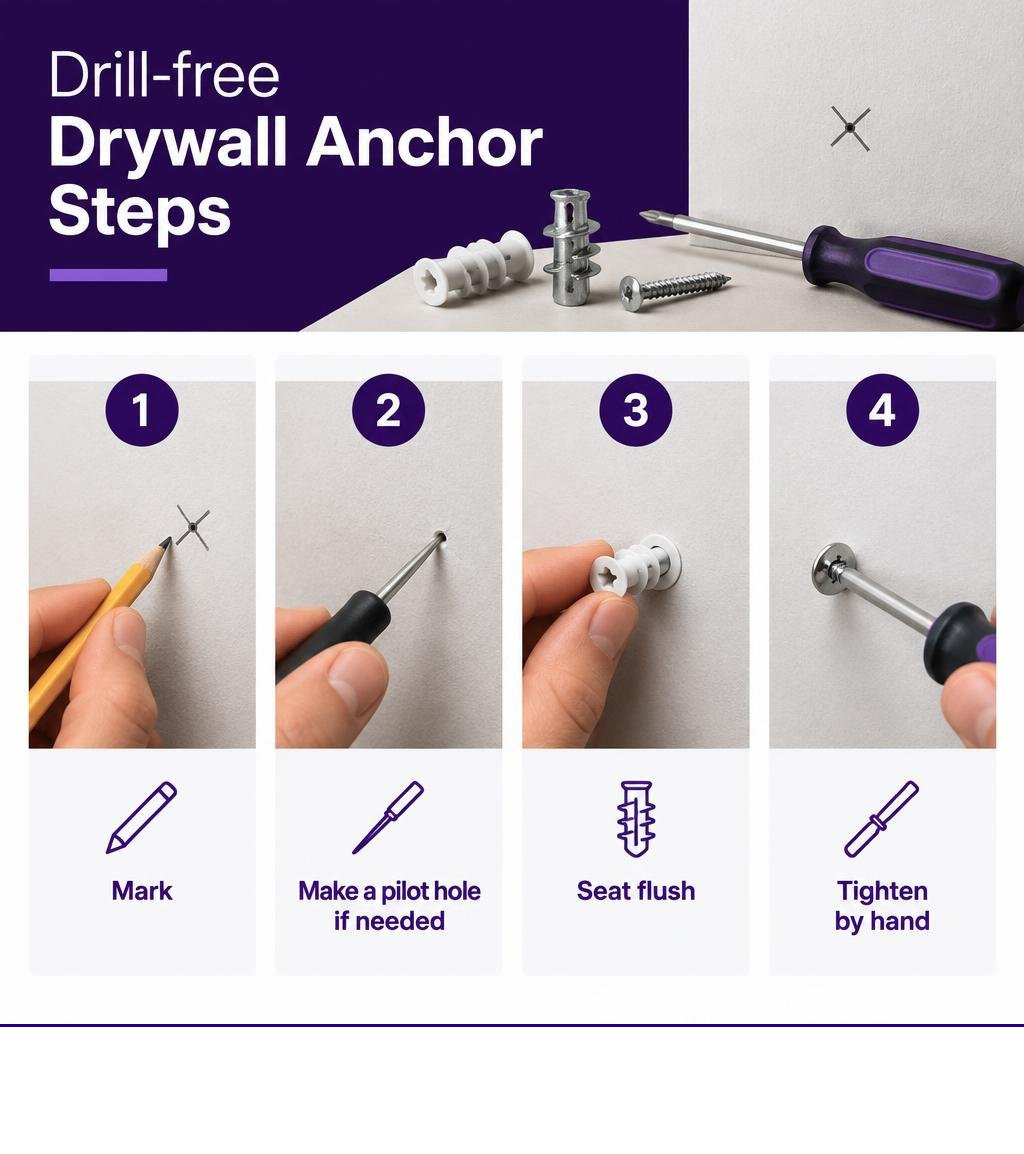
For a self-drilling anchor, turn it into sound drywall with a hand screwdriver until its flange is flush, then tighten the matching screw. For a ribbed plastic anchor, make a snug pilot hole with an awl, tap the anchor flush, and tighten the screw by hand. Stop if the anchor spins or the wall crumbles; a loose anchor will not hold reliably.
Handy terms:
Why Drywall Requires Anchors and How Manual Fastening Works
Drywall consists of a brittle gypsum plaster core sandwiched between two layers of paper facing. When you drive a bare screw directly into drywall without hitting a wooden stud, the screw threads crush the chalky gypsum core into dust. With no solid material to bite into, the screw pulls out under minor loads.
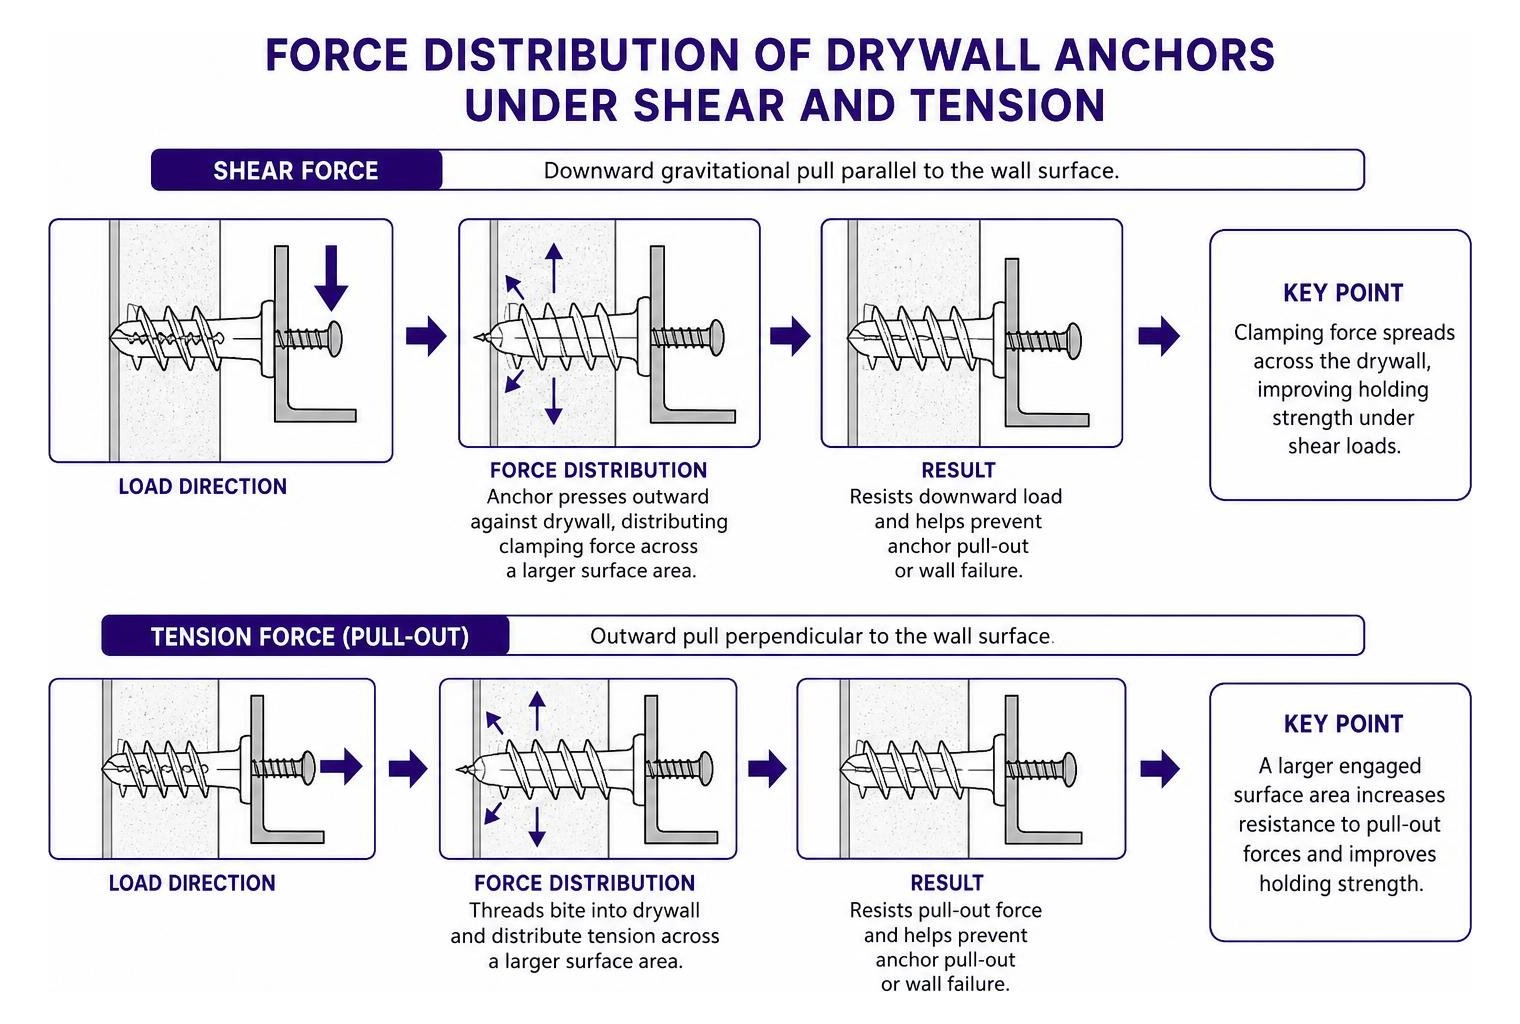
Anchors solve this problem by distributing clamping force across a larger surface area of the drywall. When mounting items, two physical forces act on your fastener:
- Shear force: The downward gravitational pull exerted by the mounted fixture parallel to the wall surface.
- Tension force (pull-out): The outward pull perpendicular to the wall surface, often created when fixtures project outward or experience physical tugging.
Understanding the mechanics behind different designs is critical when reviewing a step-by-step guide to drywall anchor types. Standard plastic expansion plugs push outward against the sides of a pilot hole, generating friction against the gypsum. Self-drilling anchors use wide, aggressive threads to bite directly into the gypsum, turning the compressed core into a load-bearing surface.
To prevent wall failure, always select hardware matching the weight of your item. Be sure you are matching drywall screws to anchors correctly, using the exact screw gauge and length specified on the packaging. Standard safety practice requires factoring in a 4:1 safety margin, which means using no more than 25 percent of the anchor’s maximum rated capacity for your working load.
How to Install Drywall Anchors Without a Drill: Step-by-Step Methods
You can safely install common lightweight hollow-wall fasteners using hand tools like screwdrivers, awls, nails, and mallets. Always locate wall studs before installing any anchor. Standard wall studs measure 1.5 inches wide and are typically spaced 16 inches apart on center. If your target location lands over a stud, skip the anchor entirely and drive a standard wood screw straight into the framing lumber.
For safety guidelines regarding secure household mounting, review official federal recommendations like the CPSC Furniture Tipover Prevention Project.
Using Self-Drilling Fasteners
Self-drilling drywall anchors (also known as threaded corkscrew anchors) feature sharp, pointed tips and wide outer threads. These allow the fastener to cut its own opening through paper and gypsum without a pre-drilled pilot hole.
Follow these steps to drive self-drilling fasteners:
- Mark the target: Mark your mounting location on the wall with a pencil.
- Pierce the paper surface: Position the sharp point of the self-drilling anchor directly on your pencil mark. Press a #2 Phillips hand screwdriver firmly against the anchor head and push the tip into the wall just enough to puncture the outer paper facing.
- Drive the anchor clockwise: Keep the screwdriver completely perpendicular (at a 90-degree angle) to the wall. Apply steady forward pressure while turning the screwdriver clockwise. The cutting tip will bore into the gypsum core, and the wide exterior threads will pull the anchor inward.
- Seat flush to the wall: Stop turning the moment the anchor head sits flat against the drywall surface. Avoid over-torquing, which strips out the soft gypsum core and causes the anchor to spin loosely.
- Secure your fixture: Align your fixture bracket over the anchor center, insert the included screw, and tighten with your hand screwdriver until snug.
For related mounting processes, see this guide on putting anchors in walls without a drill.
Using the Awl and Screwdriver Technique
Standard plastic expansion sleeves or ribbed anchors lack a cutting tip and require a manual pilot hole. For deeper details on plastic fasteners, consult this resource on installing plastic anchors without a drill.
To create a clean manual pilot hole without tearing drywall paper, apply these steps:
- Apply painter’s tape: Place a small square of blue painter’s tape over your installation mark. This reinforces the outer drywall paper facing and prevents ragged surface tears.
- Punch the pilot hole: Set the tip of a scratch awl (or a sturdy nail) on your mark. Tap the end lightly with a hammer or mallet until the tool penetrates the drywall core. Ensure the resulting hole diameter is slightly smaller than the tip of your plastic expansion sleeve.
- Insert the expansion anchor: Remove the tape. Push the plastic anchor into the opening by hand.
- Tap flush: Tap the anchor head gently with a rubber mallet until the rim is completely flush with the drywall face. Do not strike it with heavy force, or you will bend the plastic sleeve.
- Drive the mounting screw: Insert the screw through your item’s mounting bracket and into the anchor. Drive the screw clockwise with a hand screwdriver. As the screw moves forward, it expands the split plastic legs outward behind the wall, clamping the anchor tightly against the gypsum core.
If you are working on tight schedules, you can also review these fast drill-free anchor insertion methods.
Selecting the Right Anchor: Manual Fastener Types and Weight Limits
Hollow-wall fasteners vary significantly in structural capacity. Never exceed manufacturer limits, and always observe proper safety ratios.
| Anchor Type | Manual Installation Tool | Safe Working Load (1/2″ Drywall) | Common Household Applications |
|---|---|---|---|
| Plastic Ribbed Plug | Awl / Nail & Mallet | 5 to 10 lb per pair | Small picture frames, smoke detectors |
| Self-Drilling Nylon | #2 Phillips Screwdriver | 15 to 25 lb per pair | Wall clocks, lightweight mirrors, small art |
| Self-Drilling Zinc | #2 Phillips Screwdriver | 25 to 50 lb per pair | Light shelving, decorative wall sconces |
| Toggle Bolt | Awl/Punch & Screwdriver | 50 to 100 lb per pair | Heavy mirrors, light dynamic brackets |
| GHOSTUD GS1 (Requires Hole Saw) | Drill with 1″ Hole Saw | Up to 250 lb (1/2″ or 5/8″ drywall) | Towel bars, curtain rods, light shelving |
| GHOSTUD GS2 (Requires Hole Saw) | Drill with 2″ Hole Saw | Up to 1,000 lb shear (1/2″ or 5/8″ drywall) | TVs, heavy cabinets, large mirrors |
Lightweight to Medium-Duty Manual Anchors
For items under 10 pounds, commodity plastic expansion plugs work well and cost very little. They provide adequate friction for static objects like small art frames. When you need more security for medium loads up to 25 or 50 pounds, threaded self-drilling anchors cut direct mechanical threads into the gypsum, preventing minor slippage.
For full comparisons across hardware options, check our guide on how to select the right drywall anchor or explore methods for installing wall anchors without a drill on a budget.
High-Capacity Drywall Fasteners
Standard manual anchors are not designed for heavy, daily dynamic loads or high-value static items. For fixtures subjected to repeated daily pulling—such as towel bars, curtain rods, and toilet paper holders—standard plastic anchors frequently fail due to hole wallowing.
When mounting requirements exceed standard anchor ratings, dedicated structural hardware is necessary:
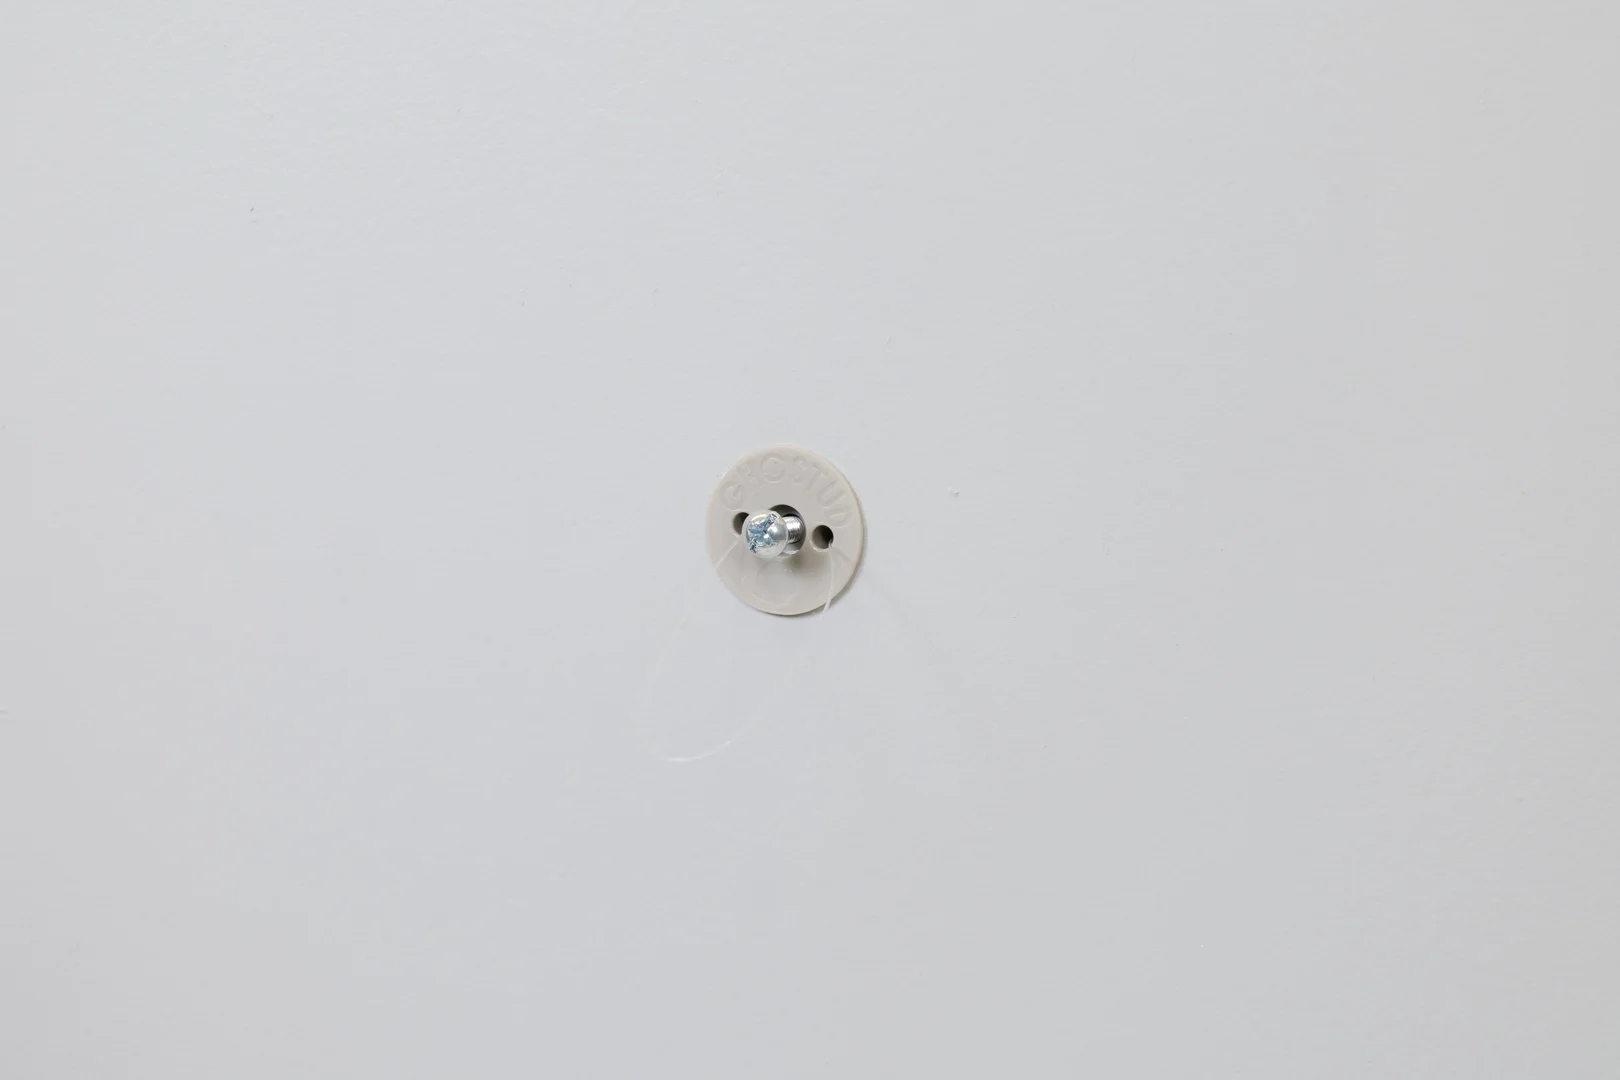
- GHOSTUD GS1: Requires a 1-inch hole size and is rated up to 250 lb in 1/2 in or 5/8 in drywall. It is engineered specifically for dynamic fixtures like towel bars, curtain rods, toilet paper holders, picture frames, and light shelving.
- GHOSTUD GS2: Requires a 2-inch hole size and is rated up to 1,000 lb shear in 1/2 in or 5/8 in drywall. It is built for TVs, cabinets, shelving, large mirrors, and heavy static loads.
Both models install with a hole saw, are made from 100% recycled material in the USA, and are sold at ghostud.com in 2-packs and 20-packs. Because they require a hole saw, GHOSTUD anchors cannot be installed without a drill. For specialty hardware requiring dedicated tooling, learn how to use a wall anchor tool.
Critical Mistakes, Plaster Walls, and Edge Cases to Avoid
Installing anchors manually requires care to avoid damaging brittle wall surfaces.
Watch out for these specific mechanical failure modes:
- Core Reaming (Spinning Anchors): Over-tightening a self-drilling anchor grinds the internal gypsum core into powder. The anchor loses all friction and spins freely in place.
- Paper Face Delamination: Forcing an oversized anchor into an undersized pilot hole tears the paper facing away from the plaster core, destroying the wall’s tensile resistance.
- Cyclic Wallowing: Traditional toggle bolts and hollow-wall anchors can hold heavy static loads, but repeated vibration or dynamic pulling causes the metal bar to crush the rear drywall paper face over time, loosening the entire mounting hole.
Surface Limitations: Drill-free manual methods are suitable for drywall, but they fail on plaster walls. Plaster over wood lath is dense and brittle; driving an awl or self-drilling anchor into plaster will crack the finish coat and shatter the underlying wood lath without penetrating cleanly. Plaster installations require pre-drilling with masonry or carbide bits.
Similarly, GHOSTUD is for drywall only (1/2 in or 5/8 in). It is not suitable for plaster, lath, concrete, masonry, brick, stucco, tile over backer board, or metal studs. If you have these surfaces, choose specialized masonry anchors or structural fasteners designed for those specific materials. GHOSTUD must also never be used as a substitute for direct stud mounting when a framing stud is accessible, nor is it rated for grab bars, handrails, safety rails, ADA applications, or child-safety furniture anti-tip anchoring.
For further manual techniques, see these guides on installing anchors without drills.
Frequently Asked Questions About Installing Wall Anchors Without Power Tools
What should I do if the pilot hole is too big or the anchor spins?
If an anchor spins freely, it has lost structural grip and will fail under load. Remove the loose anchor. Replace it with a larger-gauge self-drilling anchor or a spring-loaded toggle bolt that spans across the back of the enlarged opening. Alternatively, patch the stripped hole with spackling compound, let it dry, sand it smooth, and move your mounting location at least 1 to 2 inches away into solid drywall.
Can I install drywall anchors without a drill into plaster walls?
No. Plaster is far harder and more brittle than standard gypsum drywall. Pushing an awl or screwing a self-drilling anchor into plaster will shatter the plaster keys and crack the wall surface. Plaster walls require a power drill equipped with a masonry drill bit to create clean pilot holes without causing impact fractures.
Does installing an anchor manually reduce its weight capacity?
No. An anchor’s weight capacity depends on its mechanical design, thread dimensions, and the structural integrity of the drywall. As long as you create a clean pilot hole, keep the anchor perpendicular, and avoid stripping the gypsum core, a manually installed anchor provides the same load capacity as one driven with power tools.
Conclusion
Installing drywall anchors without a drill is straightforward when using hand screwdrivers, awls, and self-drilling fasteners. Match your anchor to the weight of your fixture, avoid over-torquing into the gypsum core, and verify your wall material before starting. For larger home improvement projects and detailed technical walkthroughs, consult our complete drywall anchor installation guide.
Step up to your wall, locate any hidden framing studs, mark your placement accurately, and secure your hardware using the proper manual techniques.