
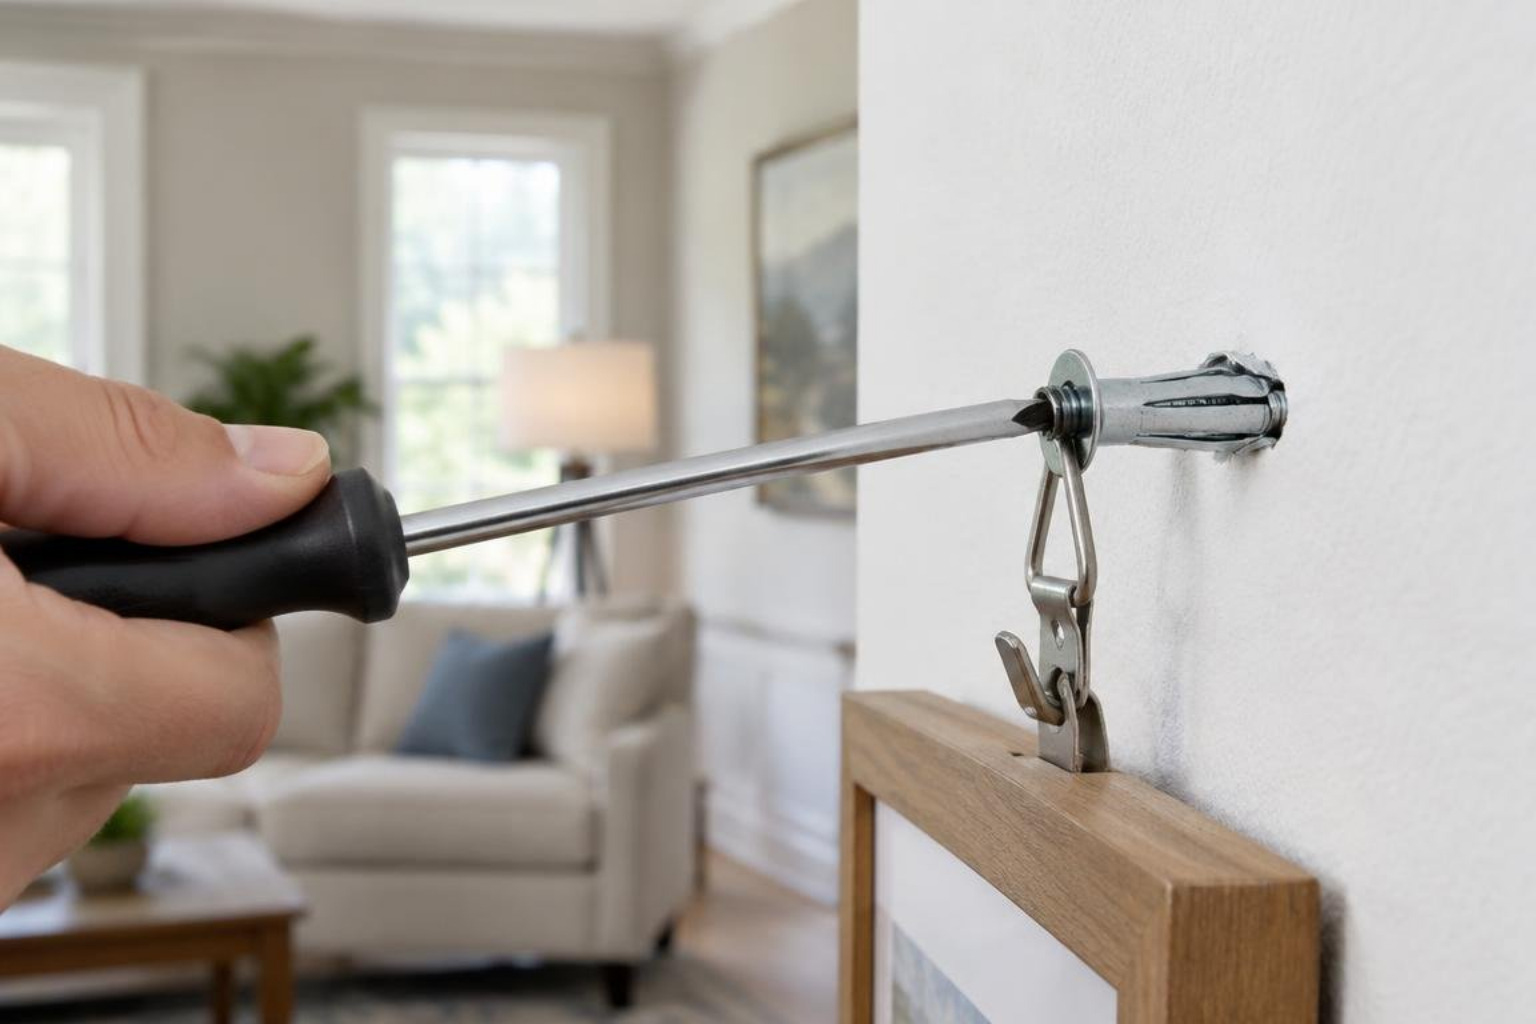
Choose a Drywall Anchor Picture Hanger That Fits Your Frame
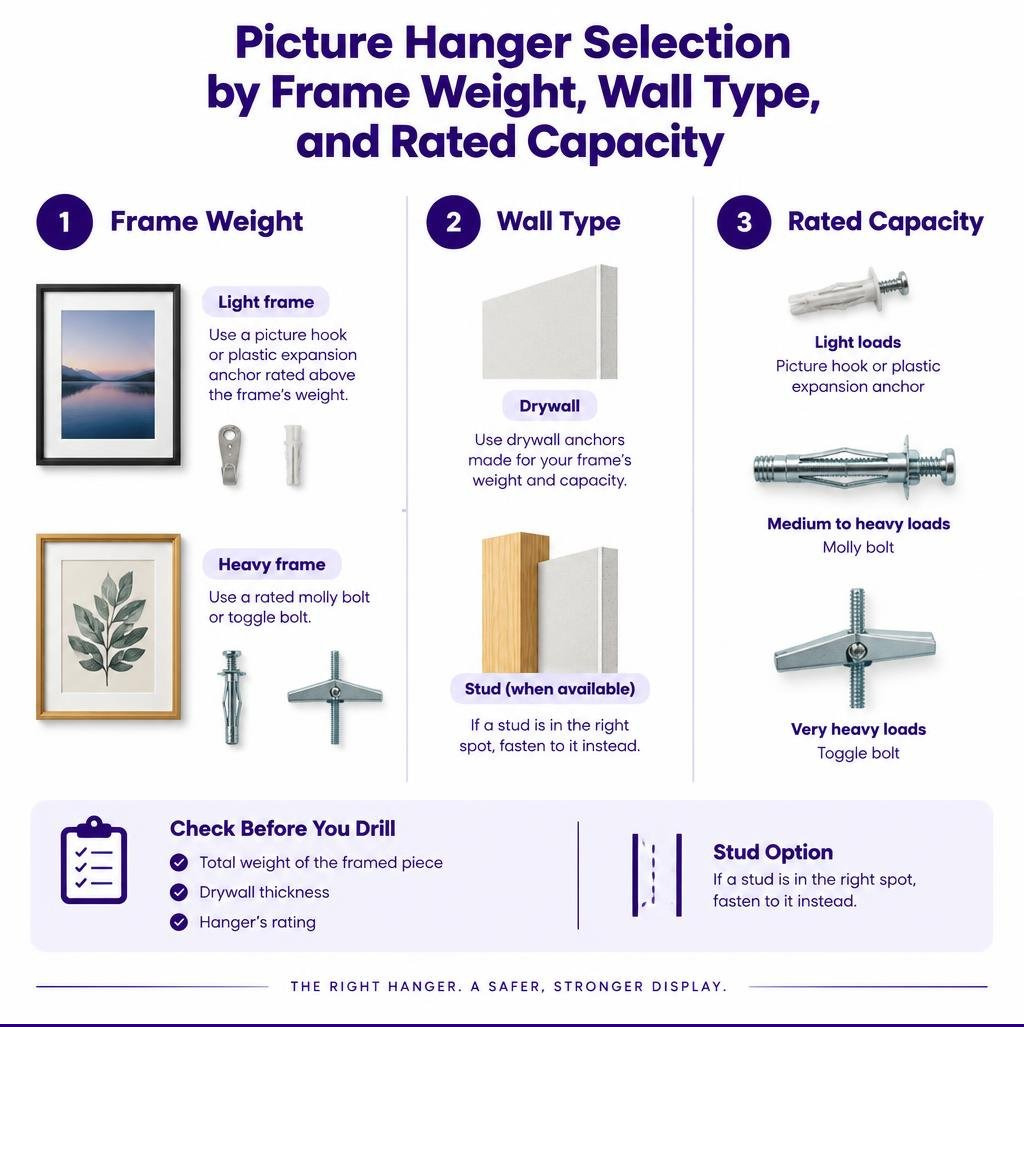
For a light frame, choose a picture hook or plastic expansion anchor rated above the frame’s weight. For heavier art, use a rated molly bolt or toggle bolt. Check the weight of the entire framed piece, the drywall thickness, and the hanger’s rating before you make a hole. If a stud is in the right spot, fasten to it instead.
For heavy frames where no stud is available, a high-capacity hollow-wall anchor rated for 1/2 in or 5/8 in drywall is the right call. Match the hardware to the wall and the load. A picture hanger with a drywall anchor works only when the anchor’s shear rating and the drywall thickness match the frame’s total weight.
Drywall anchor picture hanger terms made easy:
- how to hang a heavy picture on plasterboard securely
- how to hang a heavy picture without damaging the wall
- how to hang a heavy mirror without damaging the wall
Understanding Wall Mechanics: Shear Load vs. Pull-Out Strength
Mounting wall art subjects your drywall to two distinct mechanical forces: shear load and pull-out (tensile) force.
Shear load is the downward gravitational force acting parallel to the wall face. When you hang a flat picture frame, nearly all the weight acts in shear. Pull-out force acts perpendicular to the wall, pulling the fastener straight out of the drywall core. Because picture wire and mounting brackets place the center of gravity close to the wall, standard hanging hardware primarily resists shear.
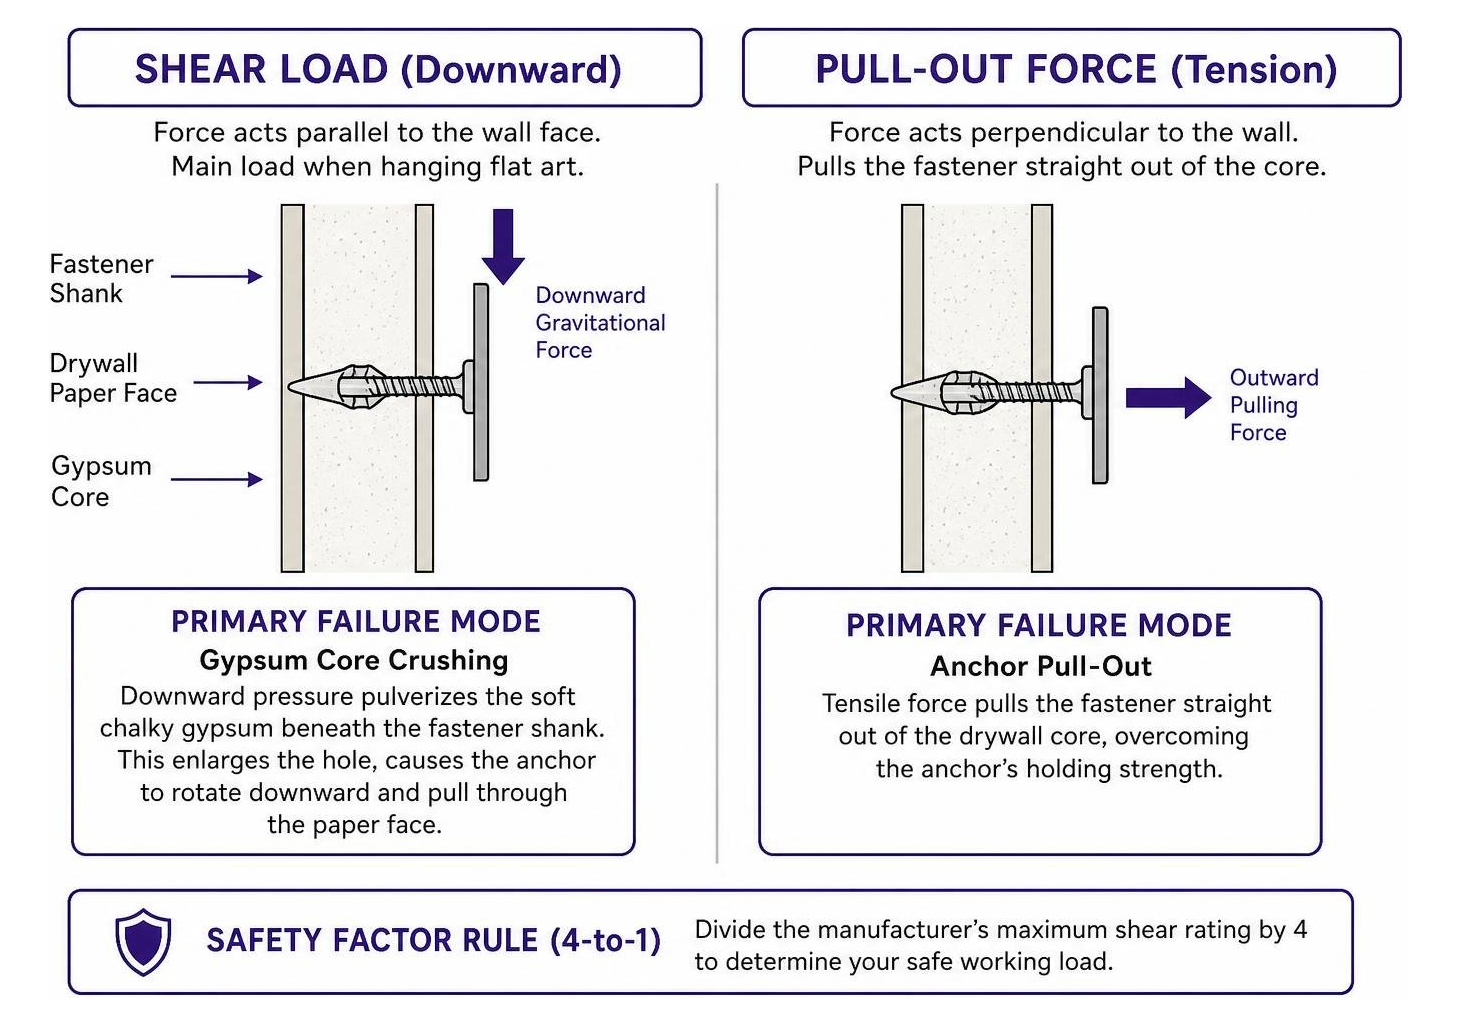
Drywall consists of a brittle gypsum core sandwiched between two paper facings, as standardized across the industry by the Gypsum Association. When an anchor fails under shear load, the primary failure mode is gypsum core crushing. The downward pressure pulverizes the soft chalky gypsum beneath the fastener shank. This enlarges the mounting hole into an oblong tear and causes the anchor to rotate downward and pull through the paper face.
To prevent this progressive failure, always apply the standard 4-to-1 safety factor rule: divide the manufacturer’s maximum shear rating by 4 to establish your safe working load. For example, an anchor rated for a 100-pound maximum ultimate load safely supports a 25-pound frame. Standard residential drywall is either 1/2-inch or 5/8-inch thick; always confirm your substrate thickness before buying hardware, as thinner 3/8-inch panels carry lower holding values. Review our cluster pillar guide to drywall anchors and our detailed breakdown on how to select the right drywall anchor for your load for deeper calculations.
| Anchor Hardware Type | Rated Shear Capacity (1/2″ Drywall) | Safe Working Load (4:1 Factor) | Required Hole / Bit Size | Best Application |
|---|---|---|---|---|
| Angled Wire Hook / Nail | Up to 20 lbs | 5 lbs | None (Nail point) | Lightweight art, small canvas |
| Plastic Expansion Plug | Up to 25 lbs | 6.25 lbs | 3/16 in to 1/4 in | Small framed photos |
| Self-Drilling Screw Anchor | Up to 45 lbs | 11.25 lbs | None (Self-tapping) | Medium wall decor |
| Steel Molly Bolt | 10 to 50 lbs | 2.5 to 12.5 lbs | 5/16 in to 3/8 in | Clocks, medium mirrors |
| Push-In Steel Claws | 15 to 65 lbs | 3.75 to 16.25 lbs | None (Push-in prongs) | Framed prints, gallery art |
| Spring Toggle Bolt | 25 to 50 lbs | 6.25 to 12.5 lbs | 3/8 in to 1/2 in | Heavy decorative frames |
| Self-Drilling Toggle (Mega Hook) | Up to 100 lbs | 25 lbs | None (Self-tapping) | Oversized frames, mirrors |
| GHOSTUD GS1 Anchor | Up to 250 lbs | 62.5 lbs | 1 in Hole Saw | Picture frames, light shelving |
How to Choose and Install a Drywall Anchor Picture Hanger
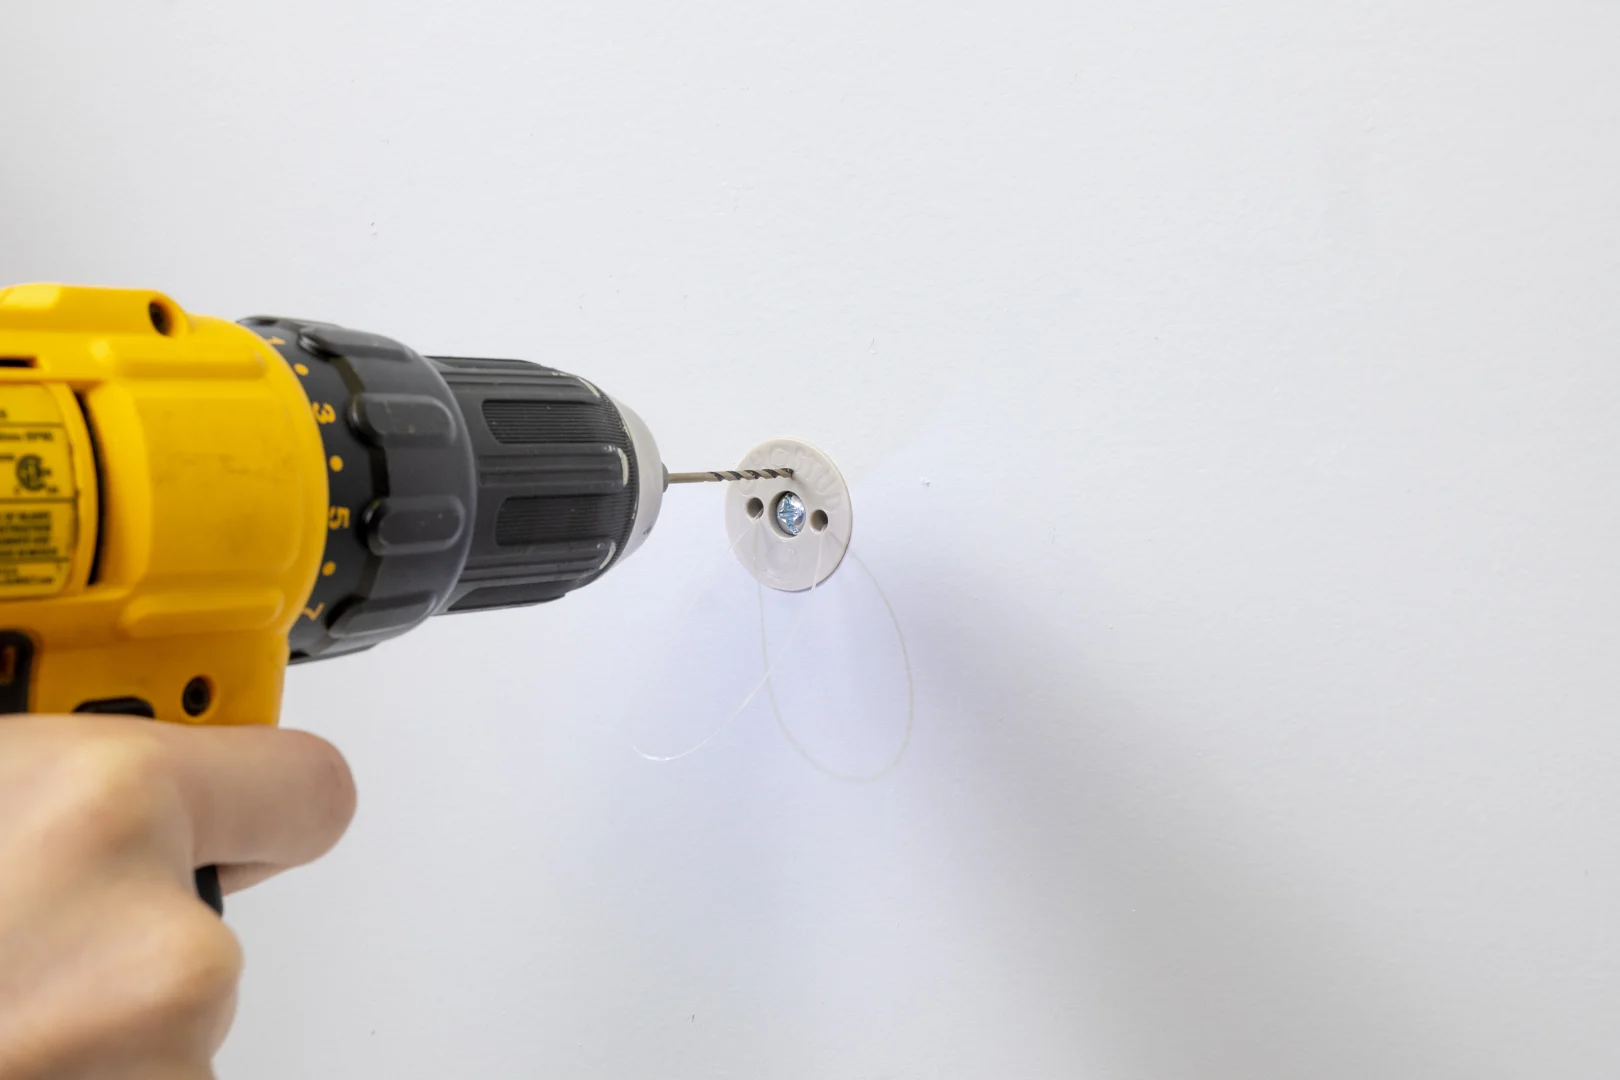
Installing a picture hanger with a drywall anchor requires basic tools and precise prep work. Gather the following gear before you begin:
- Tape measure and pencil
- Bubble level or laser level
- Electronic stud finder
- Drill with standard twist bits
- #2 Phillips head screwdriver and flathead screwdriver
- Clean spot markers or painter’s tape
Always follow detailed steps for how to use wall anchors in drywall step by step to avoid damaging your wallboard during installation.
Step-by-Step Installation for Every Anchor Type
Follow these exact steps based on the anchor design you choose:
Self-Drilling Screws and Hooks:
- Mark your target height with a pencil.
- Place the sharp tip of the self-drilling anchor directly on the pencil mark.
- Press firmly with a #2 Phillips screwdriver and rotate clockwise until the wide threads bite into the drywall.
- Drive the anchor flush with the drywall surface. Do not over-torque, or you will strip the gypsum threading.
- Insert the provided mounting screw into the anchor center, leaving 1/8 inch exposed for the picture wire. If you lack power tools, follow our guide on how to insert drywall anchor without drill in under five minutes.
Plastic Expansion Anchors:
- Drill a clean pilot hole matching the anchor sleeve diameter (typically 3/16 inch or 1/4 inch).
- Push the plastic sleeve into the hole until the collar sits flush against the wall face. Tap gently with a rubber mallet if tight.
- Drive the screw into the sleeve until the plastic expands against the back of the drywall.
Steel Molly Bolts:
- Drill a pilot hole matching the outer diameter of the molly casing (typically 5/16 inch).
- Tap the metal sleeve into the wall so the anti-rotation prongs embed into the paper face.
- Tighten the center machine screw clockwise. This collapses the four metal legs behind the drywall against the rear paper face.
- Back the machine screw out partially to hang your frame bracket.
Spring-Wing Toggle Bolts:
- Thread your picture bracket onto the machine bolt first.
- Thread the spring-loaded metal wings onto the bolt end with the wing tips facing the bolt head.
- Drill a 3/8-inch or 1/2-inch hole through the drywall.
- Squeeze the toggle wings flat and push the assembly completely through the hole until the wings pop open inside the hollow cavity.
- Pull outward on the bolt so the wings bite into the rear wall face, then tighten with a screwdriver until snug.
Removing Hardware and Patching Drywall Holes
When you take down art, remove the hardware cleanly to simplify wall repairs:
- Push-in steel claw hangers: Slide a flathead screwdriver blade beneath the bottom rim of the faceplate and pry straight out.
- Self-drilling and expansion anchors: Back out the center screw completely. Insert the tip of a screwdriver into the plastic collar and pull outward while turning counterclockwise.
- Molly bolts and toggle wings: For hollow toggle bolts, unscrew the bolt; the internal metal wing will drop harmlessly inside the wall cavity. For molly bolts, place a large drill bit over the collar head to drill away the retaining flange, then push the collapsed casing into the cavity.
To repair the hole, bevel the torn paper edges inward using the rounded end of a screwdriver handle. Apply lightweight spackling compound with a putty knife in two thin layers. Allow each layer to dry, sand smooth with a 220-grit sanding block, prime, and paint to match.
Best Drywall Anchor Picture Hangers by Weight Capacity
Match your hardware strictly to the weight of your artwork. Applying proper fasteners prevents wall blowouts and protects your framed decor; explore why you should never hang heavy decor without setting a wall anchor first when working between studs.
Lightweight Solutions (Up to 20 lbs)
For lightweight frames, framed family photos, and small canvas prints under 20 pounds, simple low-impact hangers perform well without large drywall incisions.
- Angled Nail Picture Hooks: Traditional brass or steel hooks rely on hardened steel pins driven into the wall at a 45-degree angle. The steep angle transfers vertical load down the wall plane, holding items up to 10 or 20 pounds safely.
- WallBiter Hooks: These one-piece metal hooks use sharp directional teeth that seat directly into the sheetrock. The WallBiter Small carries an 8 lb safe shear rating, the Medium holds 10 lbs shear, and the Large model delivers 13 lbs shear in 1/2-inch drywall.
- WallDriller Picture Hook #6: This zinc self-drilling hook drives straight into drywall with a hand screwdriver and carries a safe shear rating of 20 lbs in 1/2-inch drywall.
- Plastic Expansion Sleeves: Commodity ribbed plastic anchors support light static hanging up to 25 pounds ultimate rating (roughly 6 lbs safe working load). They work well for small framed prints where pull-out forces remain near zero.
Selecting a Medium-Duty Drywall Anchor Picture Hanger (20 to 65 lbs)
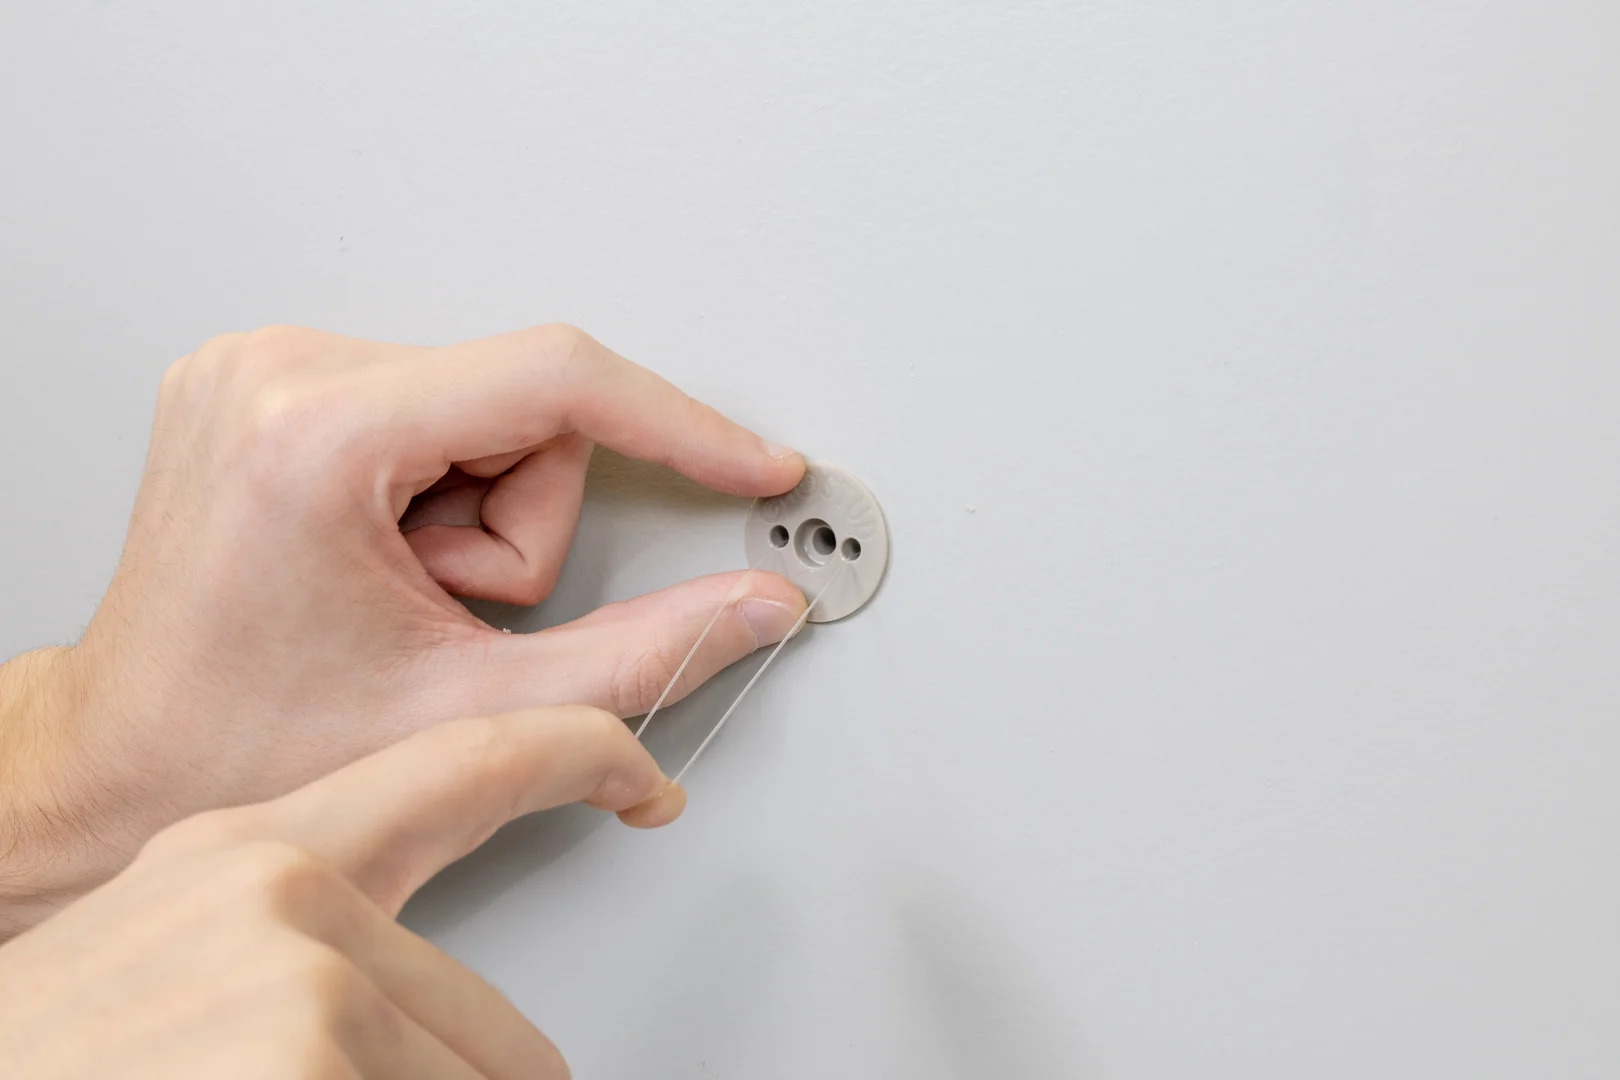
Medium-duty wall decor, including gallery frames with heavy glass, custom hardwood frames, and medium wall mirrors, requires fasteners with wider rear bearing areas. Check our step by step guide to drywall anchor types to review all medium-duty options.
- Snap Skru Self-Drilling Anchors: These nylon anchors use an expanding tip that pops open when the screw seats, resisting up to 45 lbs of shear load in 1/2-inch drywall.
- WallDriller Picture Hook #8L: A heavy-gauge self-drilling zinc hook that achieves a safe shear rating of 30 lbs in 1/2-inch drywall.
- 3M CLAW Drywall Picture Hangers: These studless push-in hangers use hardened steel claws that penetrate the sheetrock face and lock against the inner gypsum core. They come in engineered capacities of 15 lb, 25 lb, 45 lb, and 65 lb models. They install by hand without tools and leave only small pin-sized punctures.
- Molly Bolts (Hollow Wall Anchors): Steel sleeve molly bolts support loads between 10 and 50 lbs across 1/2-inch and 5/8-inch drywall. Their collapsing metal legs distribute shear stress across a 1-inch span behind the wall.
Heavy-Duty Drywall Anchor Picture Hanger Systems (100 lbs and Above)
When mounting oversized framed fine art, heavy gilded mirrors, or massive shadowboxes, commodity push-pins and small plastic anchors will fail through progressive gypsum crushing. You need high-capacity mechanical anchors that bridge a broad surface area on the back face of the sheetrock.
- Mega Hook: Featuring an integrated toggle mechanism that tightens against the drywall rear without pre-drilling, the Mega Hook provides a safe load rating of 100 lbs shear in 1/2-inch drywall.
- Standard Steel Spring Toggle Bolts: Using 1/4-20 threaded machine bolts and wide spring-loaded wings, these fasteners support 25 to 50 lbs of working load in sound hollow walls.
- Gripit Blue Drywall Anchors: Heavy plastic rotating-wing anchors that require a 1-inch spade bit hole and hold up to 205 lbs (93 kg) in drywall.
- High-Capacity Hollow Wall Toggles: Heavy-duty strap-based toggle bolts with solid steel channels support up to 270 lbs shear in 1/2-inch drywall.
For demanding residential and commercial hollow-wall installations where no studs exist, GHOSTUD high-capacity anchors provide permanent, structural-grade support. The GHOSTUD GS1 anchor requires a 1-inch hole saw for installation, is rated up to 250 lb in 1/2 in or 5/8 in drywall, and is designed specifically for towel bars, toilet paper holders, curtain rods, picture frames, and light shelving. When you must hang heavy static mirrors, TVs, or structural shelving, the larger GS2 model installs with a 2-inch hole saw and is rated up to 1,000 lb shear in 1/2 in or 5/8 in drywall. Both models are manufactured in the USA from 100% recycled material and sold in 2-packs and 20-packs.
Trade-offs must be evaluated: GHOSTUD anchors require cutting a clean 1-inch or 2-inch hole into your drywall using a hole saw, have a higher unit cost than commodity plastic anchors, and represent a permanent mounting installation rather than a temporary hanging fix.
Wall Substrate Limitations and Stud Mounting Considerations
A drywall anchor is only as strong as the substrate holding it. Before mounting hardware, verify your wall construction. Perform a hollow-sound tap test: tap your knuckles along the wall. A hollow, airy sound indicates an open sheetrock cavity, while a sharp, dense thud indicates a solid timber or steel stud backing.
Always evaluate drywall anchor vs stud placement before picking up a drill. If an accessible, properly located wood stud aligns with your desired picture placement, drive a standard 2-1/2 inch wood screw directly into the stud center. Stud mounting provides solid framing support and eliminates hollow-wall blowouts entirely. Never use a drywall anchor as a substitute when solid timber framing is readily available at your target mark.
Standard hollow-wall anchors and GHOSTUD products carry strict substrate limitations:
- Plaster and Lath Walls: Never install modern drywall expansion plugs, push-in claw hangers, or GHOSTUD anchors into traditional wood lath and lime plaster. Plaster is brittle; cutting or expanding hardware into it cracks the underlying plaster keys and creates large blowouts. Plaster requires dedicated masonry anchors or drive screws fastened directly into the structural lath framing.
- Solid Masonry and Concrete: Drywall anchors cannot grip solid substrates. Concrete, poured foundation walls, and brick require masonry drill bits and dedicated lead shields, nylon wall plugs, or concrete screws.
- Tile Over Backer Board, Metal Studs, and Stucco: GHOSTUD anchors are engineered strictly for 1/2-inch and 5/8-inch drywall panels and are not suitable for tile backer units, structural brick, exterior stucco, or commercial gauge metal studs.
For alternative wall surfaces, read our practical breakdown on how to hang a heavy picture on plasterboard securely.
Frequently Asked Questions About Drywall Anchor Picture Hangers
Can I reuse drywall anchors after taking down a picture?
Certain mechanical picture hooks, such as the 3M CLAW and WallBiter hooks, are fully reusable if their steel prongs or teeth remain straight and undamaged upon removal. Standard plastic expansion anchors and self-drilling nylon plugs should never be reused; their internal plastic threads and external expansion collars deform permanently during initial screw insertion. Steel toggle wings drop behind the wall cavity once the bolt is removed and cannot be retrieved.
Do all drywall picture hangers require pre-drilled pilot holes?
No. Self-drilling screw anchors, the Mega Hook, WallDriller hooks, and push-in steel claw hangers (like the 3M CLAW) require no pre-drilling. They penetrate standard 1/2-inch drywall using sharp center points, integrated threads, or hand pressure. Traditional plastic expansion sleeves, steel molly bolts, and large spring toggle bolts require dedicated drill bits sized precisely to the anchor casing.
Can standard drywall anchors be used in plaster or concrete walls?
Standard drywall anchors cannot be used reliably in plaster or concrete. Hard plaster will crush or split under expansion plugs, and push-in claws cannot penetrate the hard lime surface. Concrete walls have no hollow rear cavity for toggles or molly legs to expand into. For concrete or brick, drill with a carbide-tipped masonry bit and install hammer-set drive pins, concrete screws, or lead expansion shields.
Conclusion
Choosing the right drywall anchor picture hanger keeps your wall decor secure and protects your walls from costly gypsum damage. Take an accurate next physical action at your wall right now: weigh your framed art on a digital bathroom scale, use an electronic stud finder to scan your target wall space for timber framing, and measure your sheetrock thickness. If no stud is present and your decor exceeds standard hook limits, select a properly rated hollow-wall anchor for your exact drywall load. For detailed mirror hanging steps, check our complete guide to hanging heavy mirrors safely.